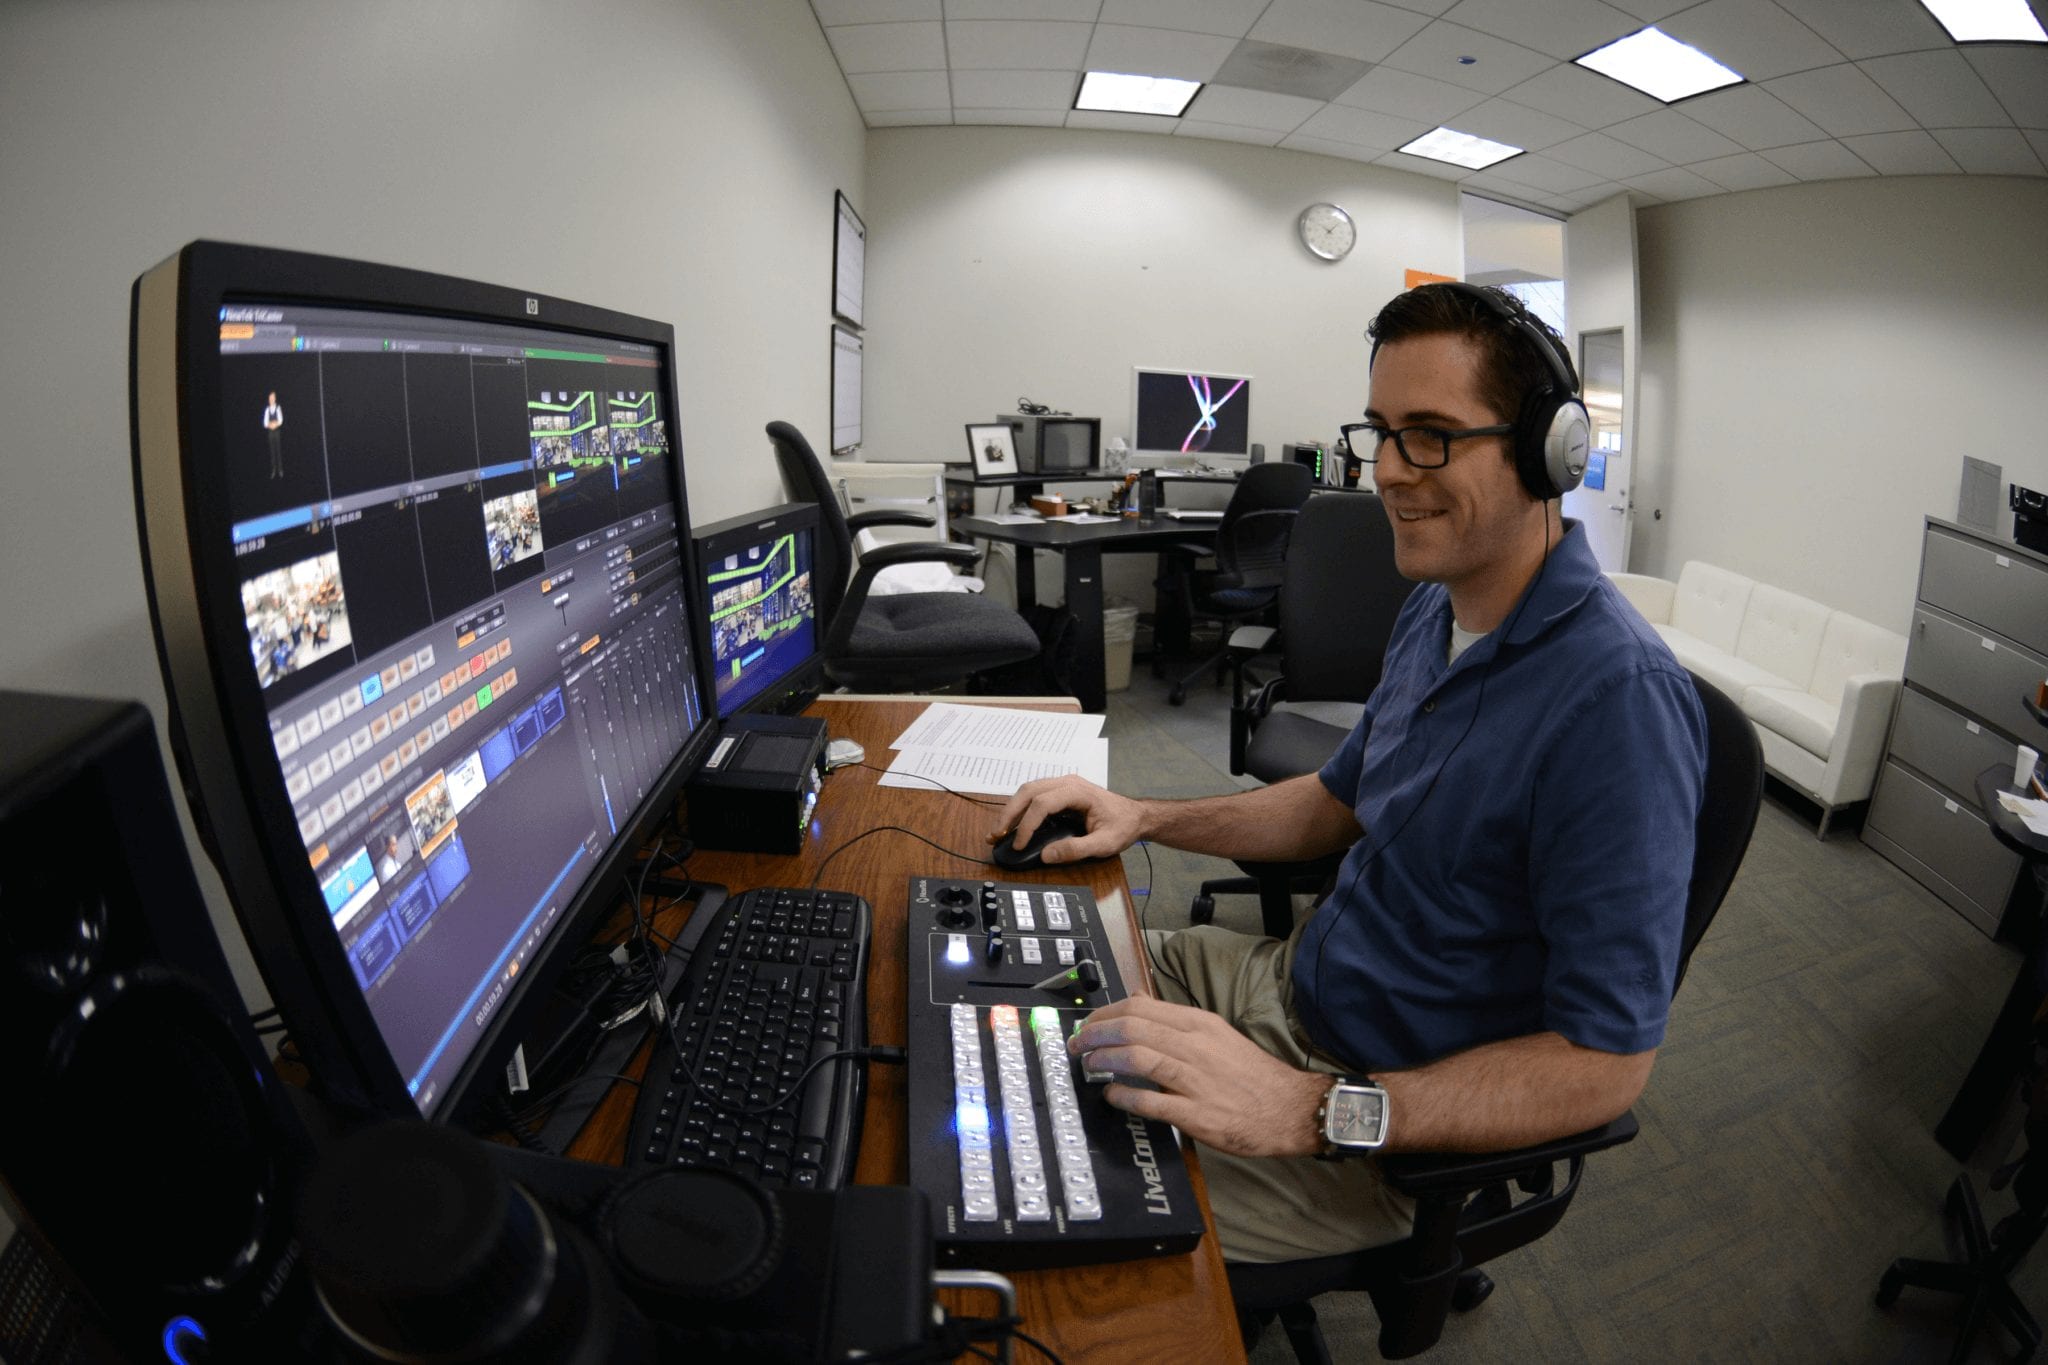
Director & Producer
Case Study: Alcon Laboratories | Creative Services Video Studio Upgrades
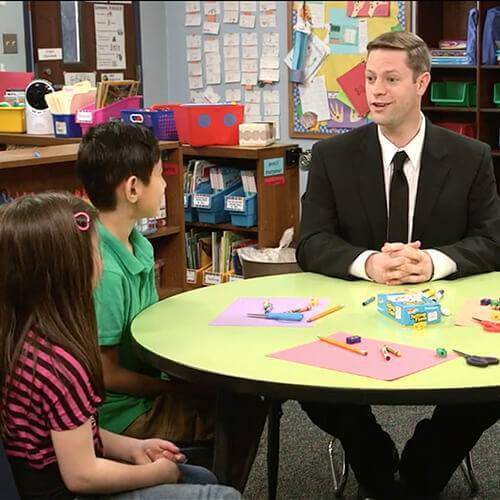
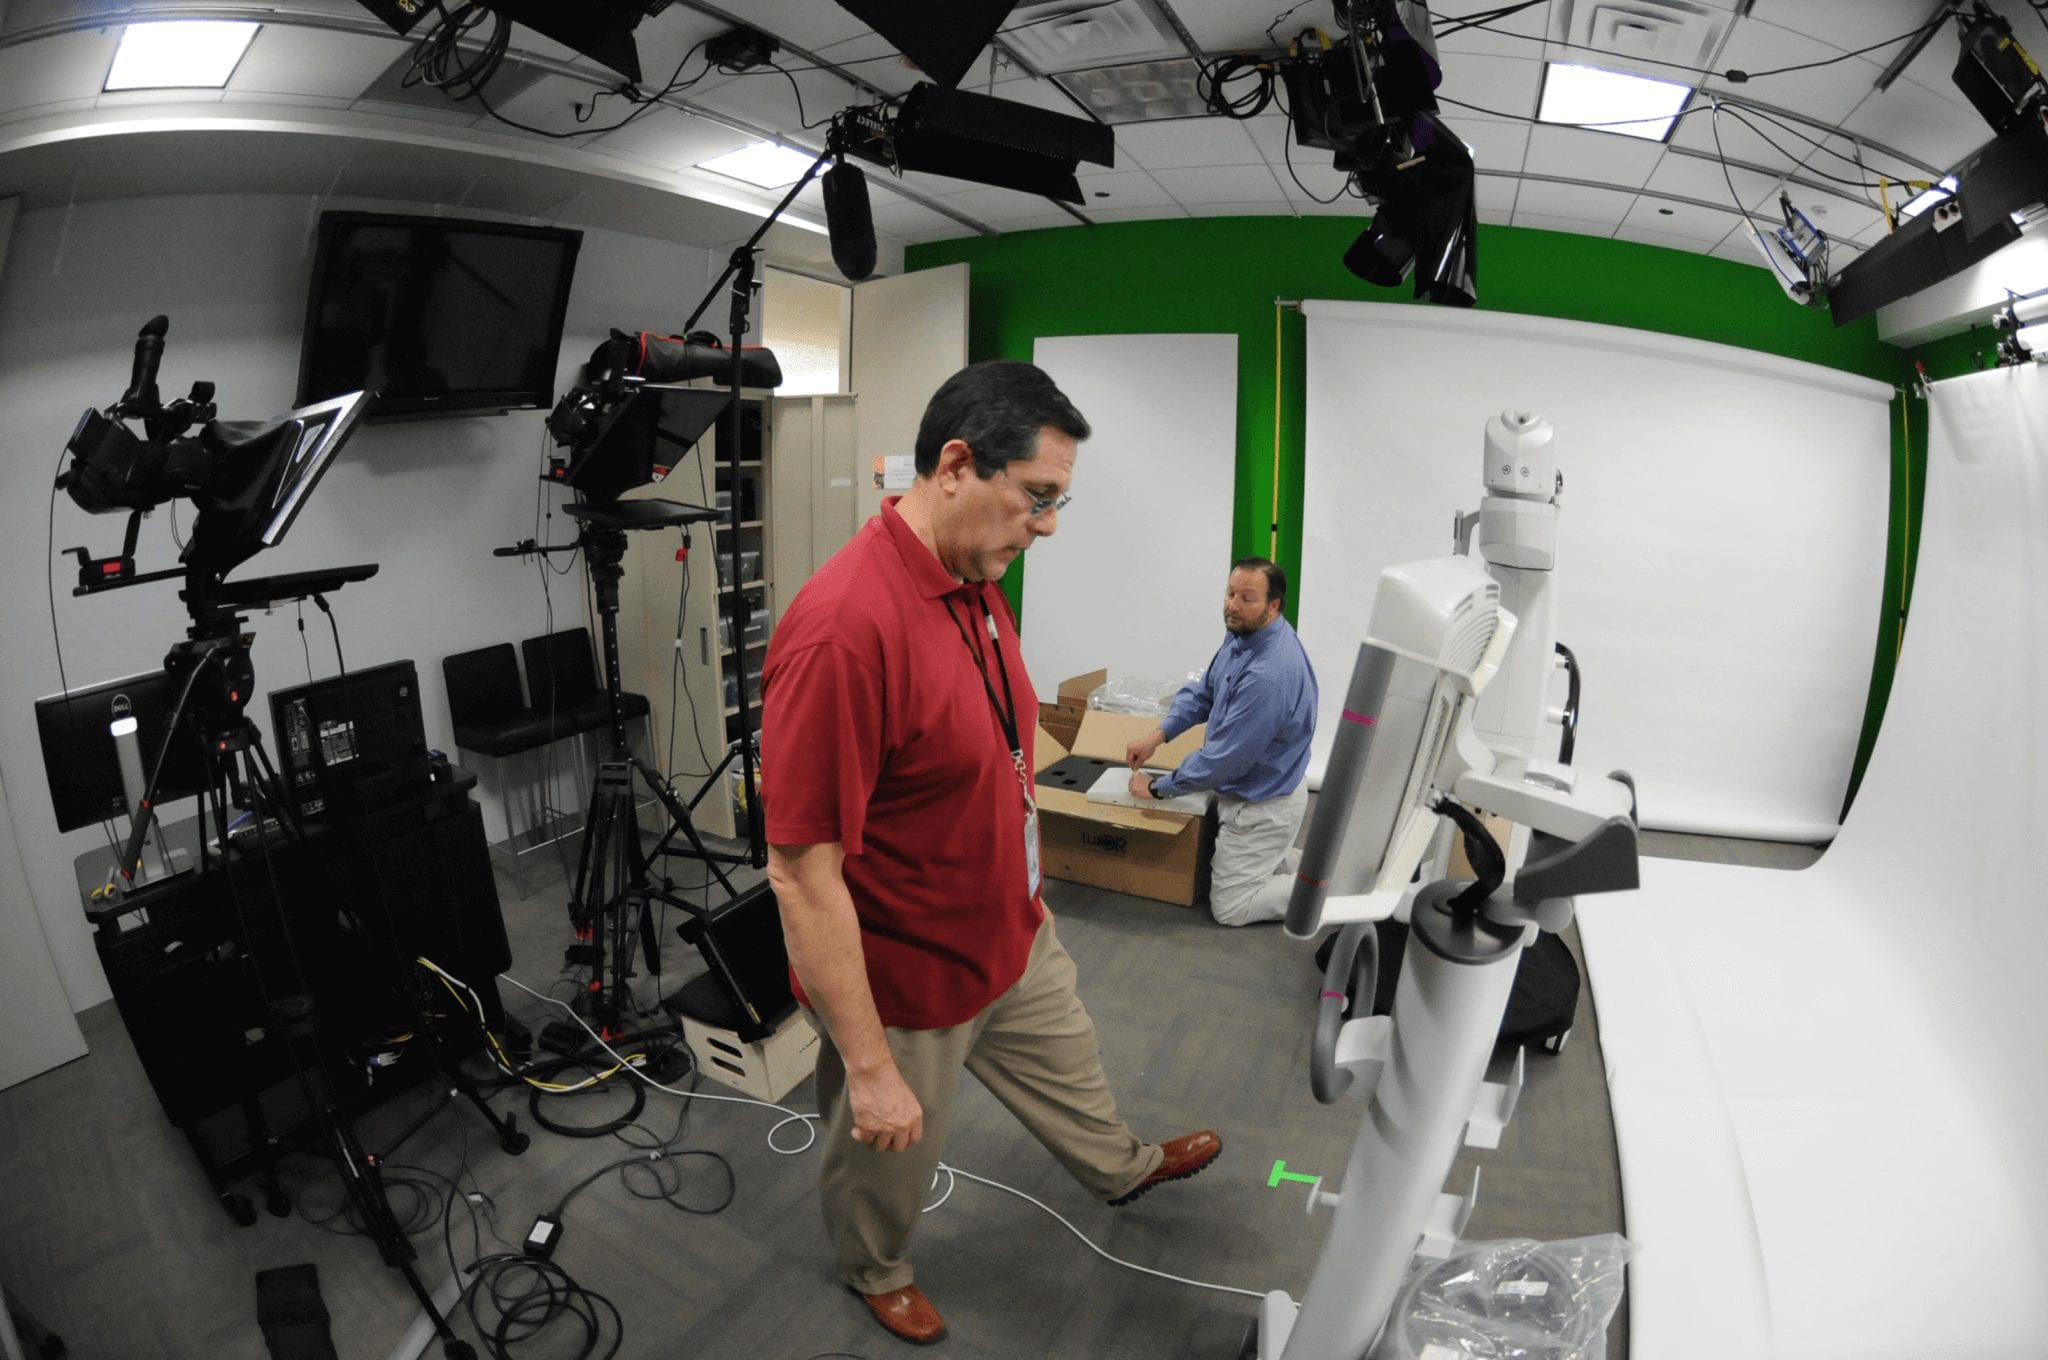
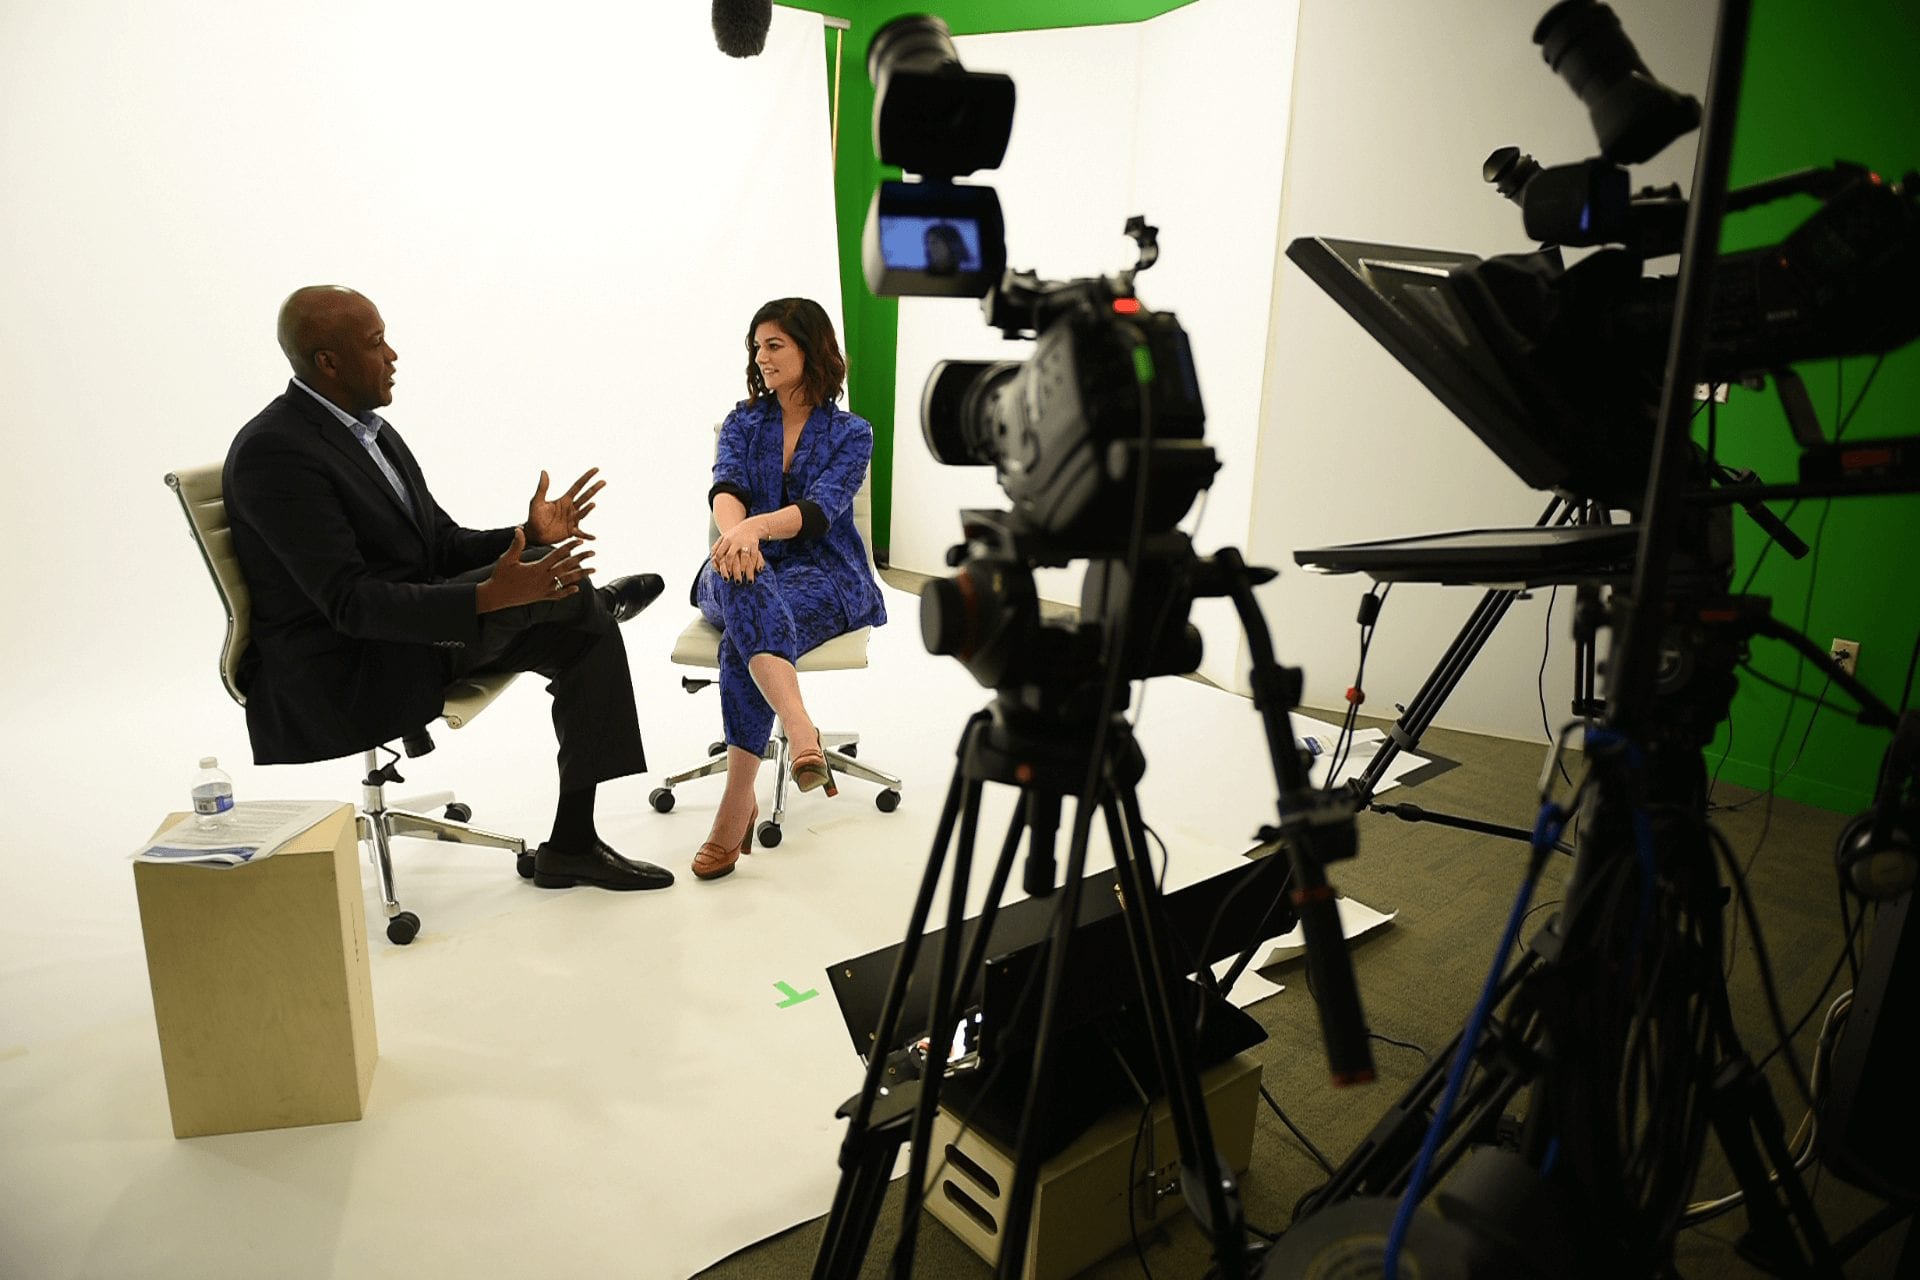
When I joined Alcon in 2012 as a Video Producer, the studio could handle basic talking-head shoots, but not much beyond that. I saw pretty quickly that the space needed a full rethink if we wanted to support more ambitious production and keep up with the growing volume of work.
Between 2012 and 2017, I led a long series of upgrades that turned it into a much more capable production environment. Some changes were small and practical, others were full construction projects, but together they helped the team scale to more than 300 videos a year.
- I took the studio from a basic interview setup to a much more flexible production space over five years.
- I planned the upgrades in phases so we could keep producing while the room evolved.
- The end result was faster turnaround, more kinds of shoots, and a studio the team could actually grow into.
Phase 1
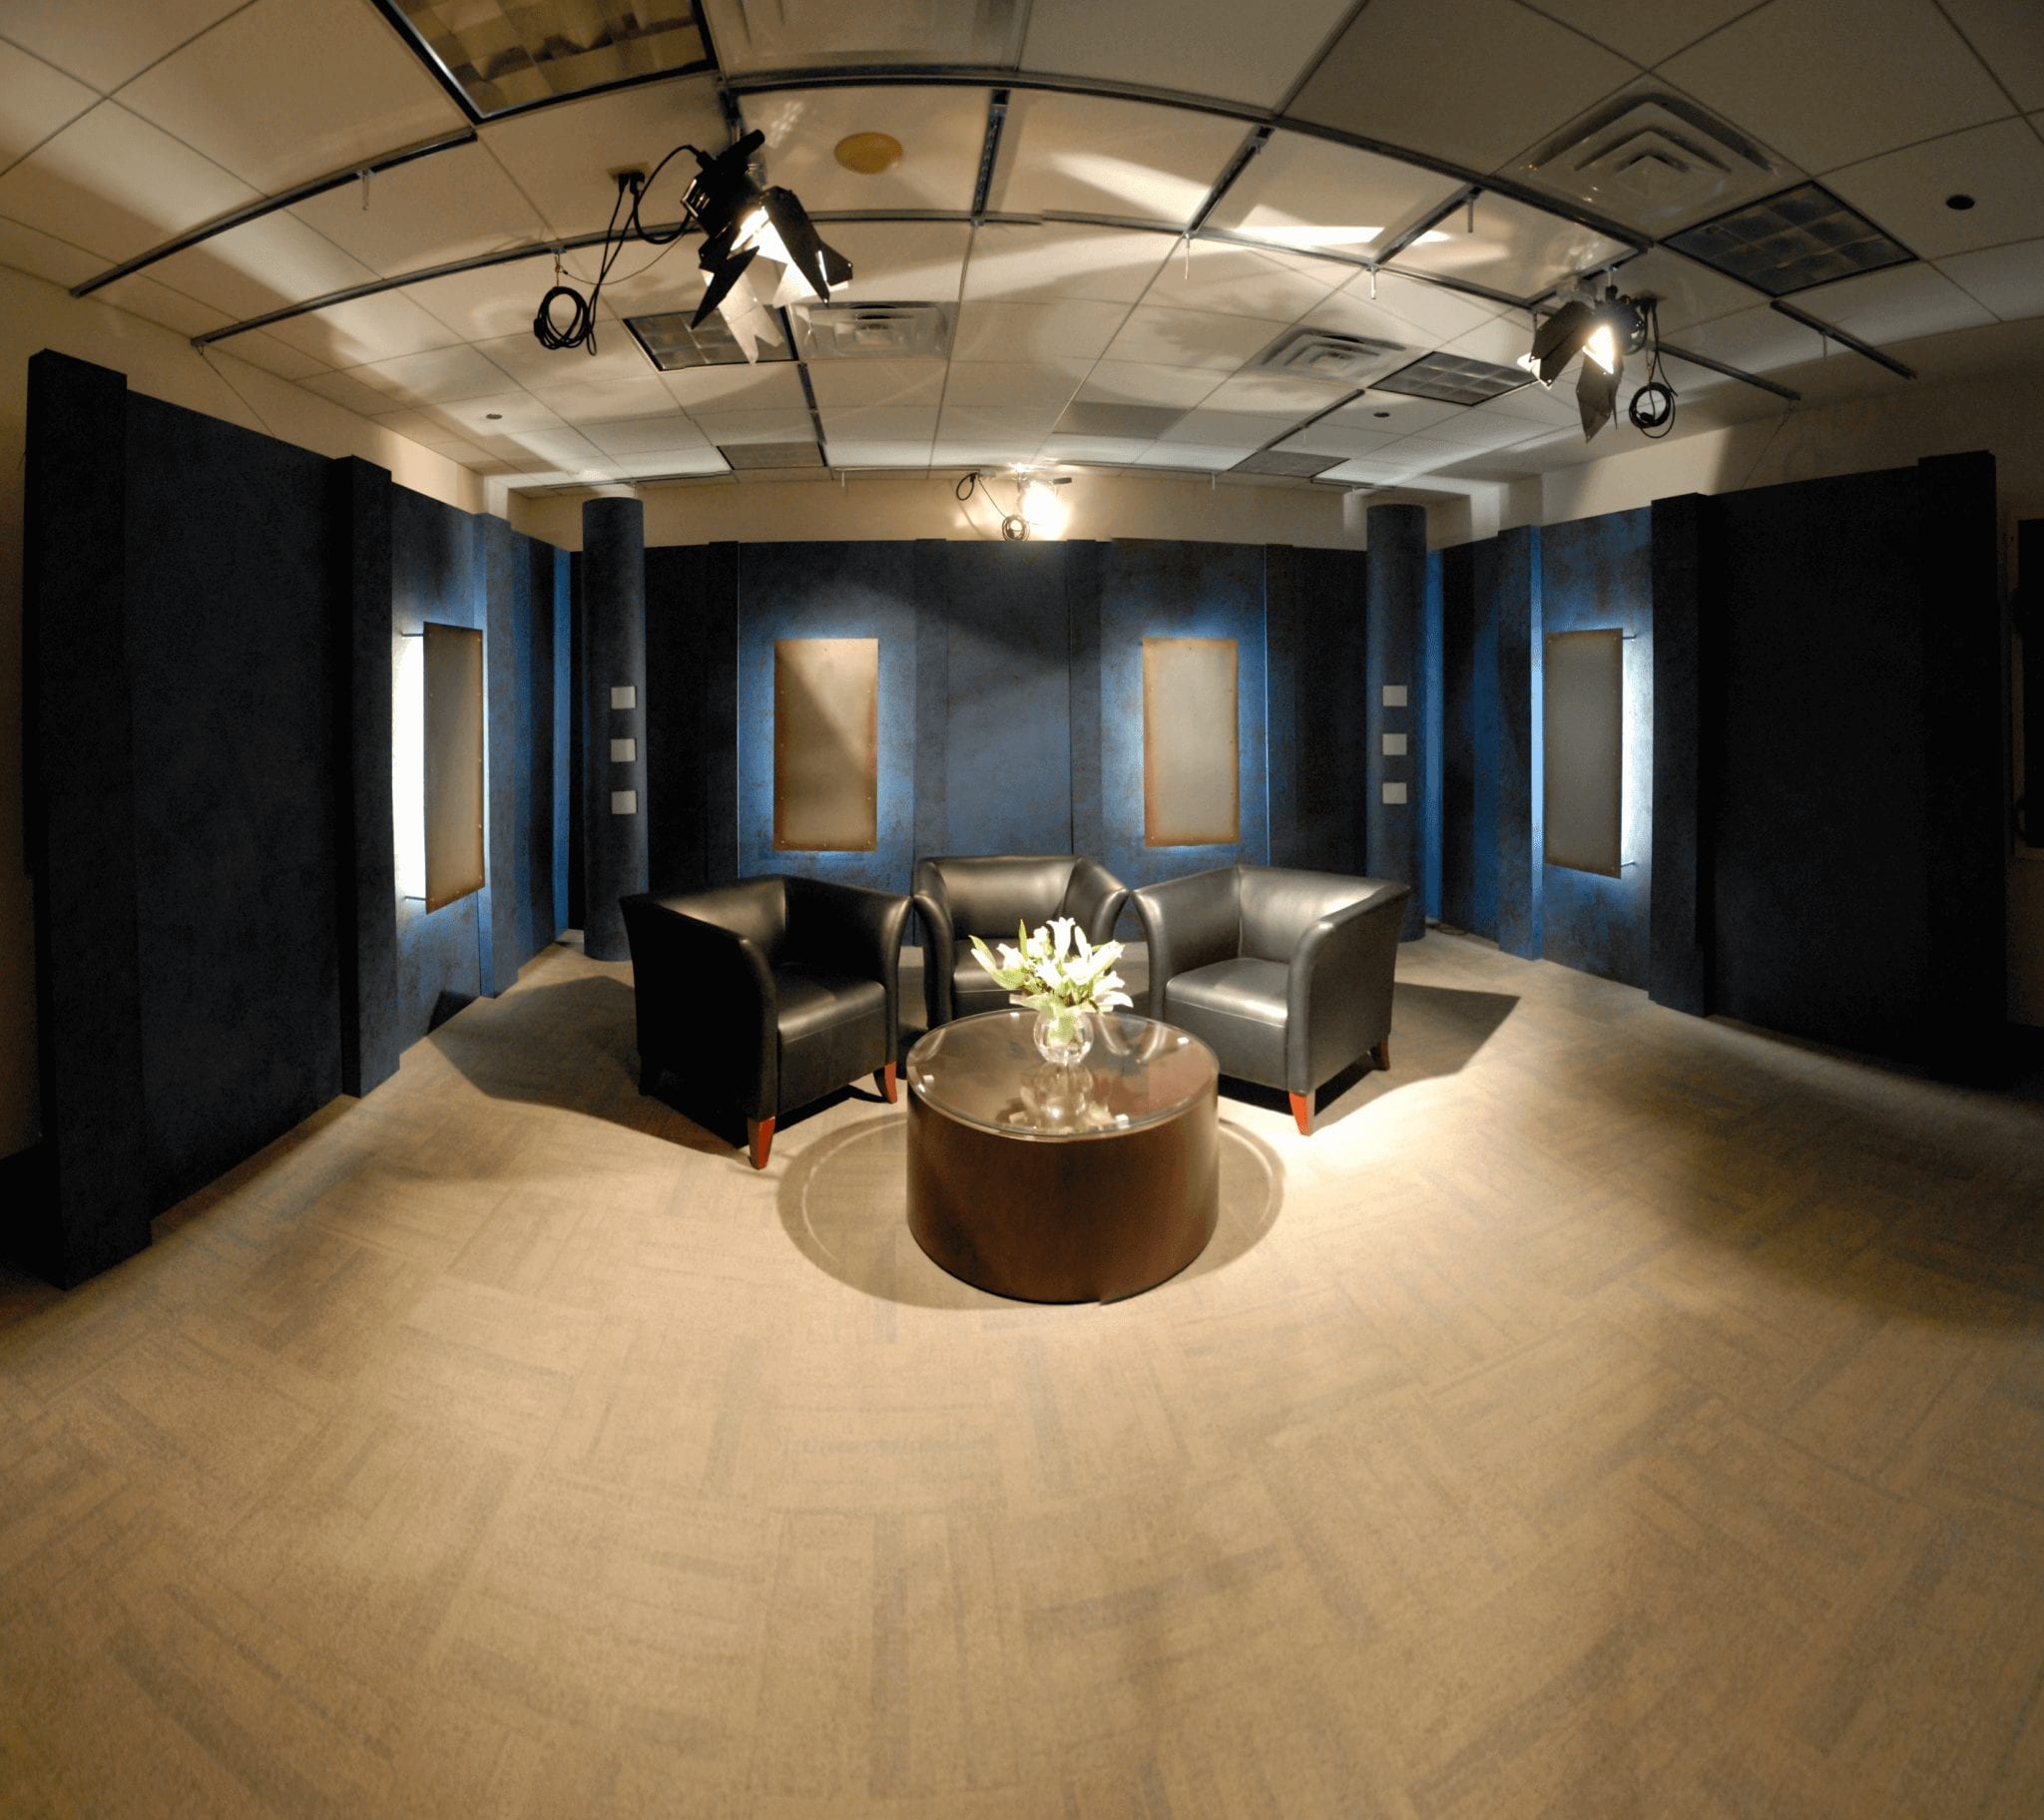
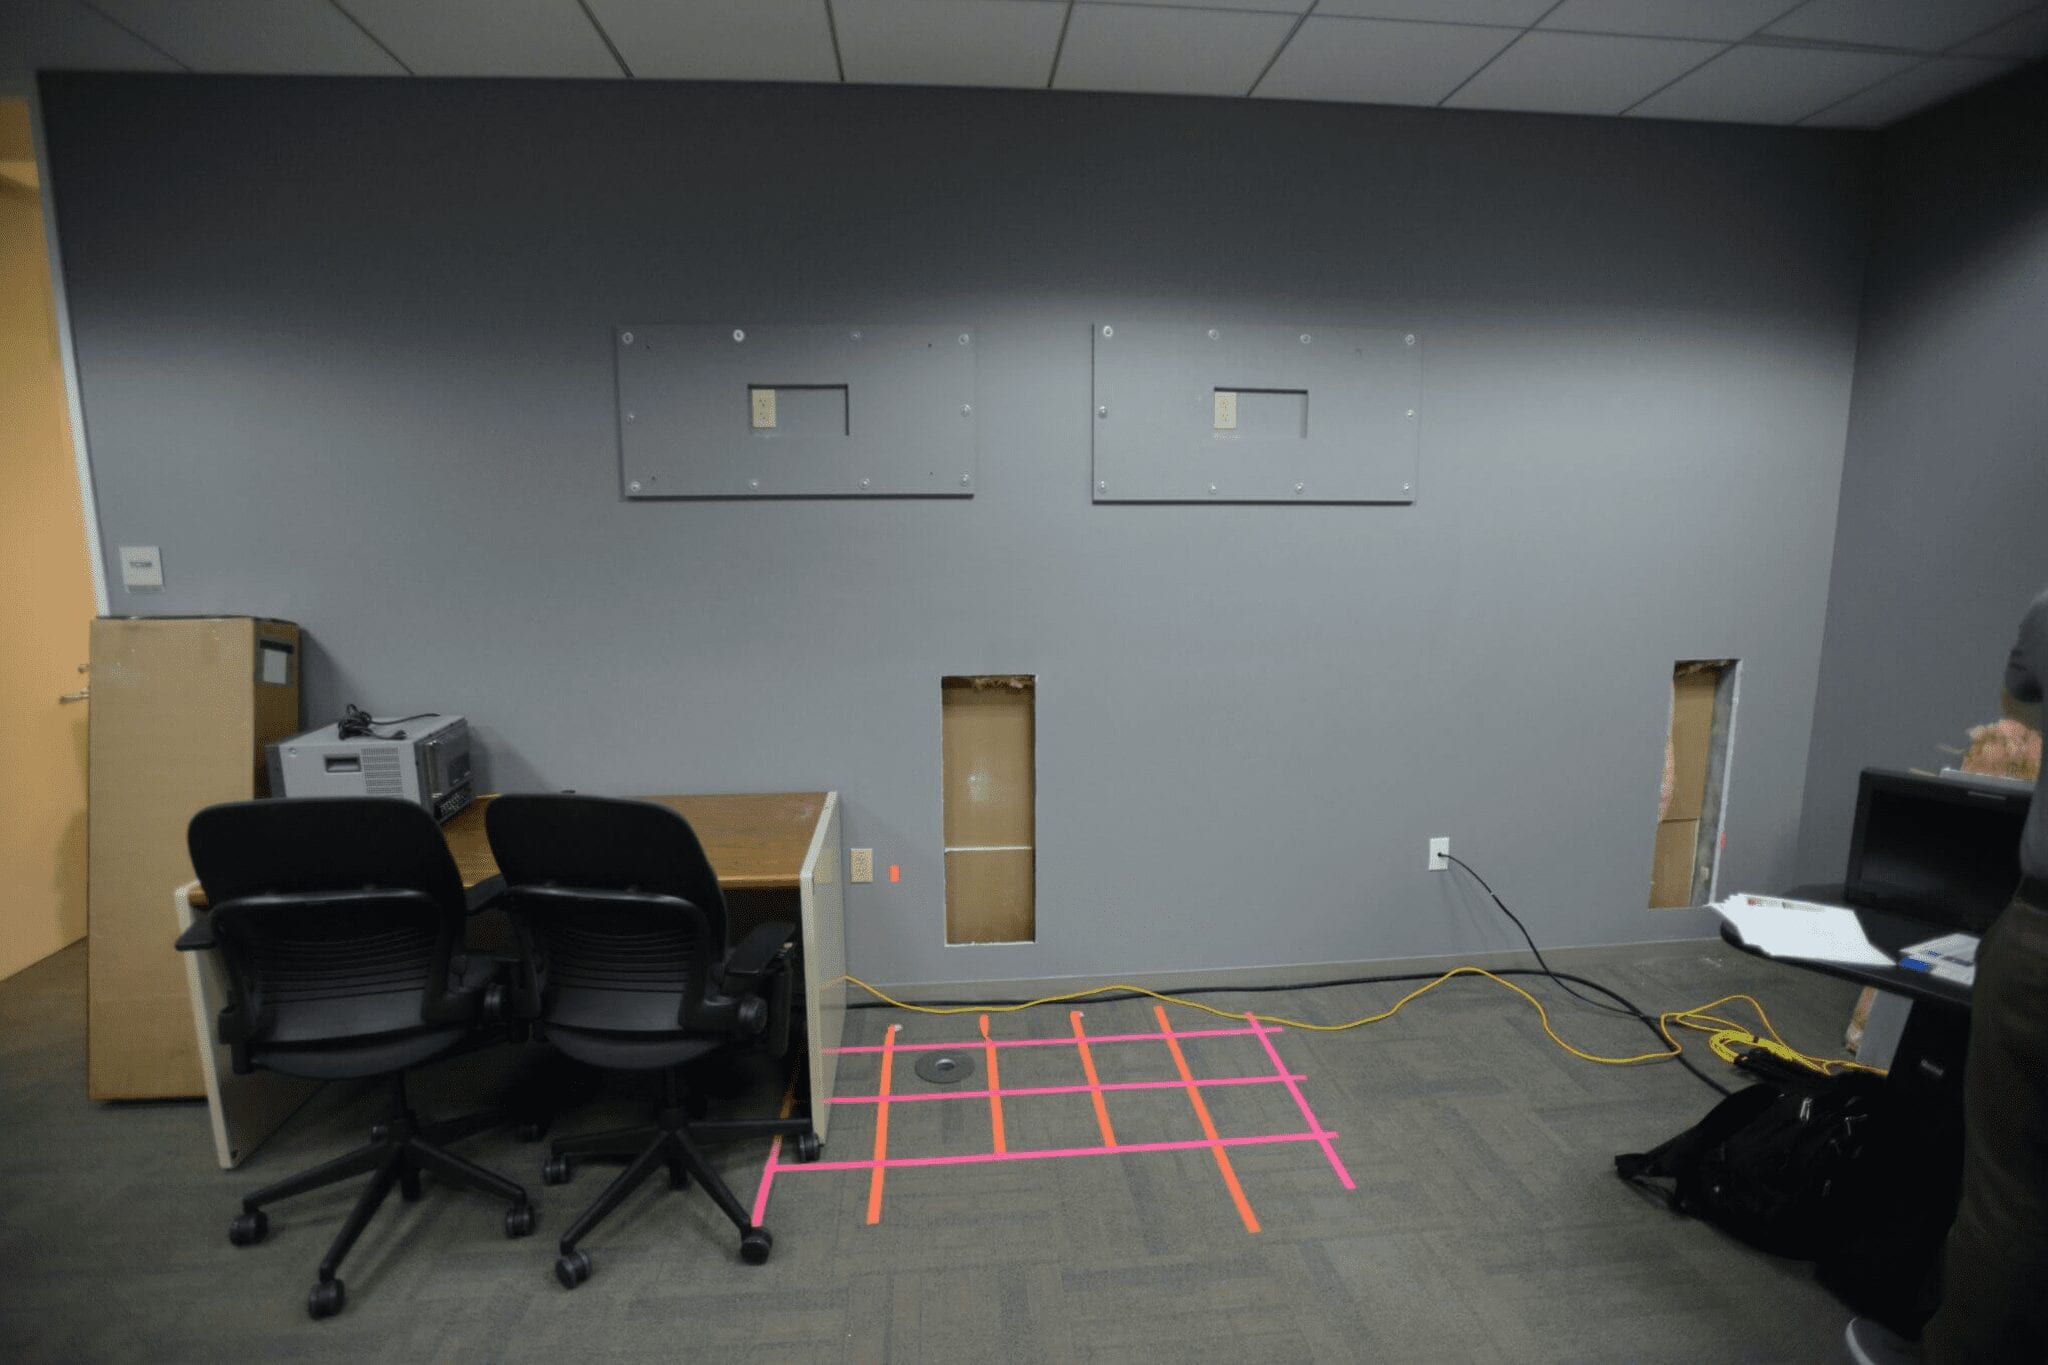
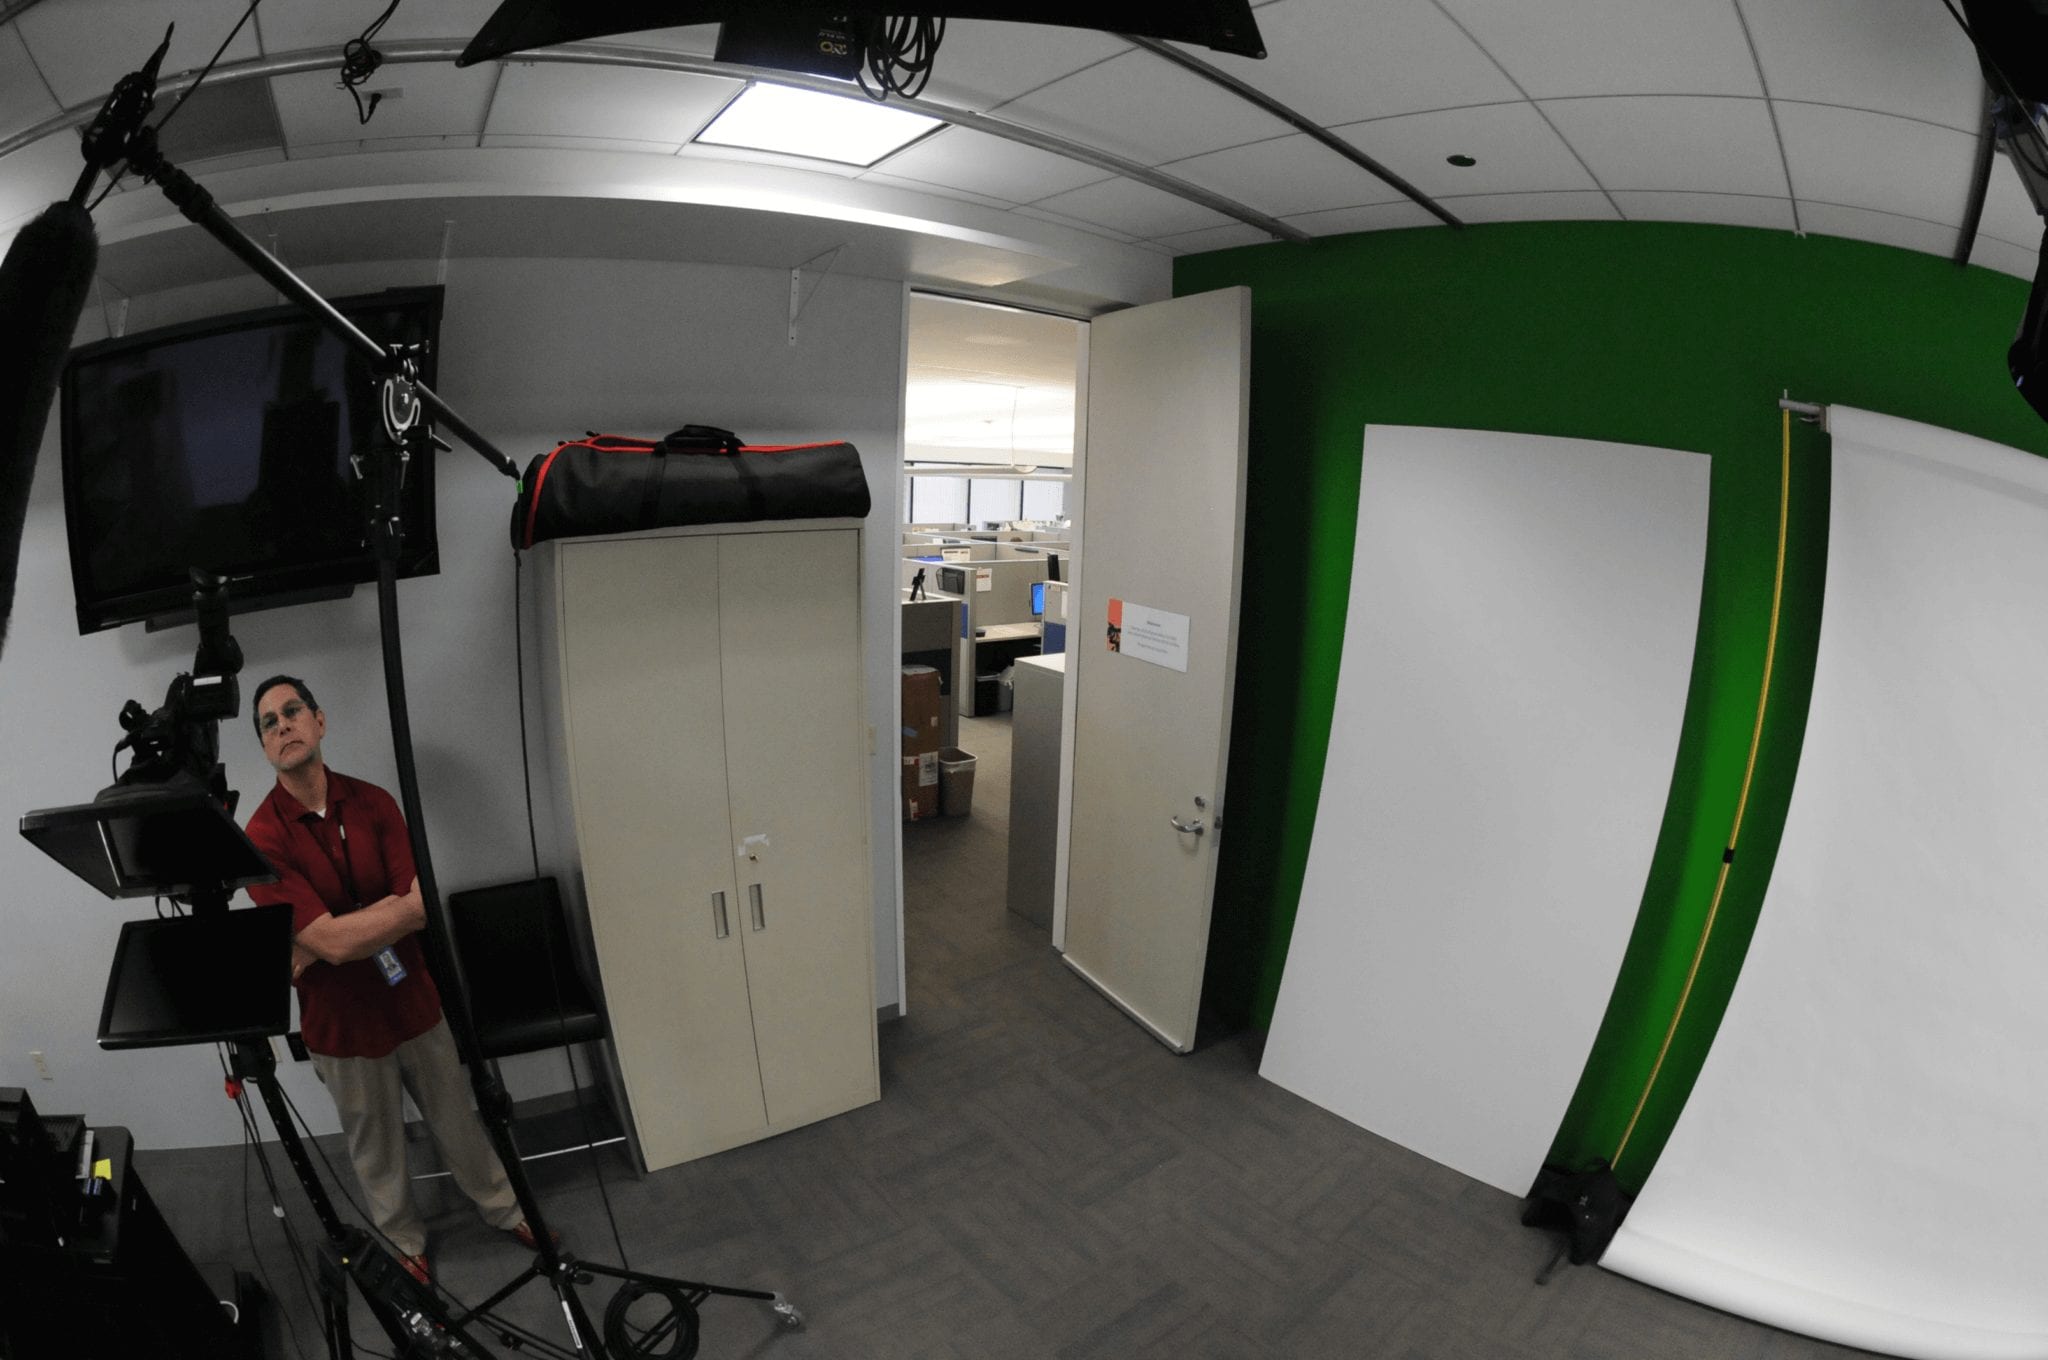
When I arrived, the old set had already been removed, so the room was basically a blank backdrop. My first year was a mix of learning how the team worked and figuring out where the obvious gaps were.
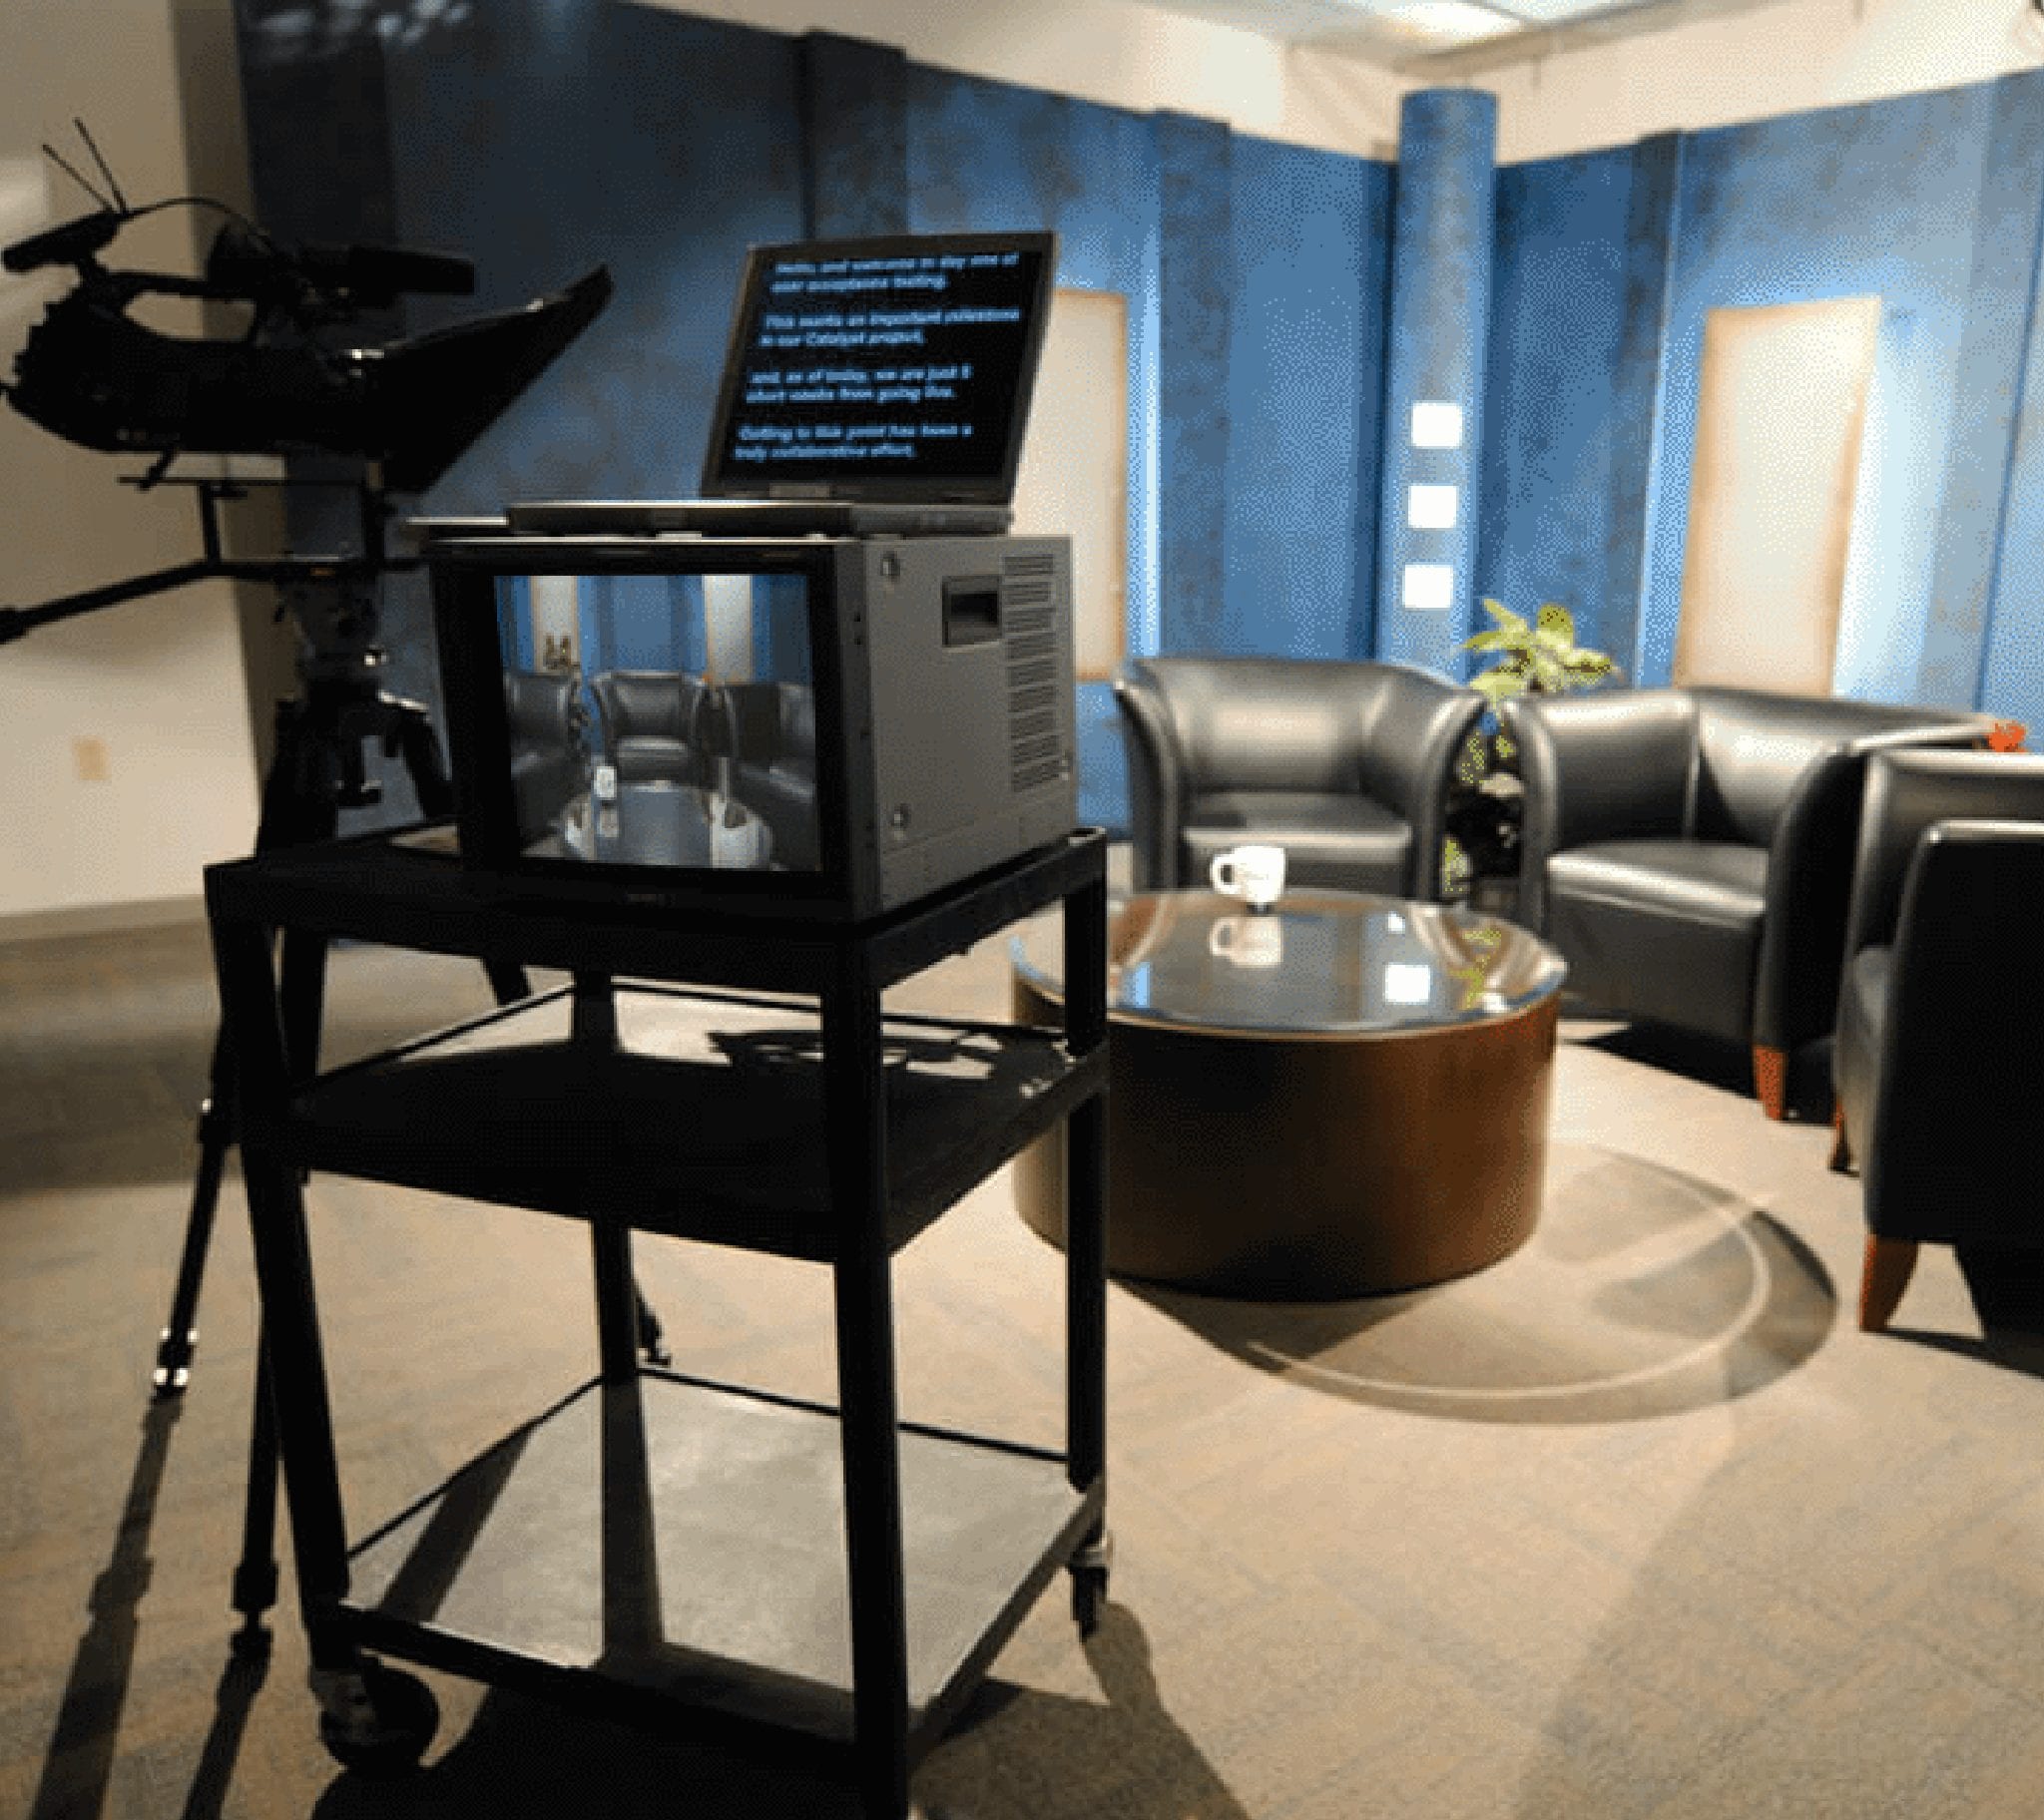
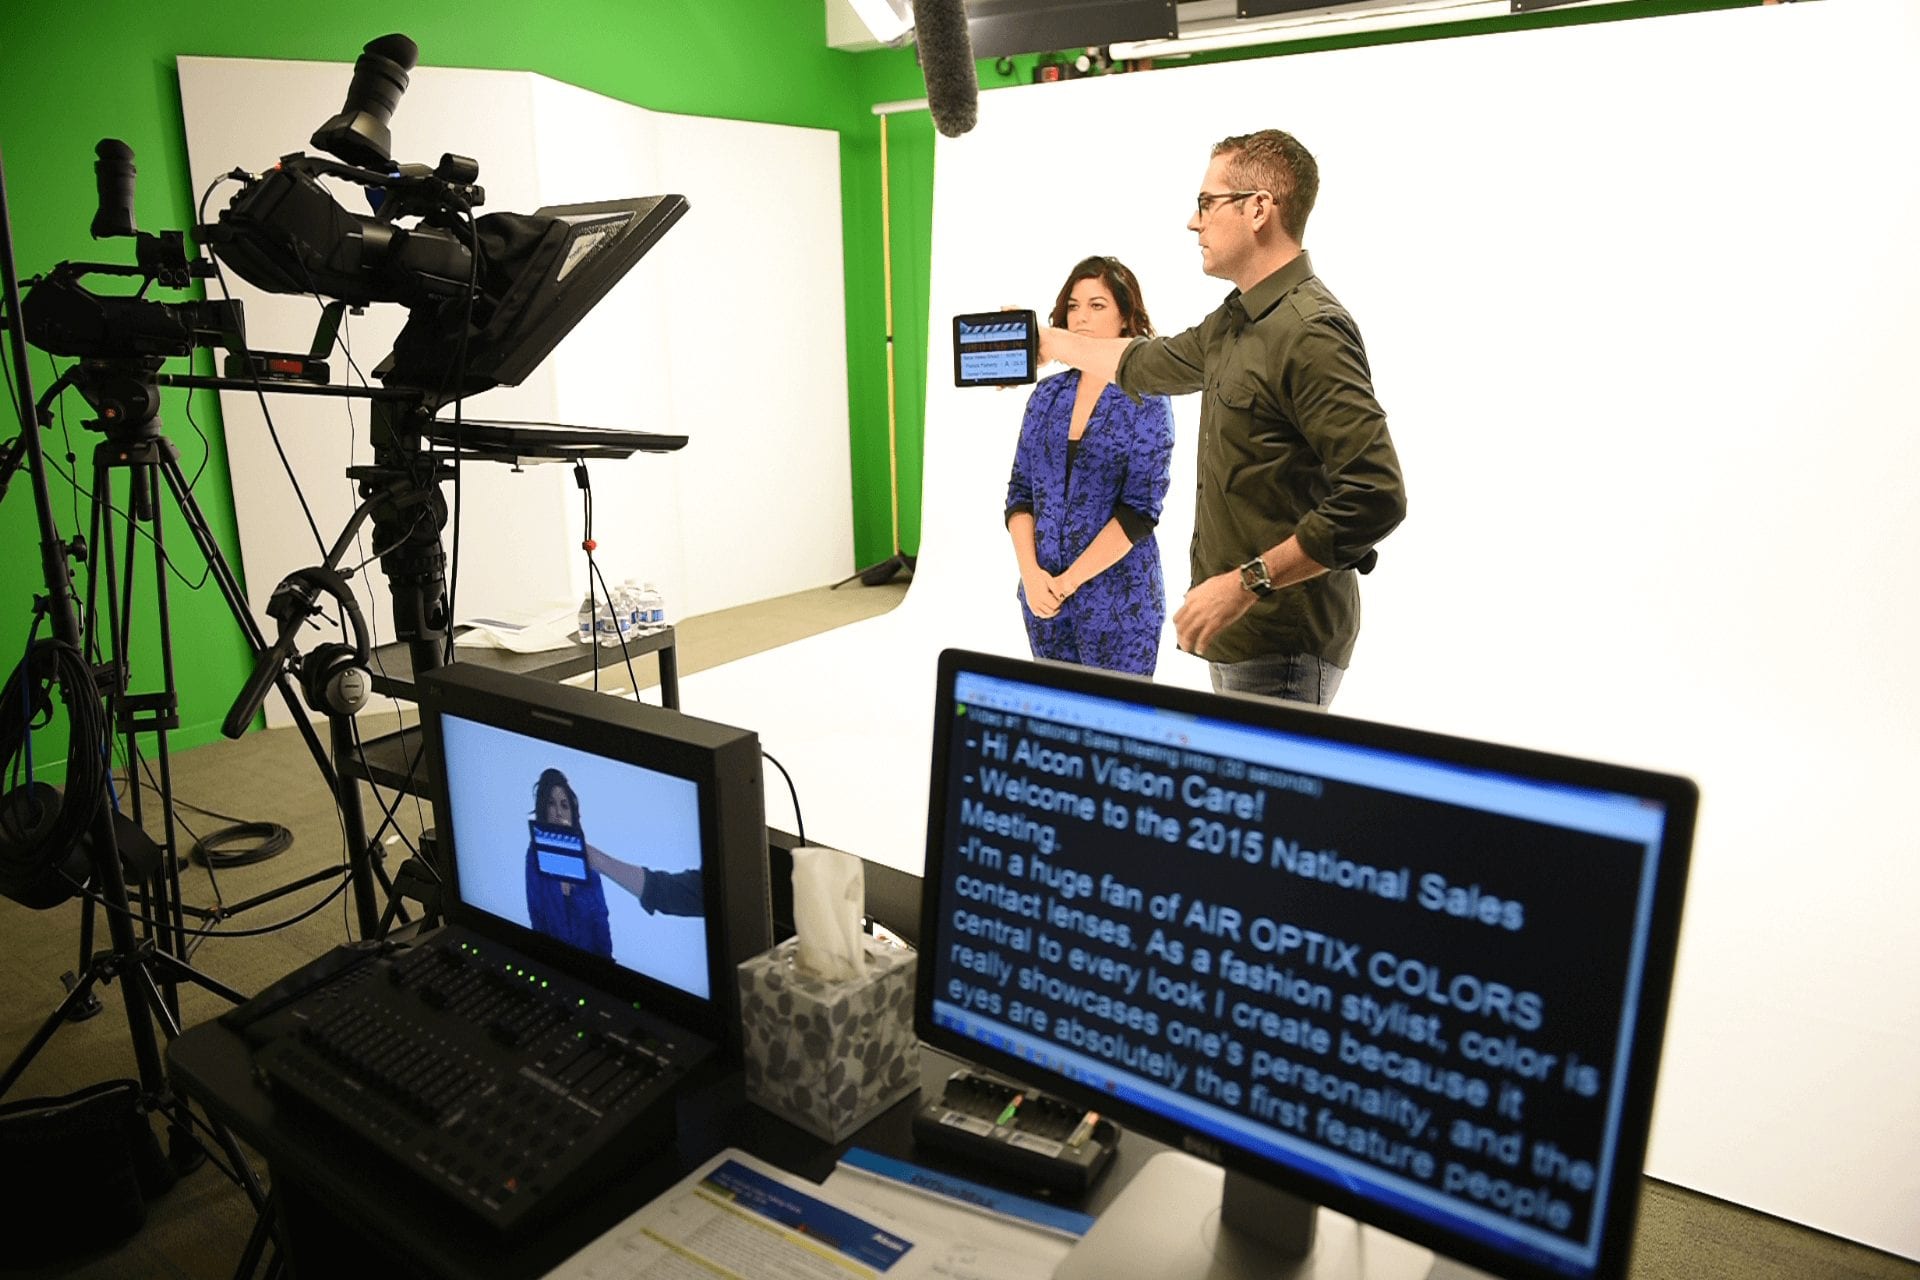
The first upgrades were pretty straightforward. We painted the walls a neutral grey, mounted ceiling lights, and added teleprompters to the cameras. It was not flashy, but it gave us a much better starting point.
Phase 2
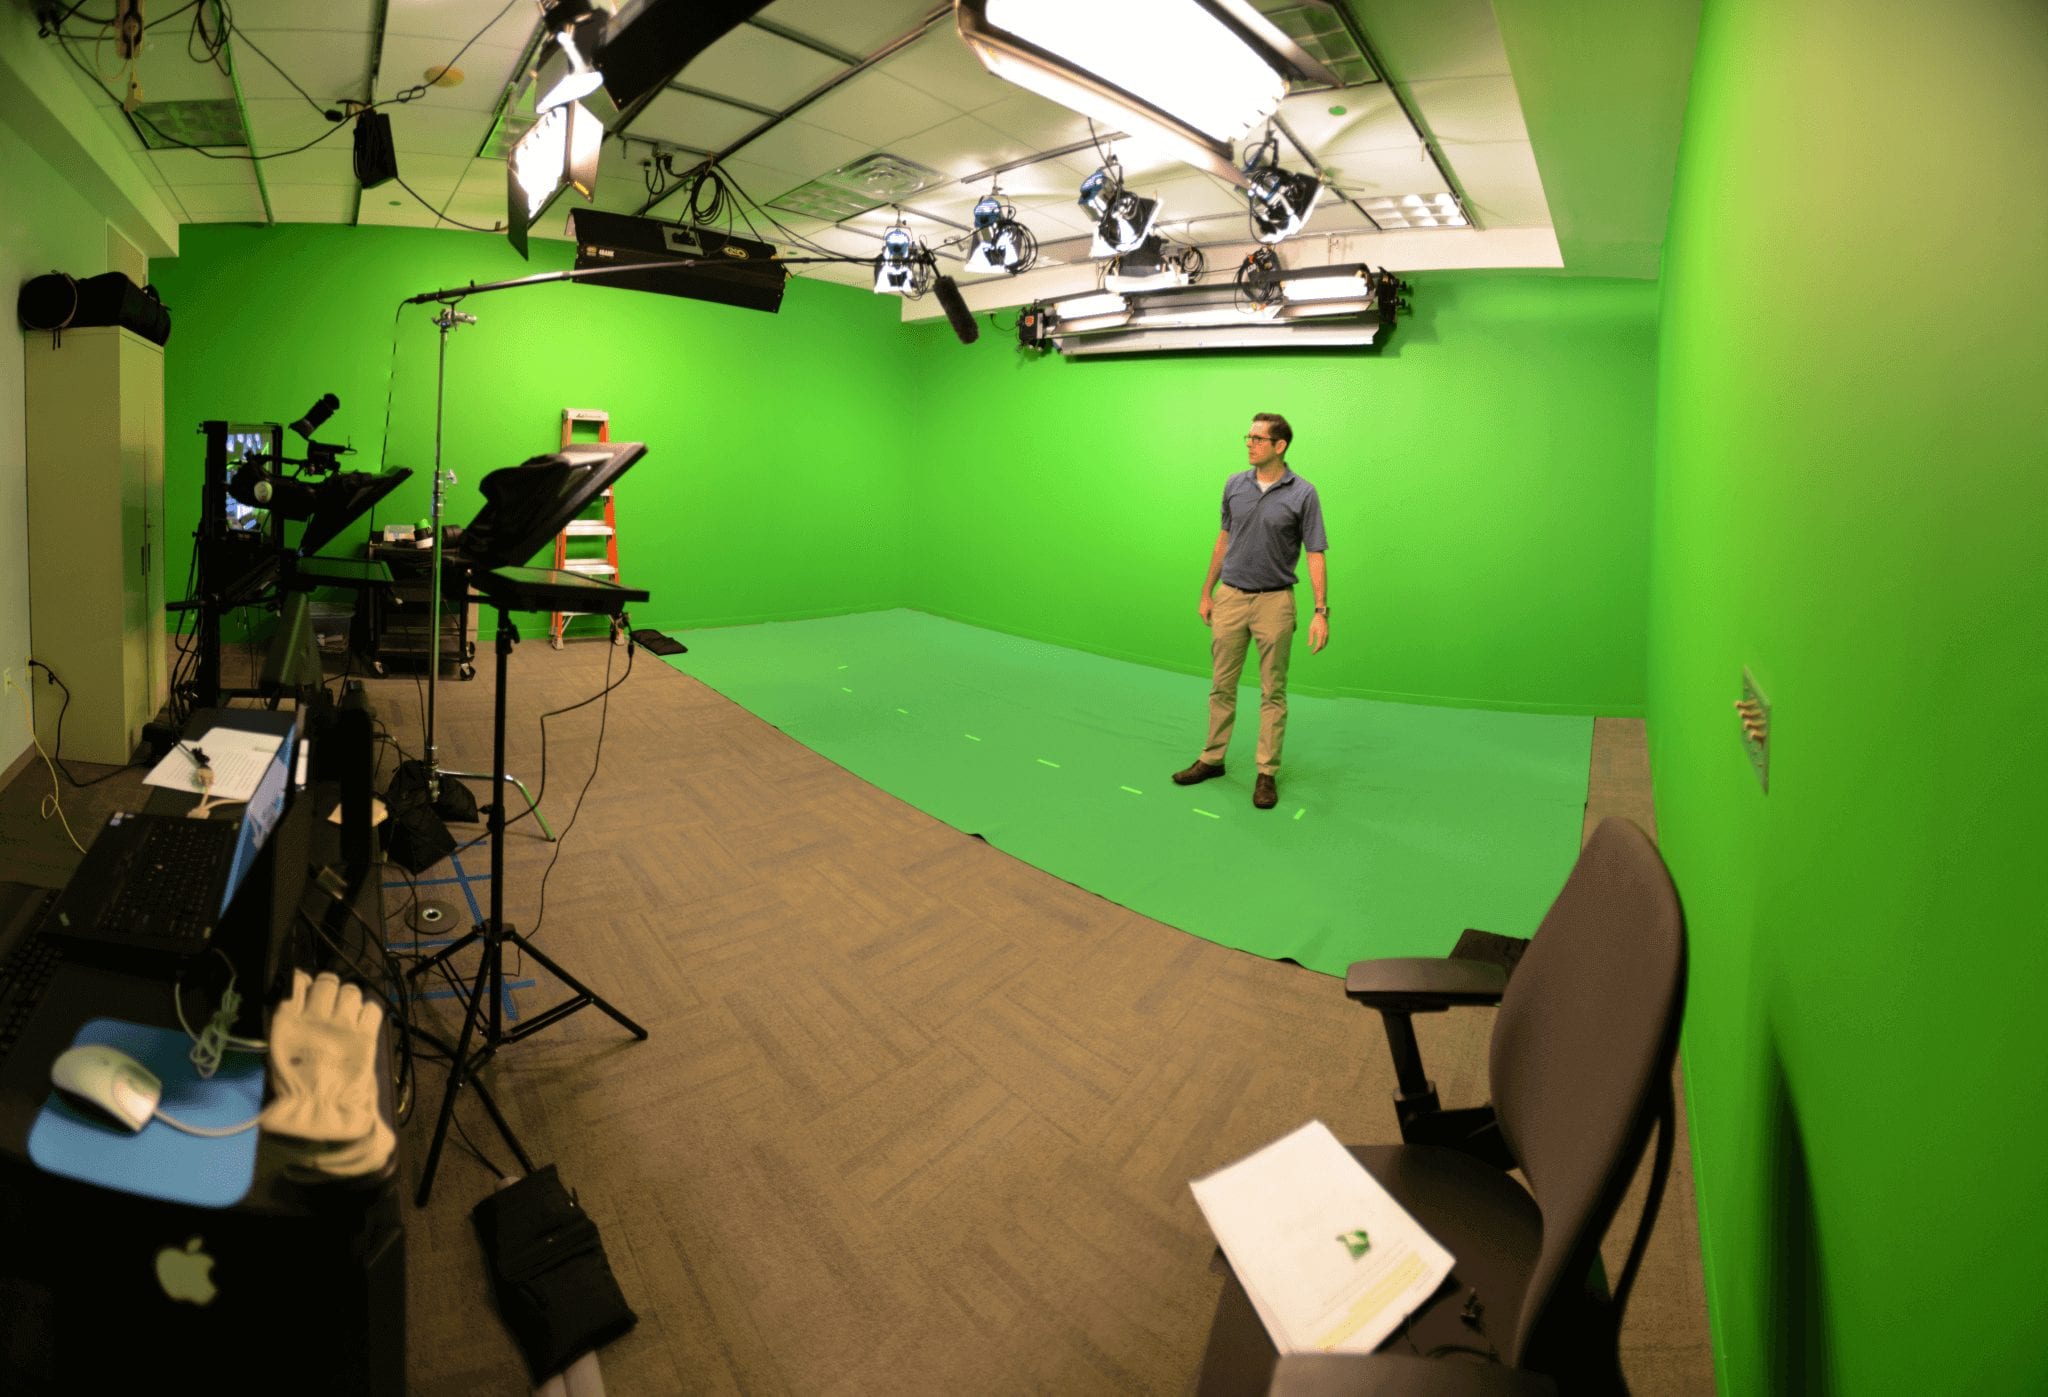
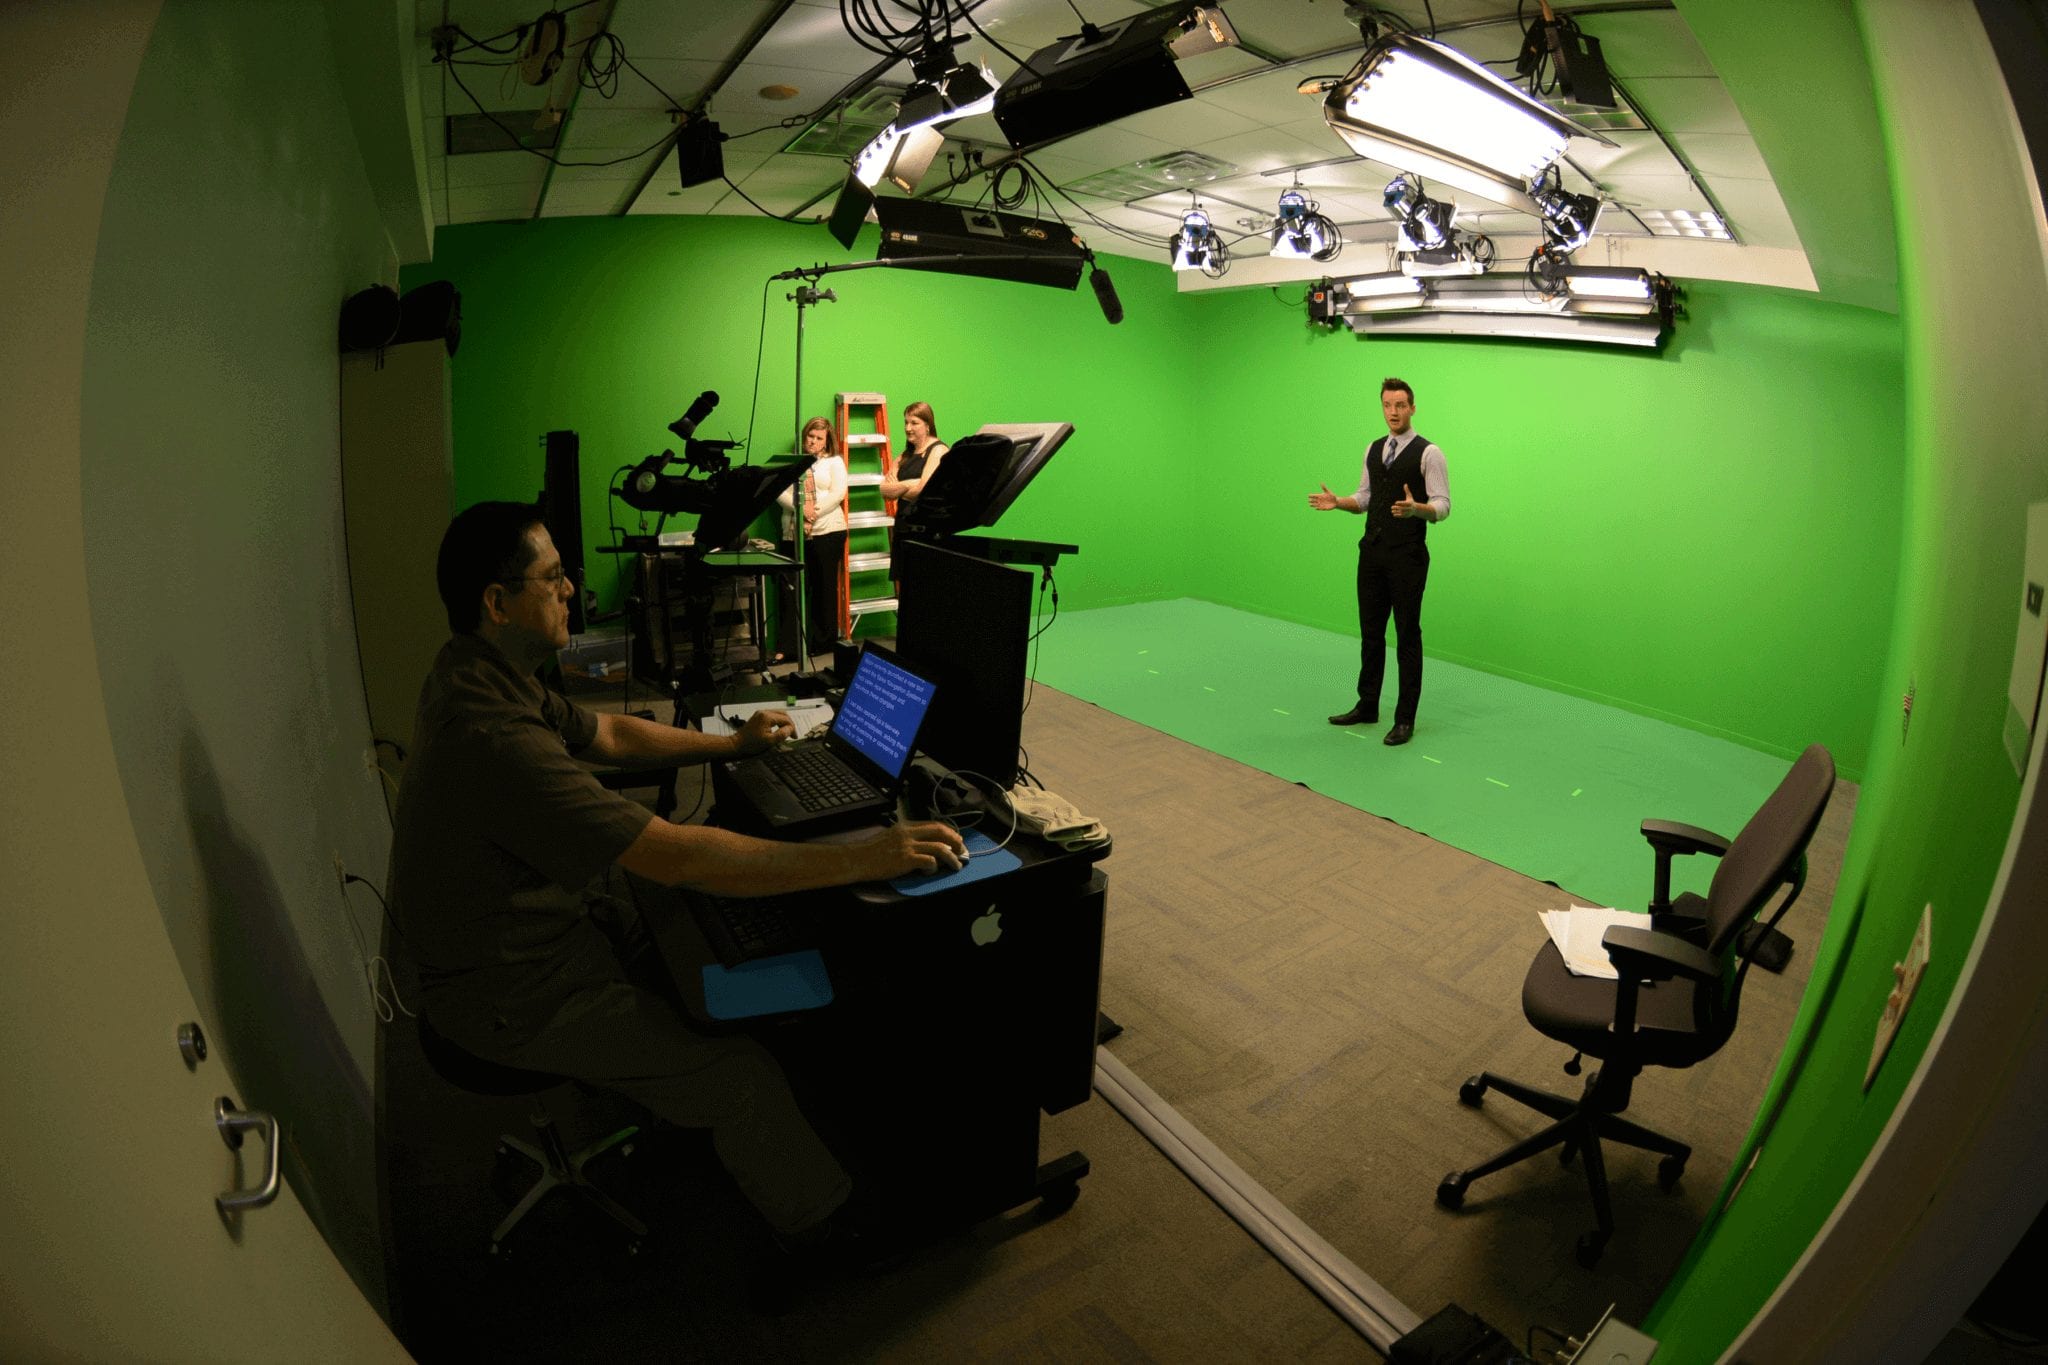
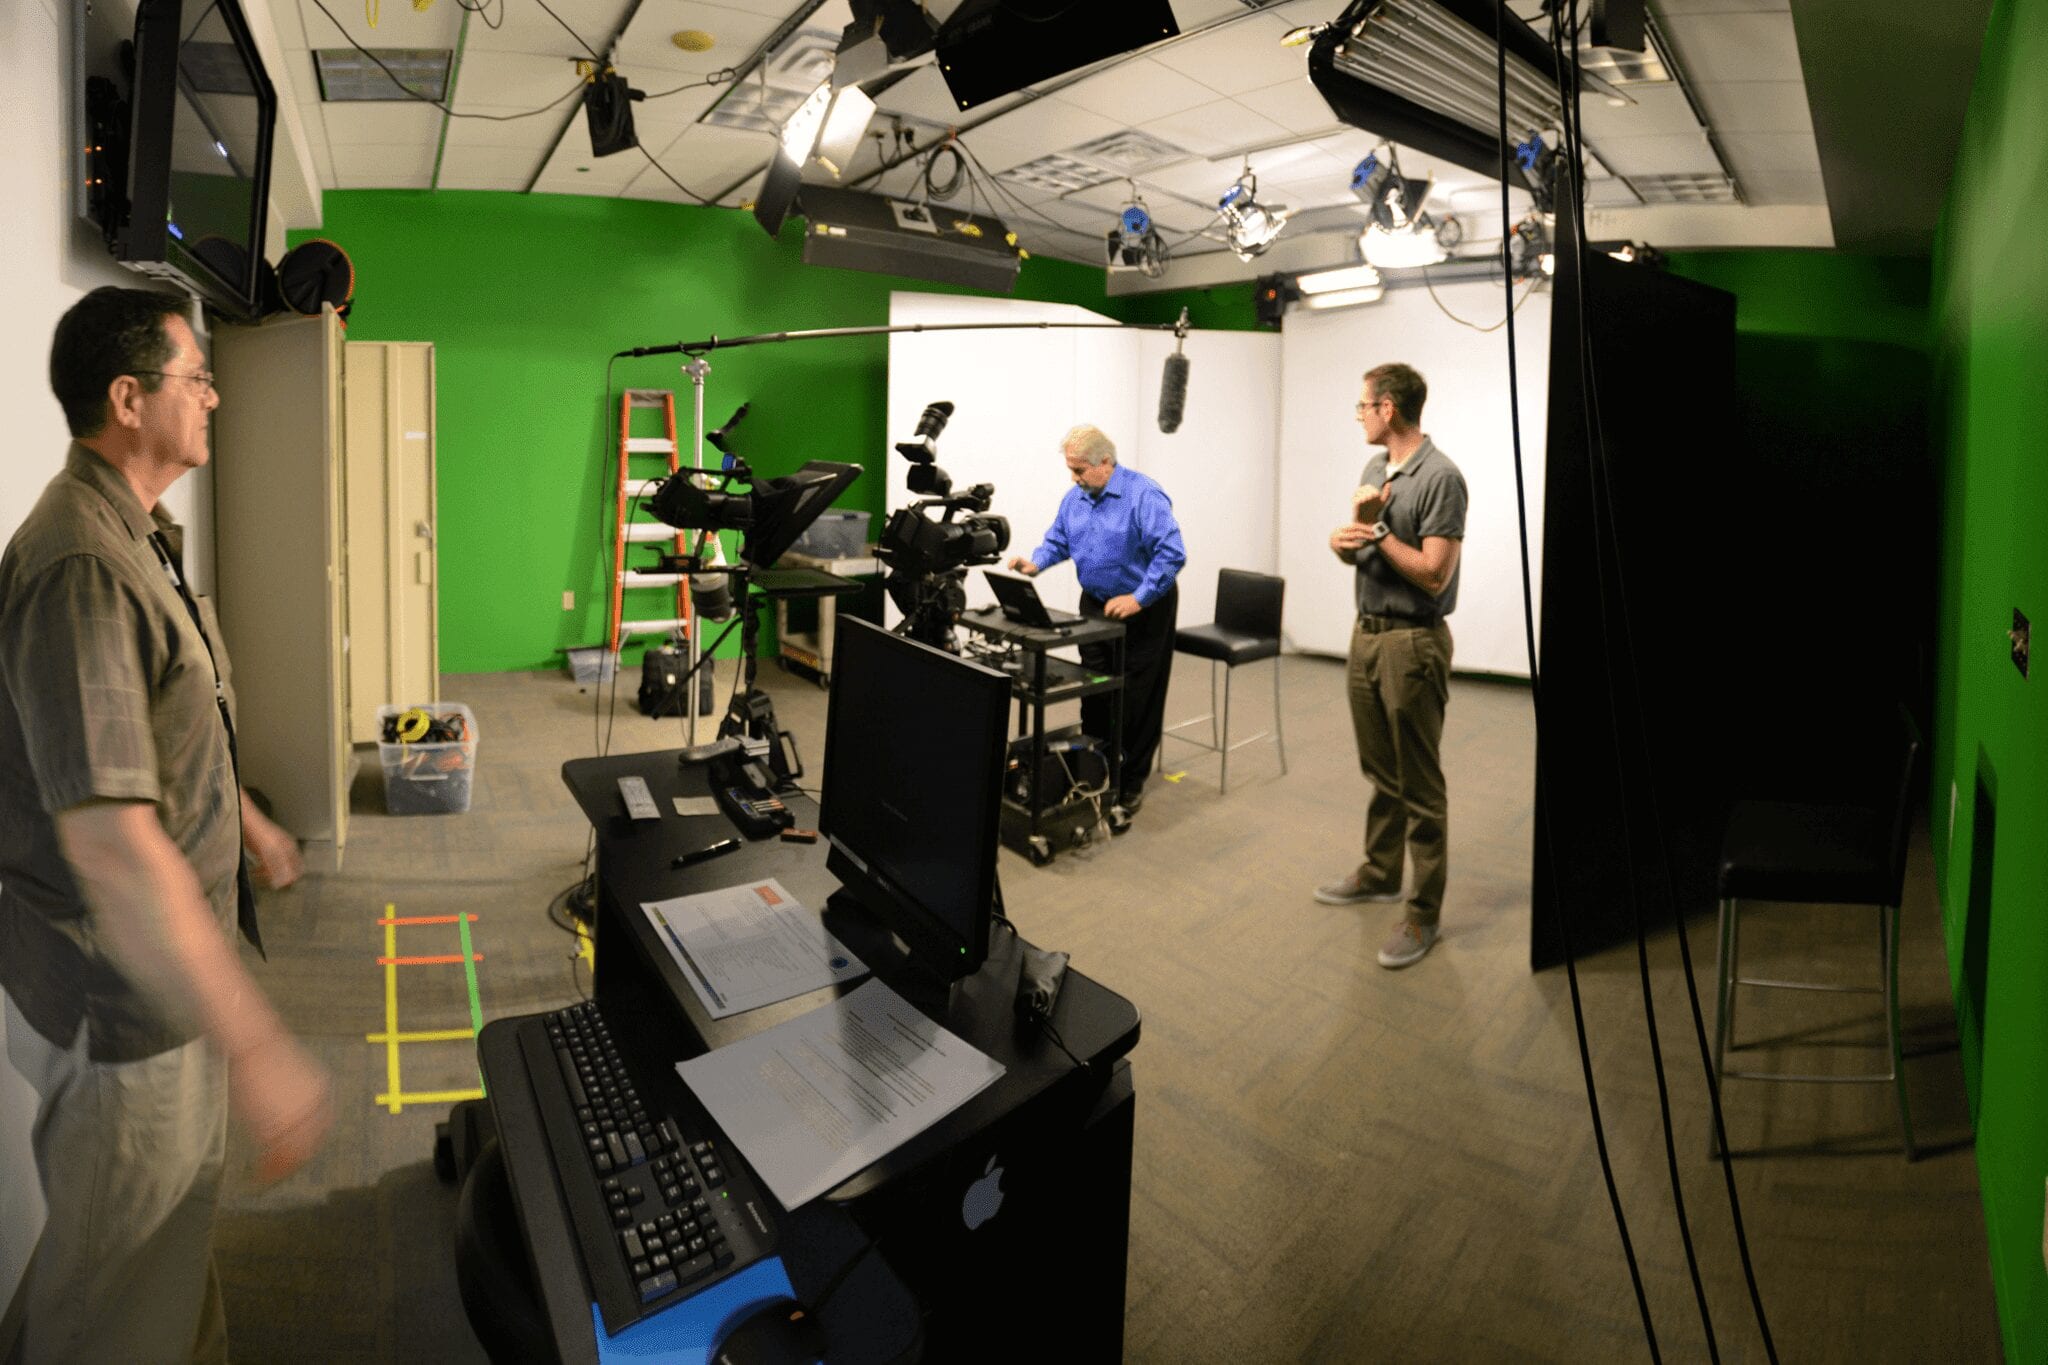
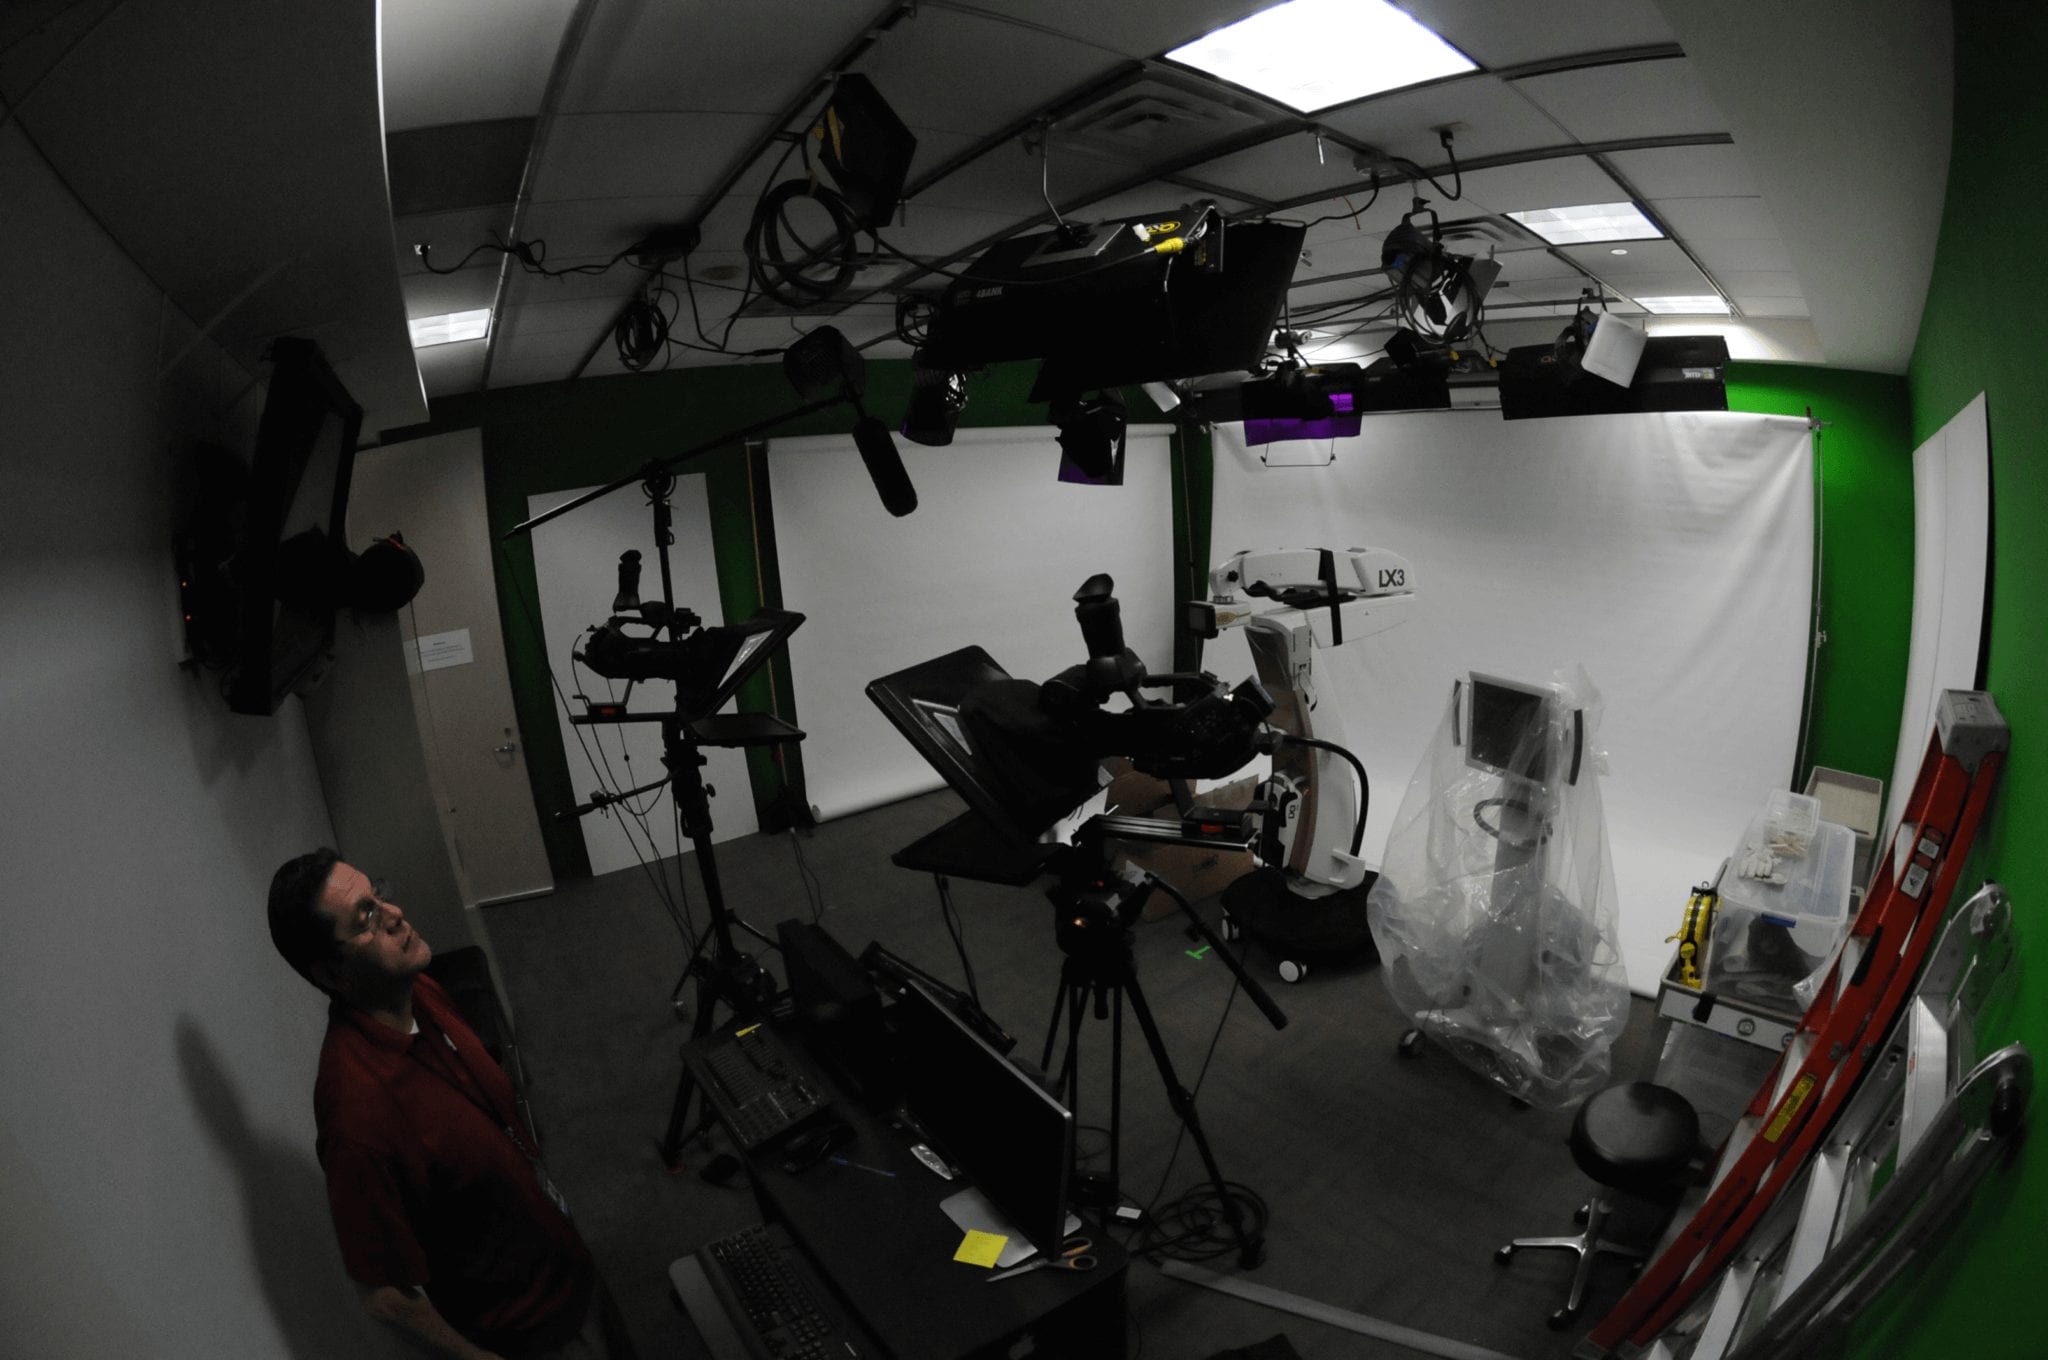
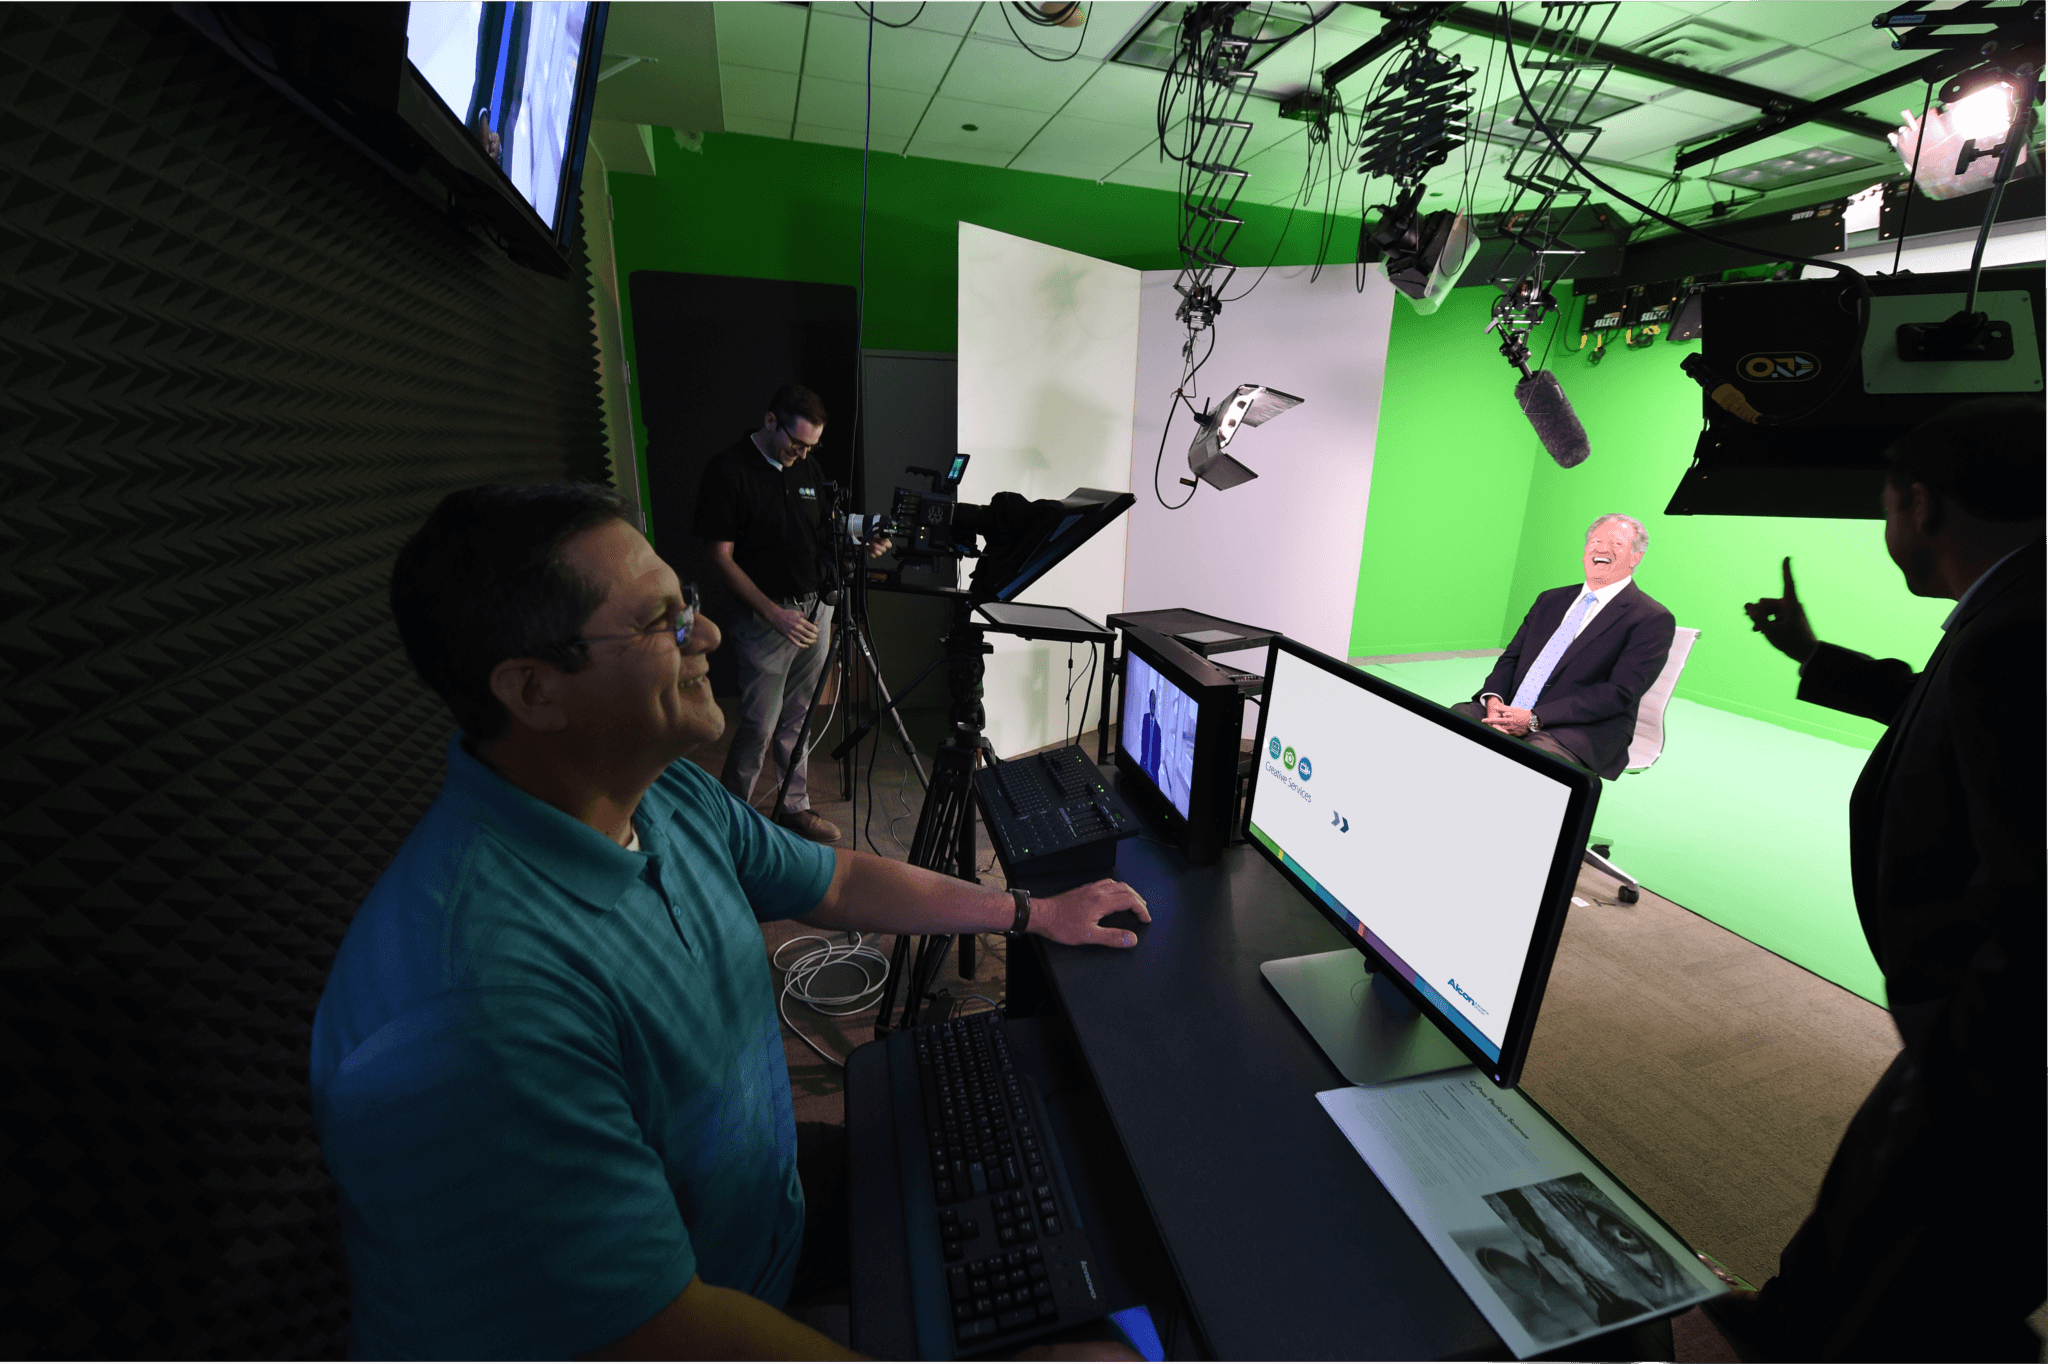
As chroma key work started showing up more often, we repainted the walls green to make those shoots easier. That helped, but it also introduced green spill problems, so the room needed more control than just a fresh coat of paint.
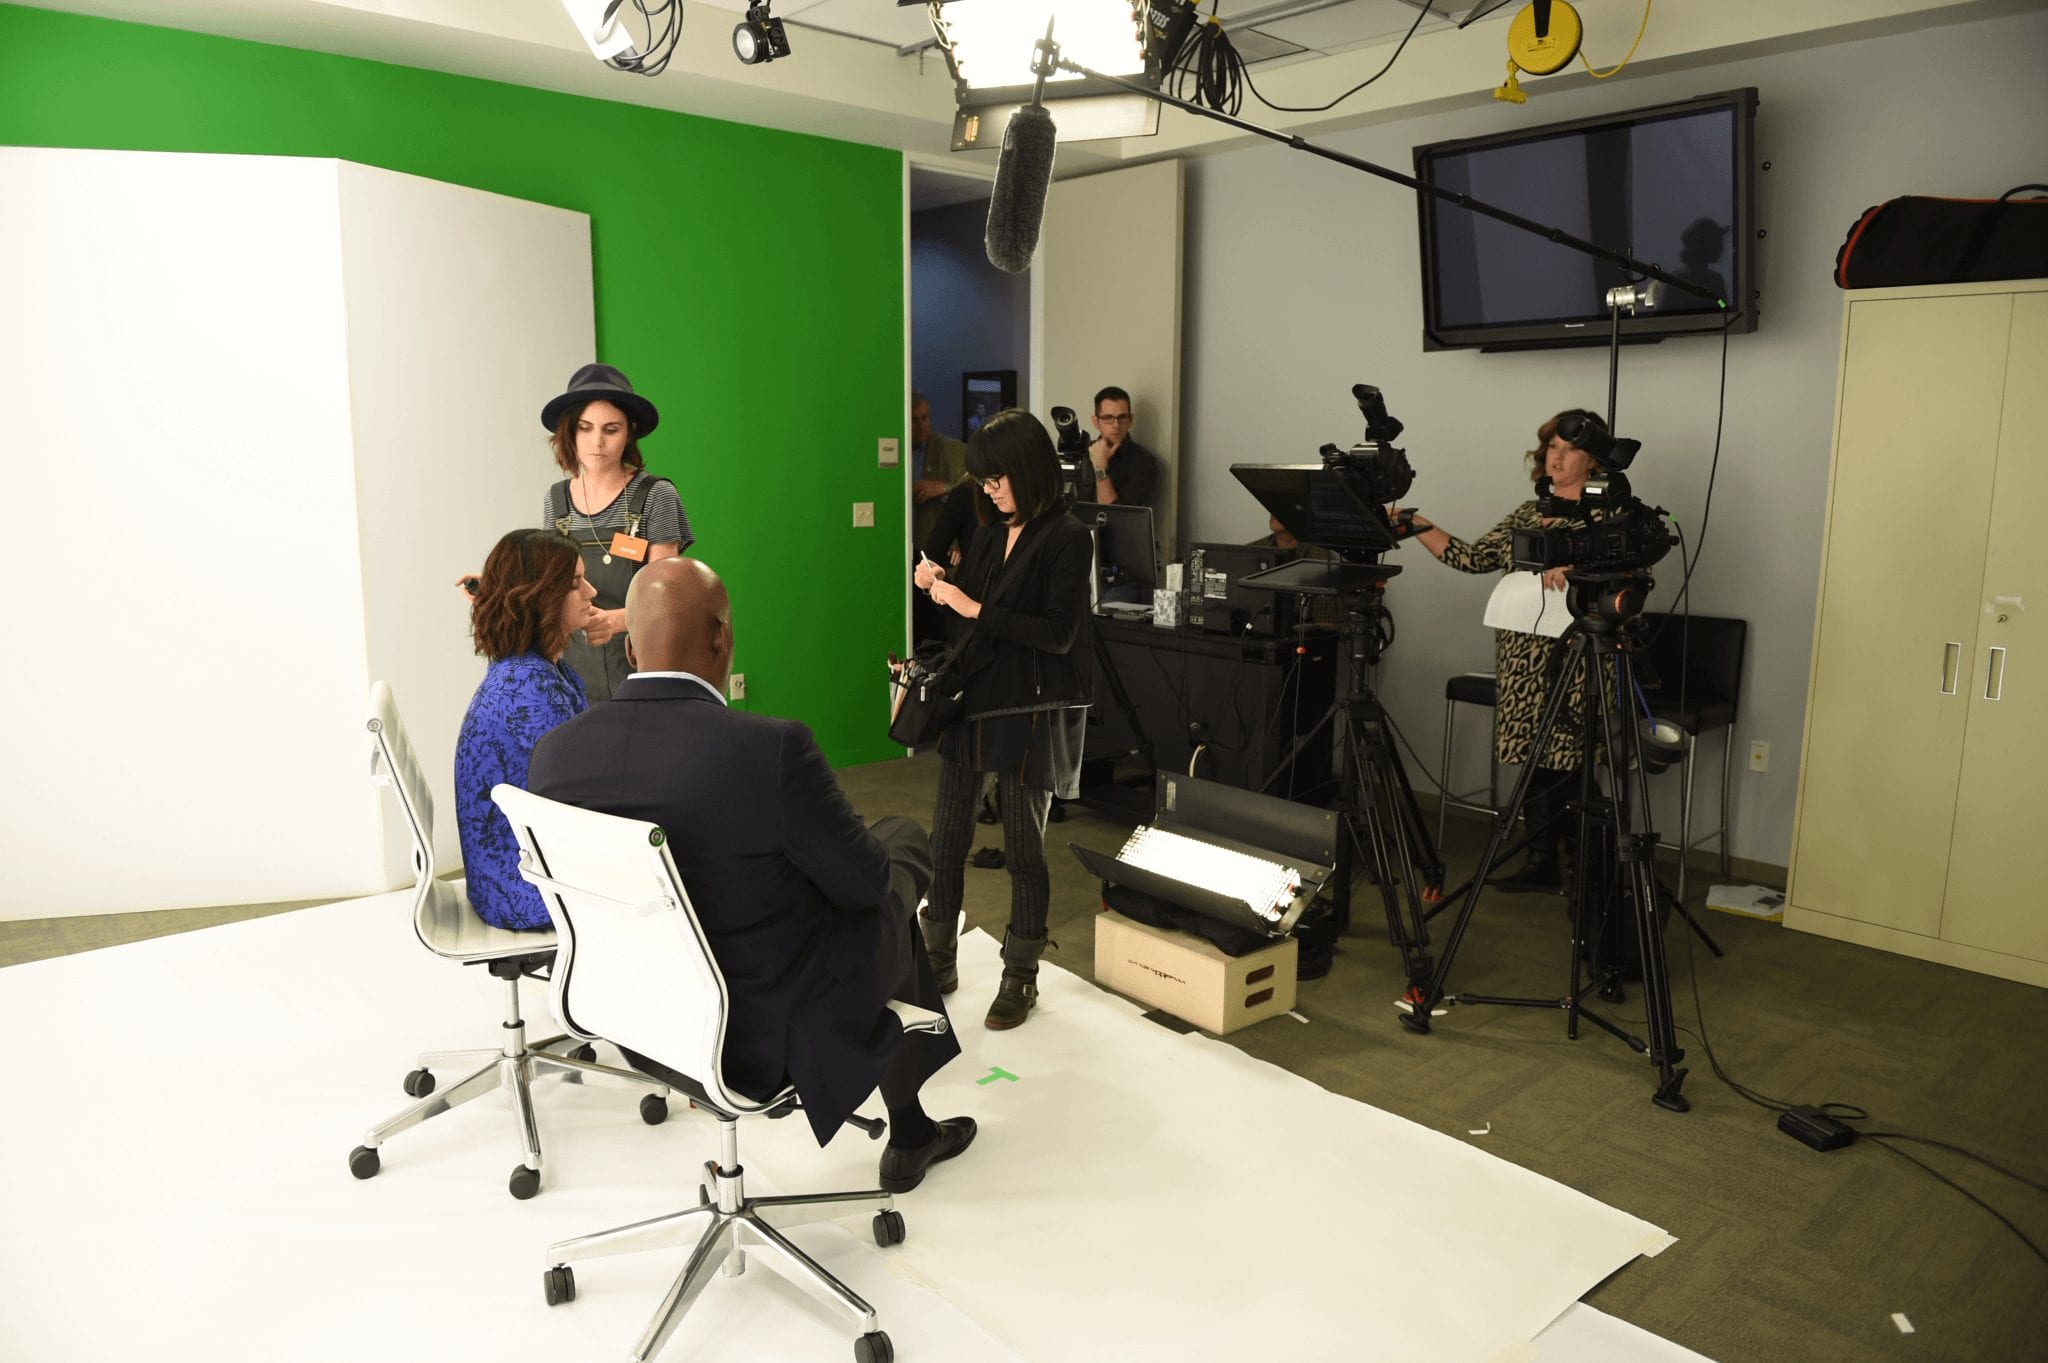
We brought in foam-core walls to help with light bounce and added a Manfrotto backdrop system. Around the same time, I started putting together a larger upgrade plan, making equipment lists, drawing schematics, meeting with vendors, and eventually shutting the studio down for a bigger construction phase.
Phase 3
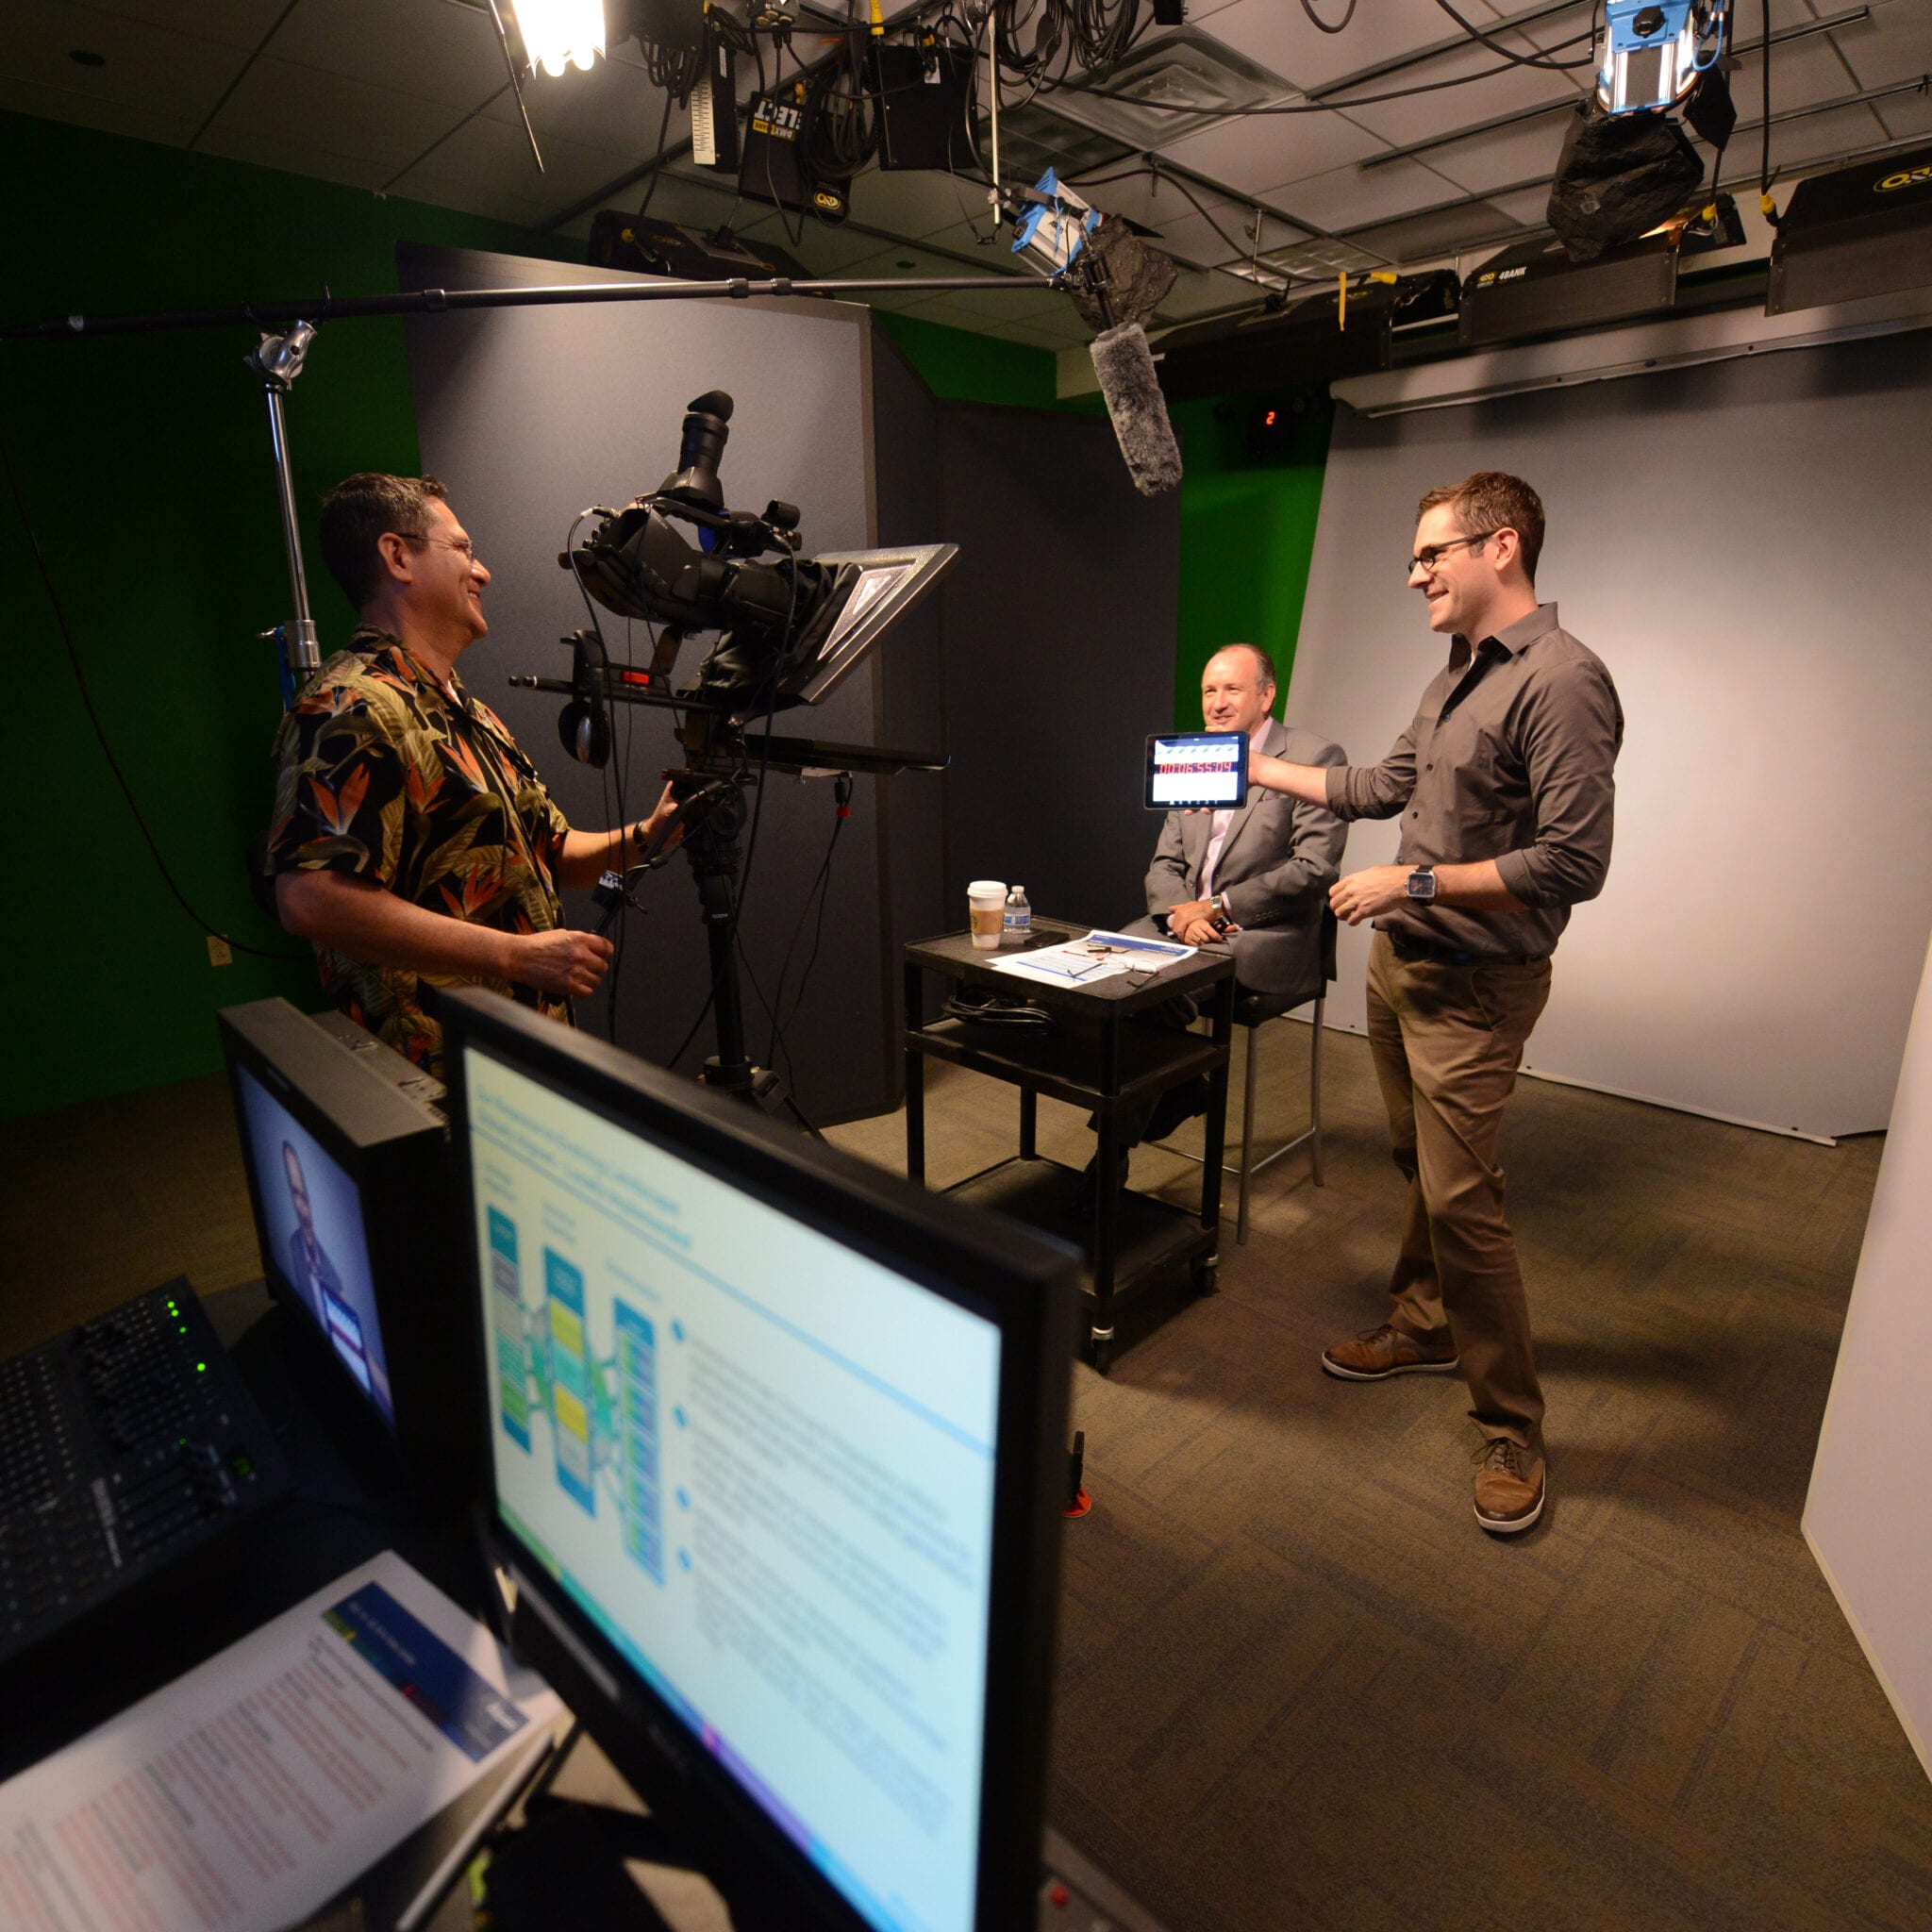
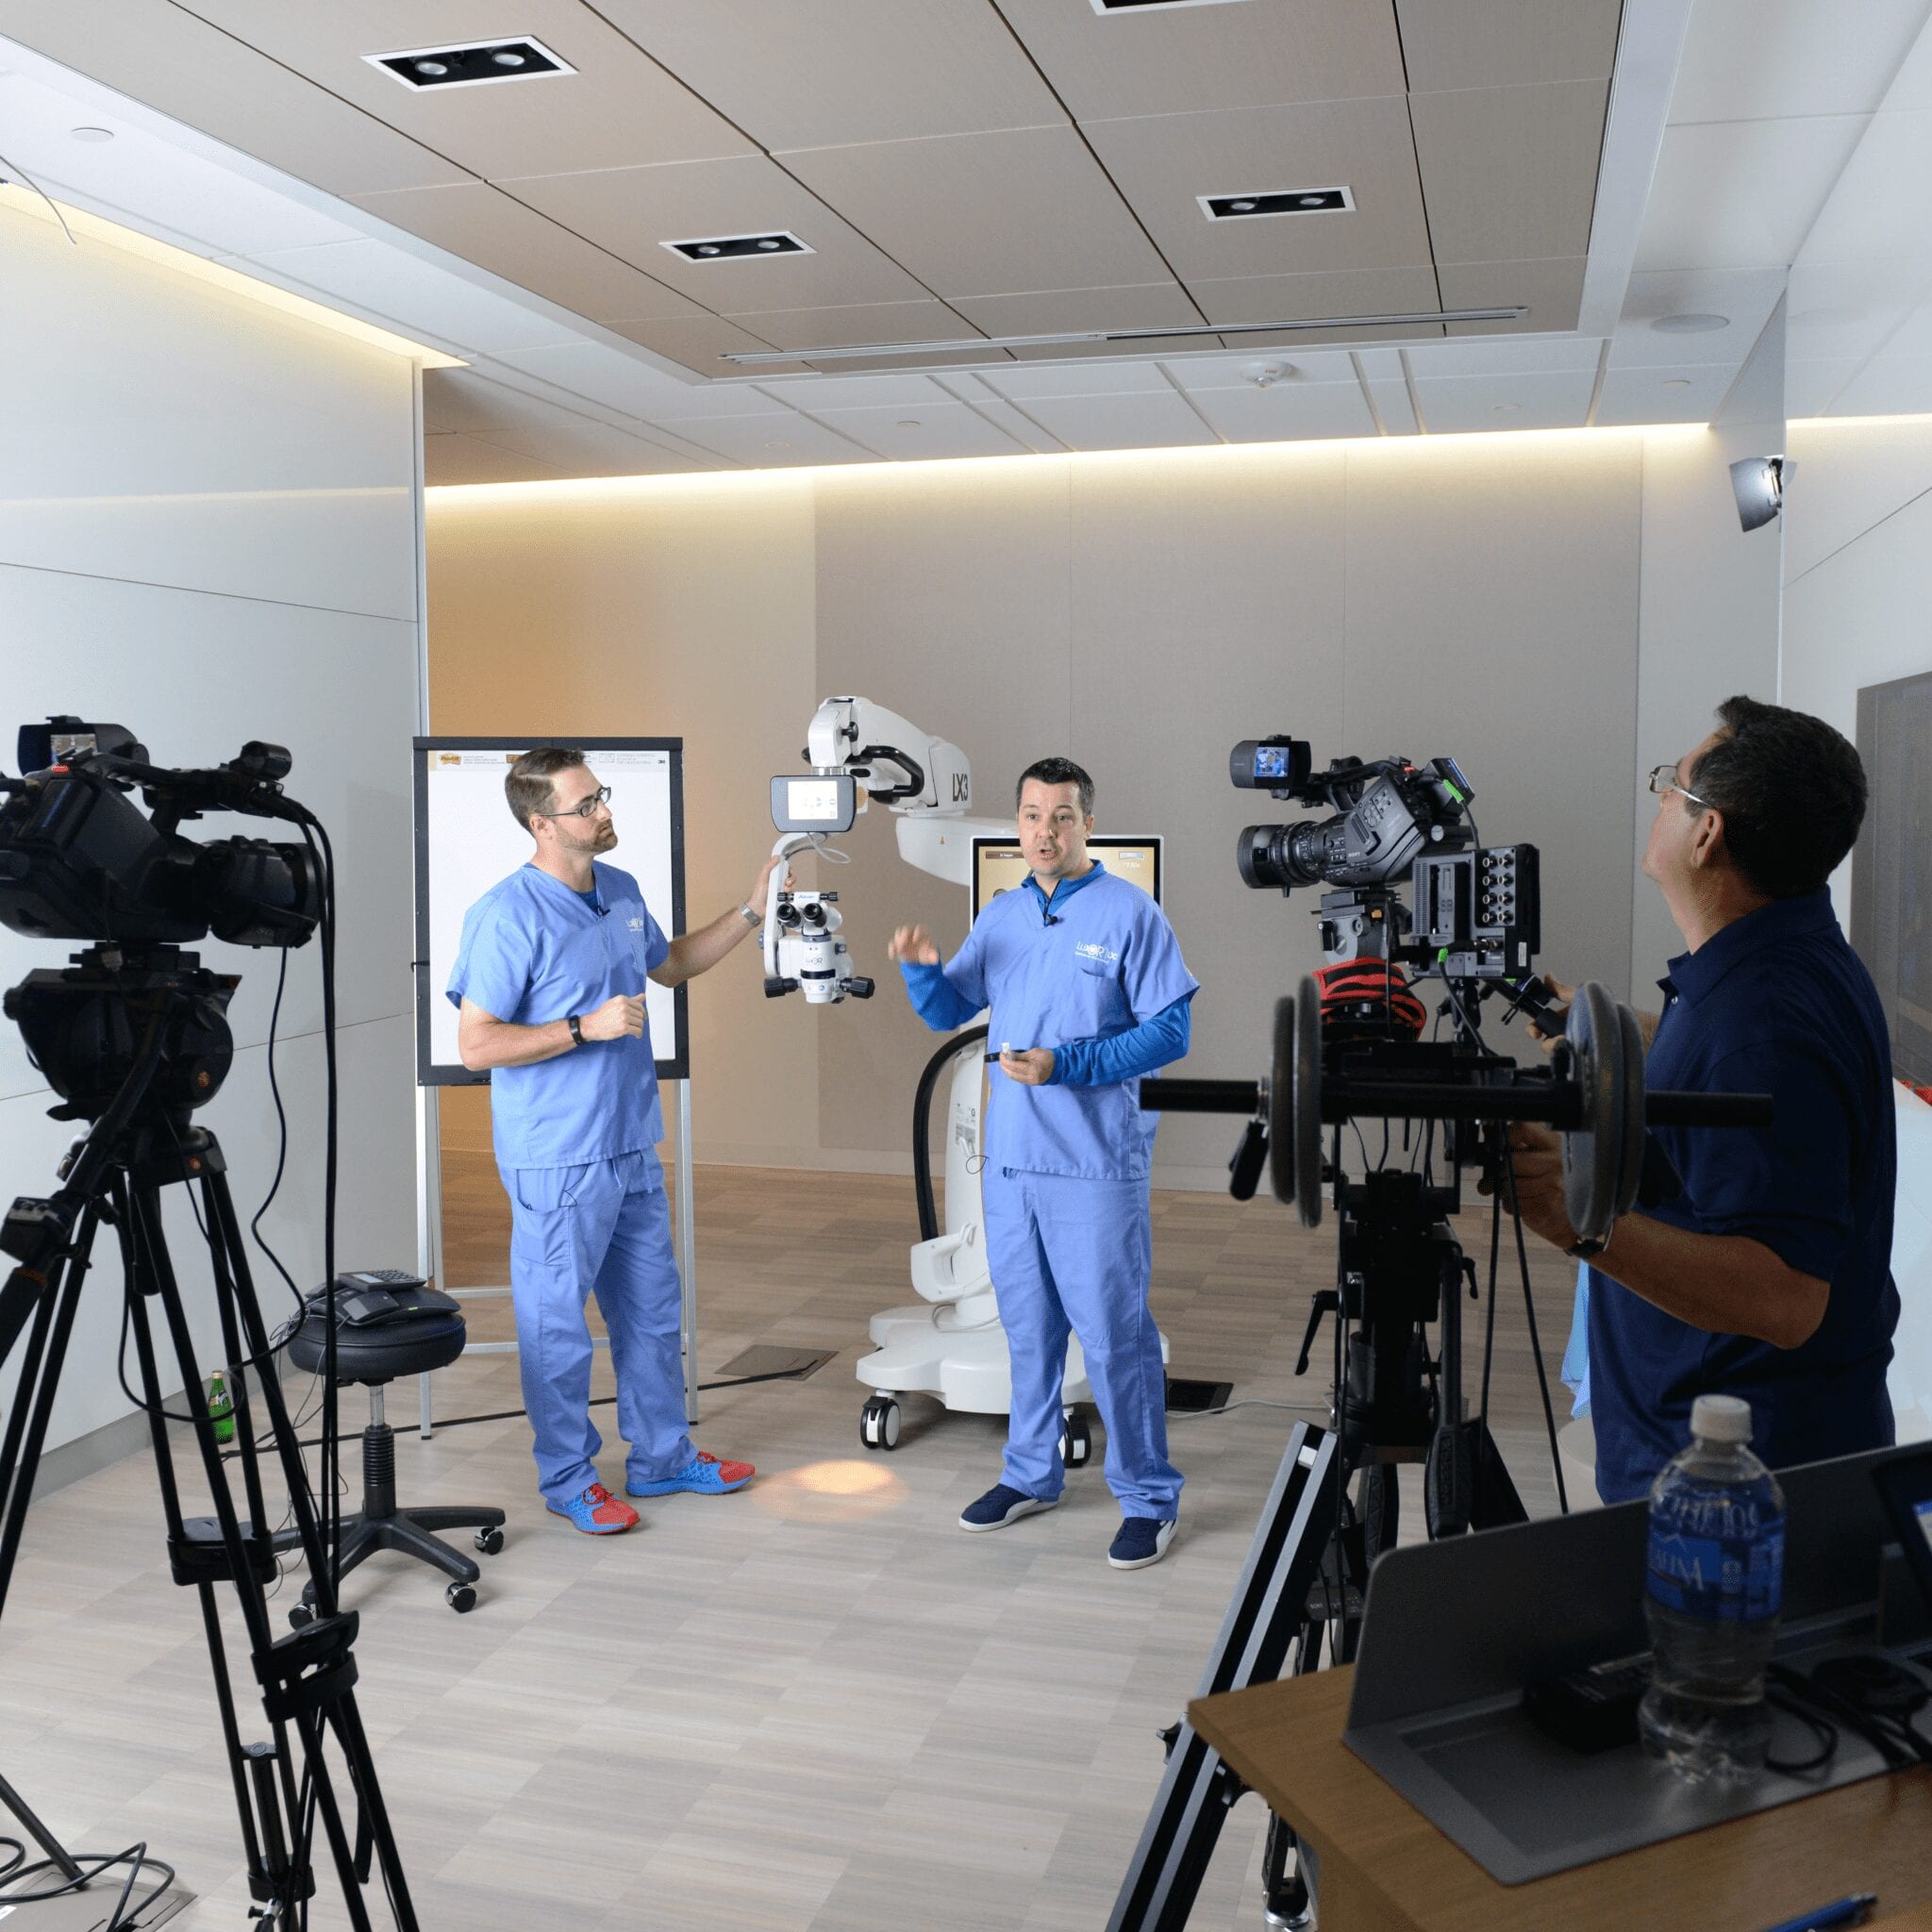
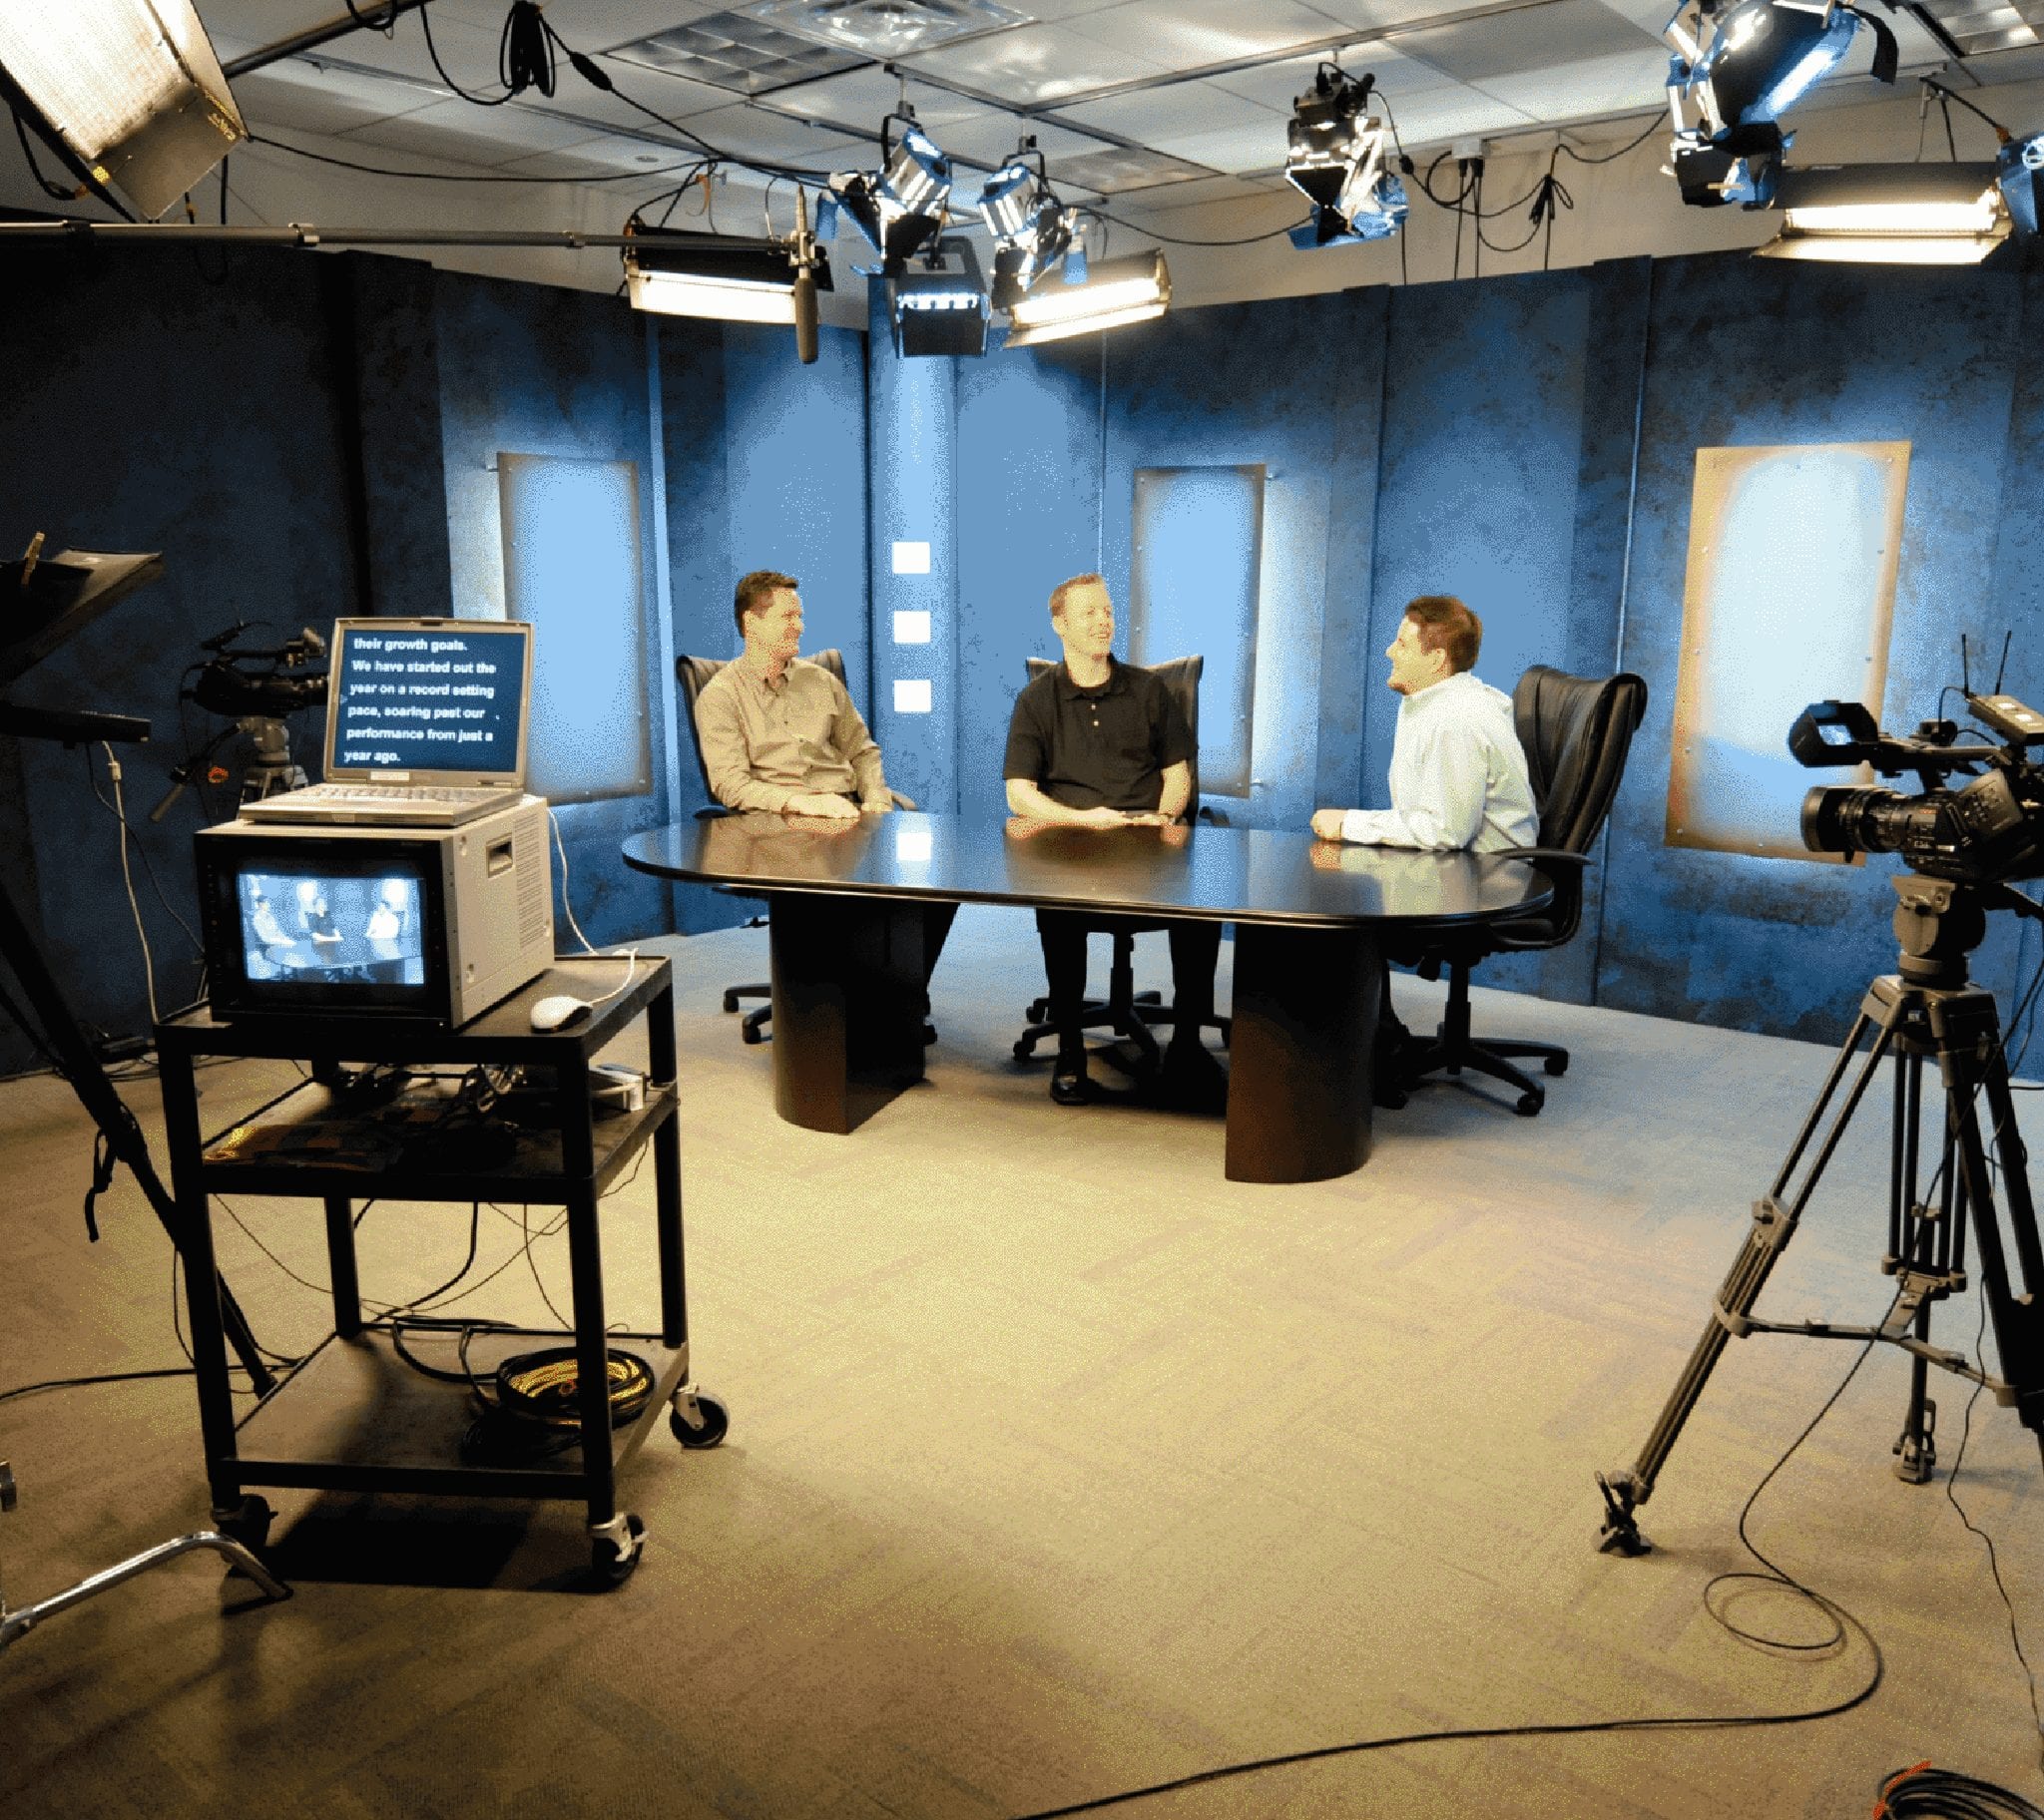
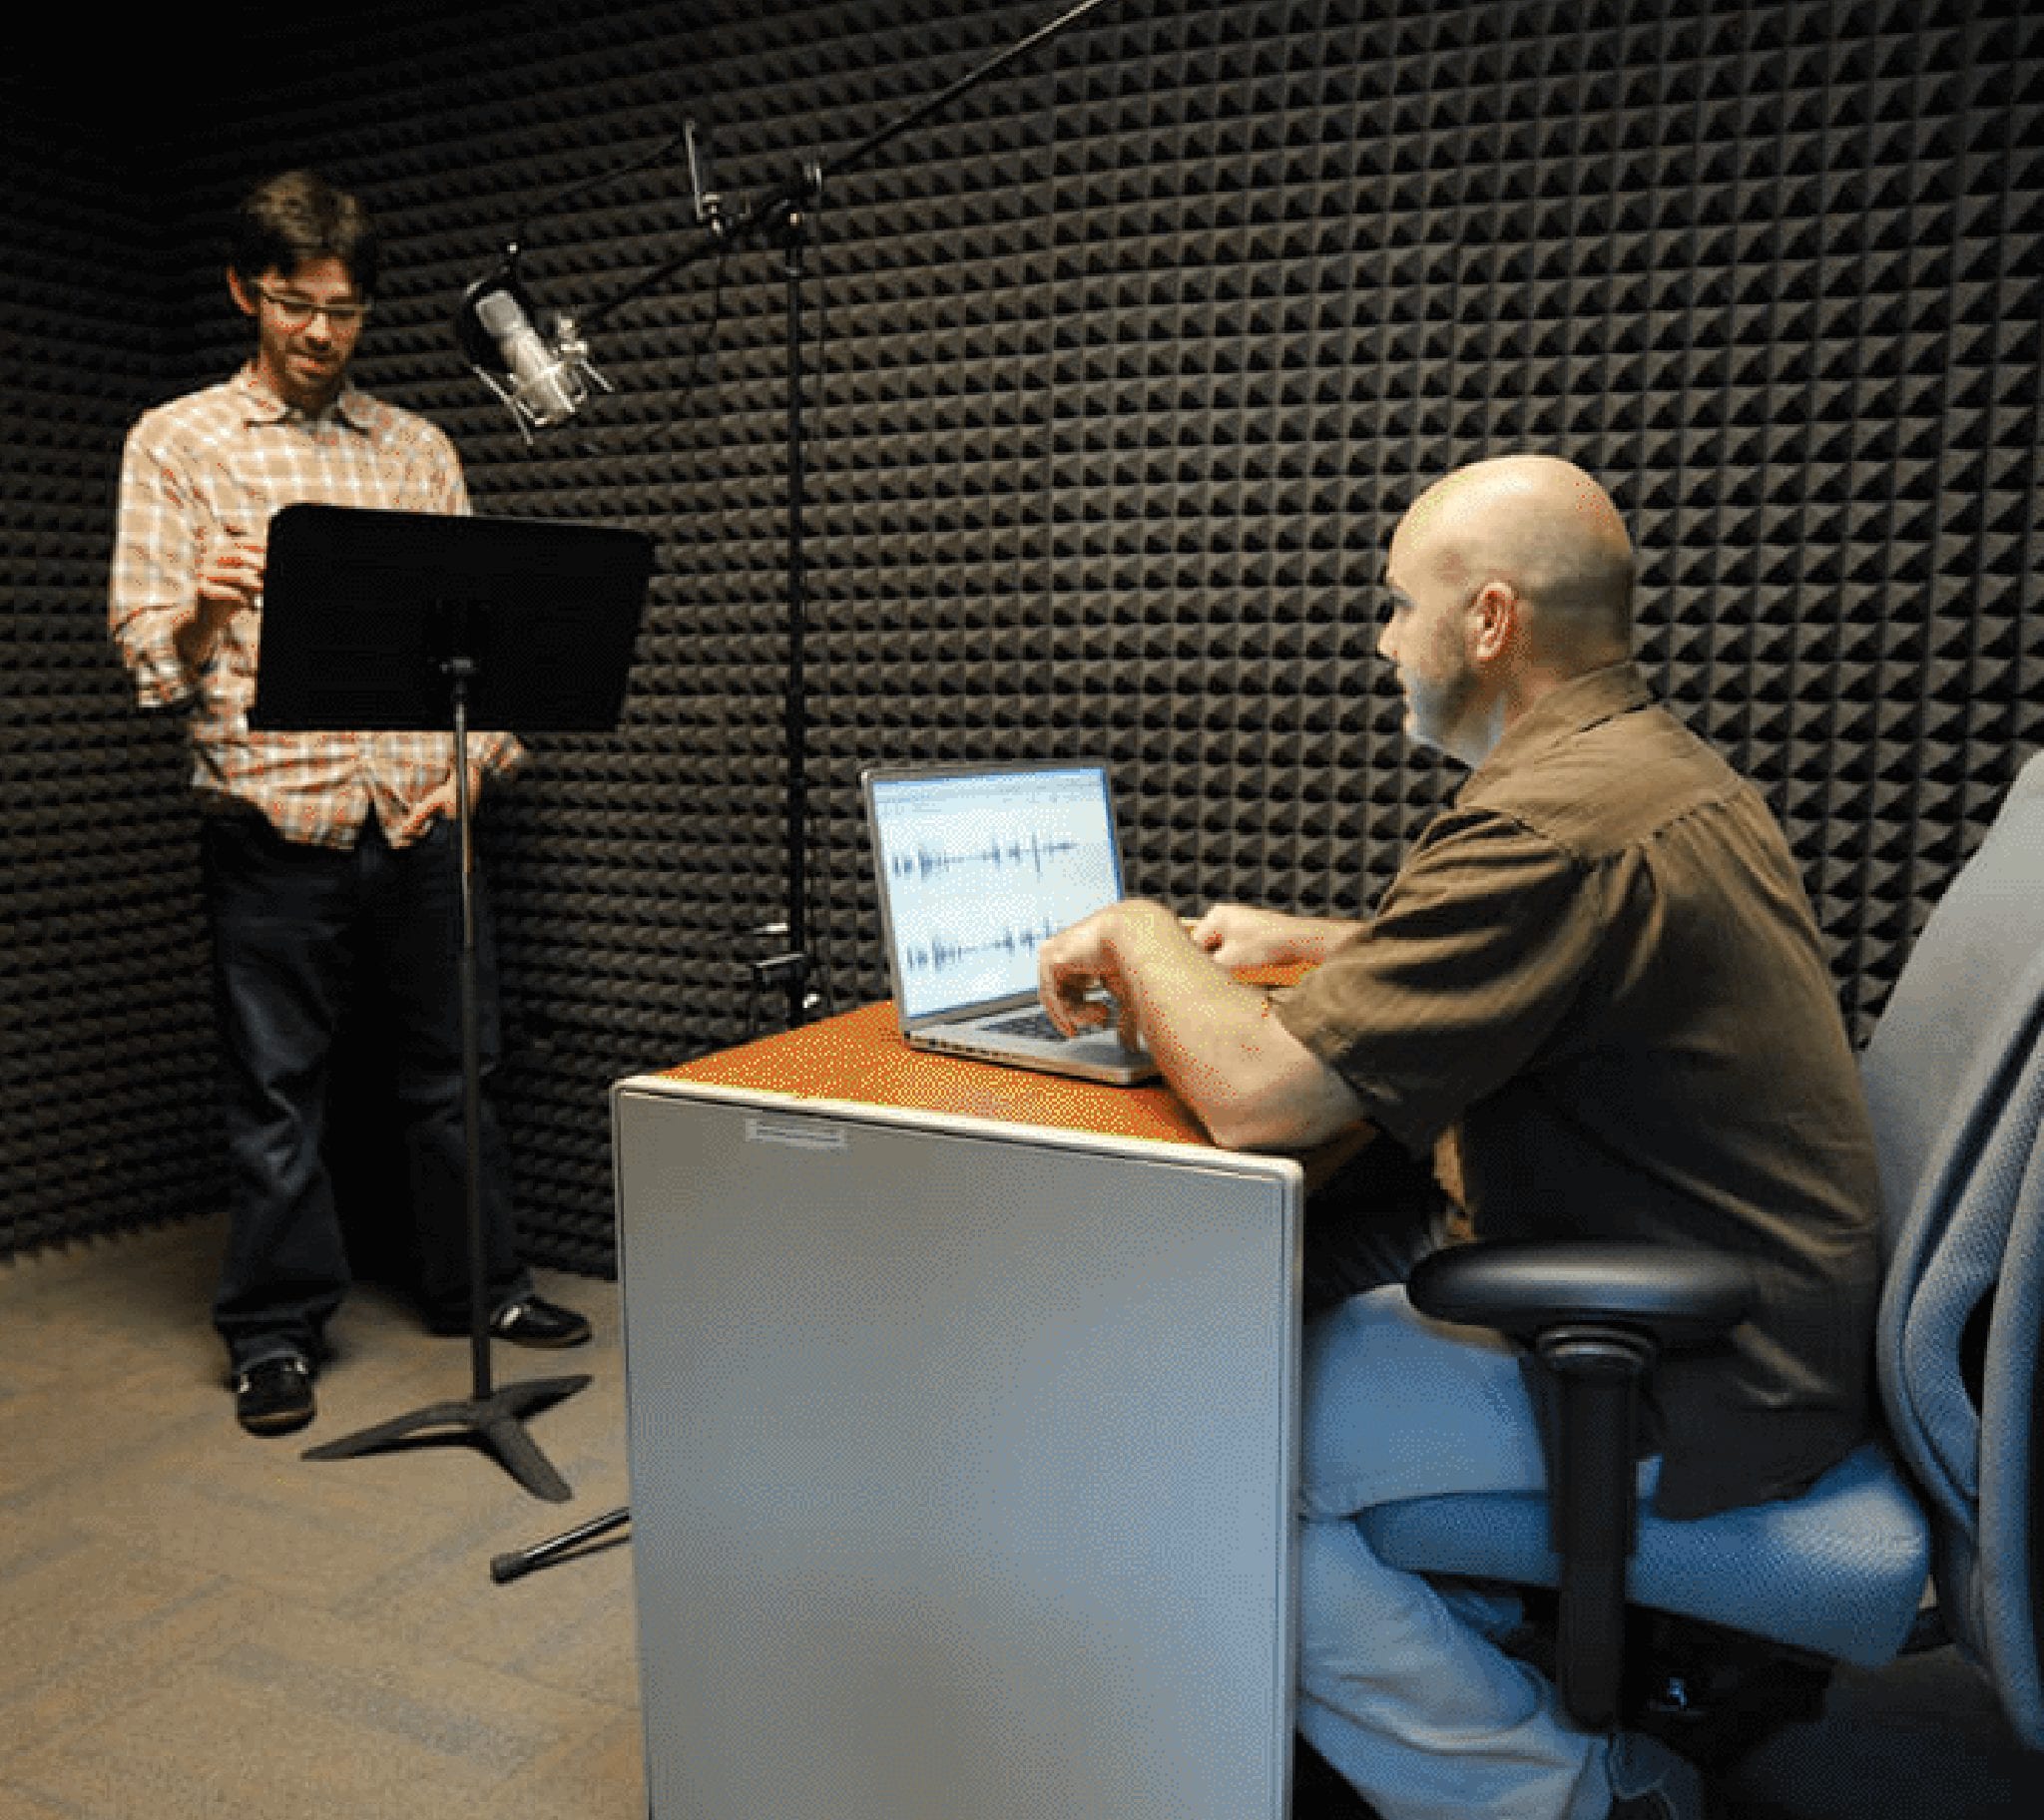
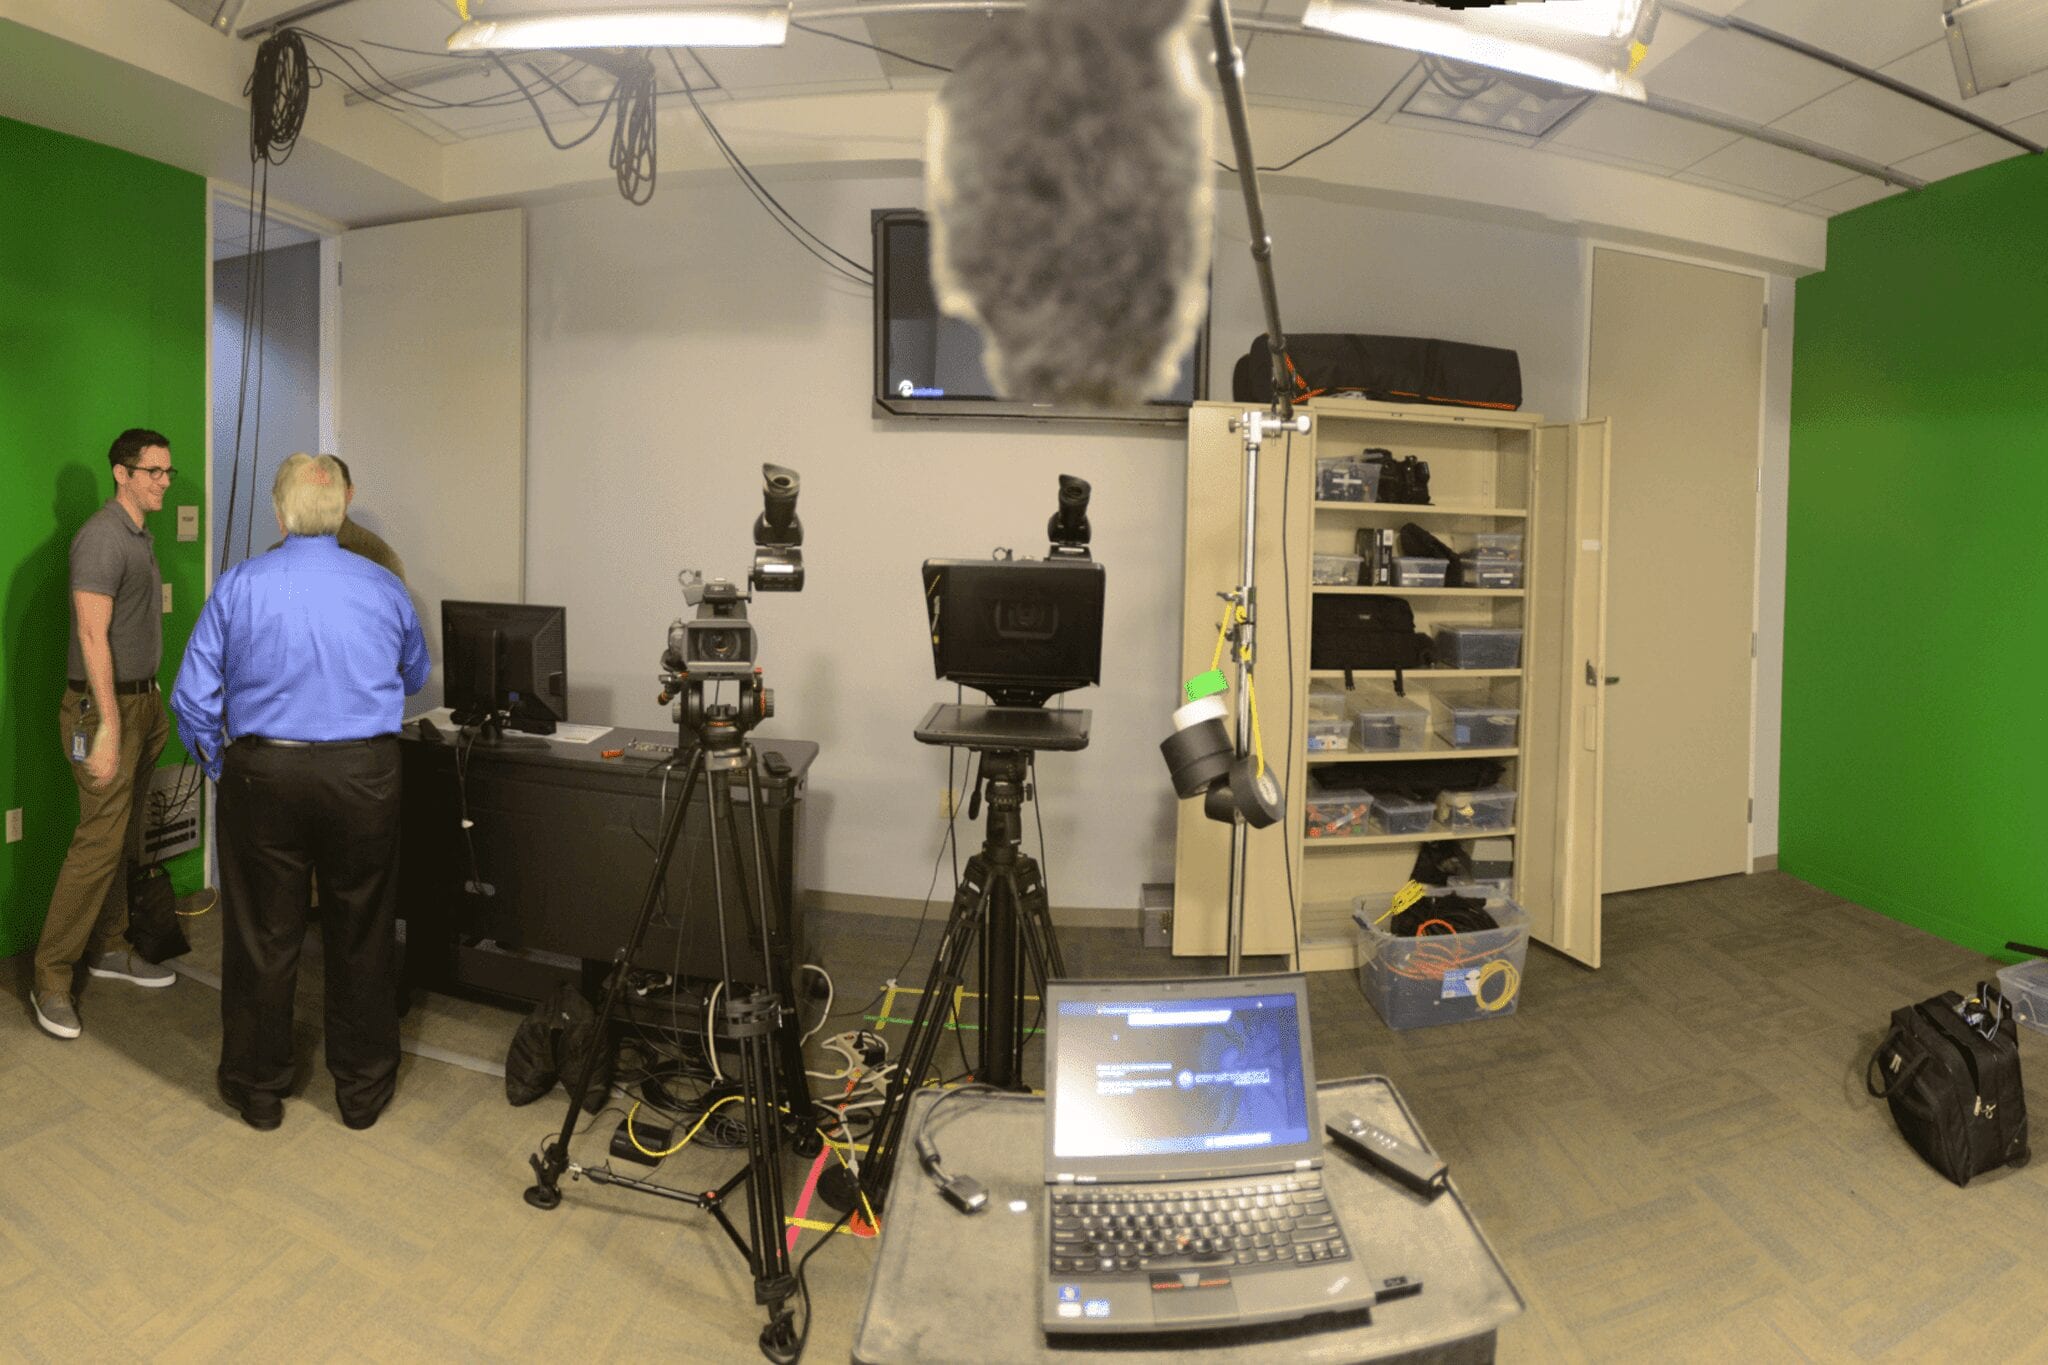
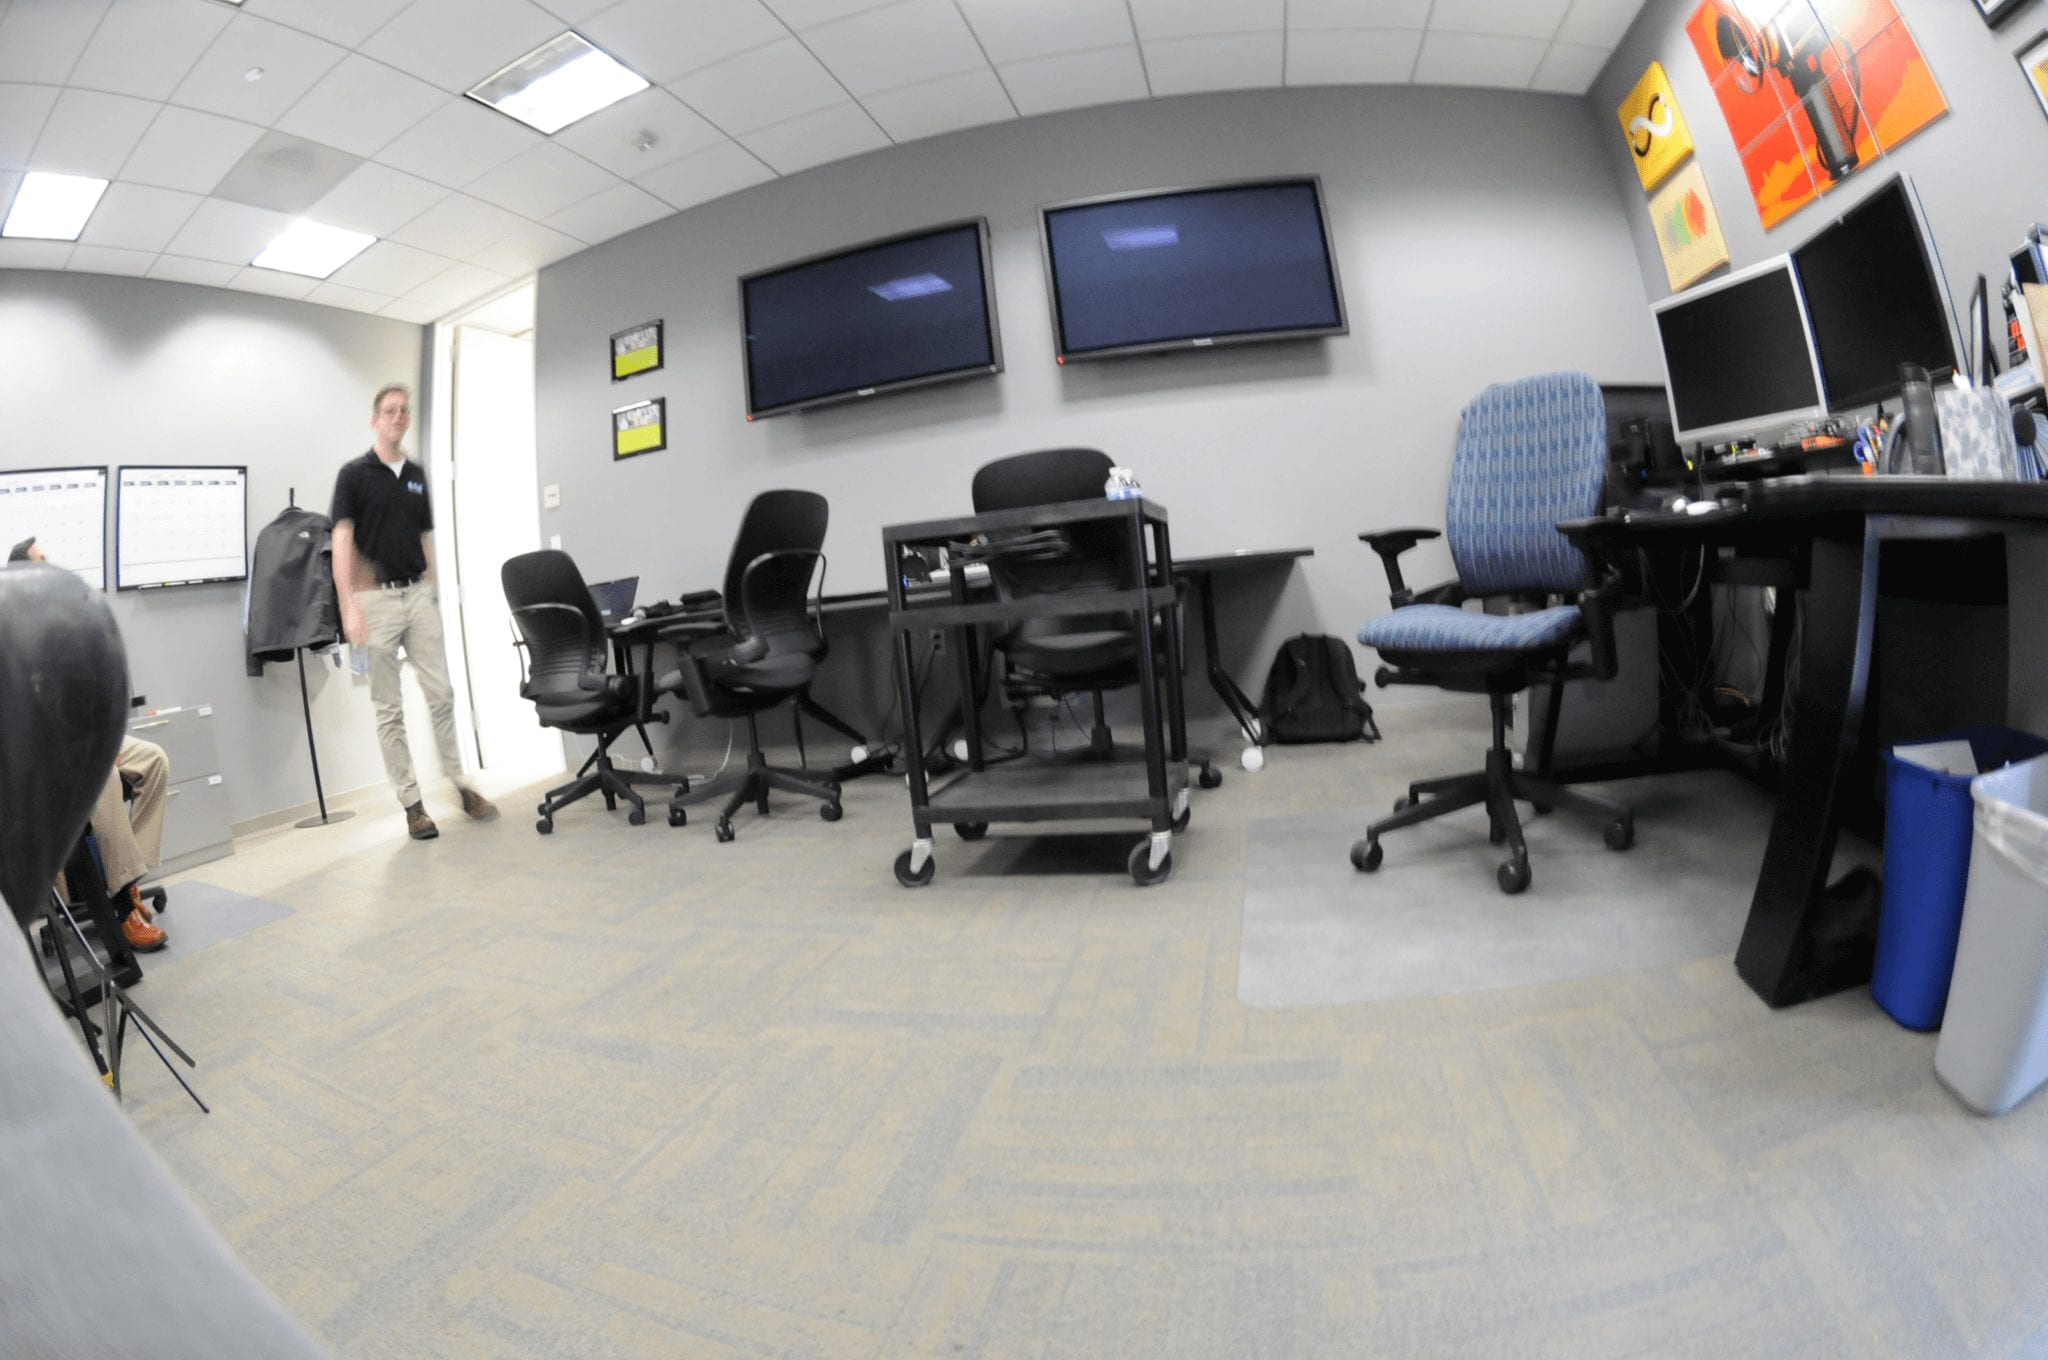
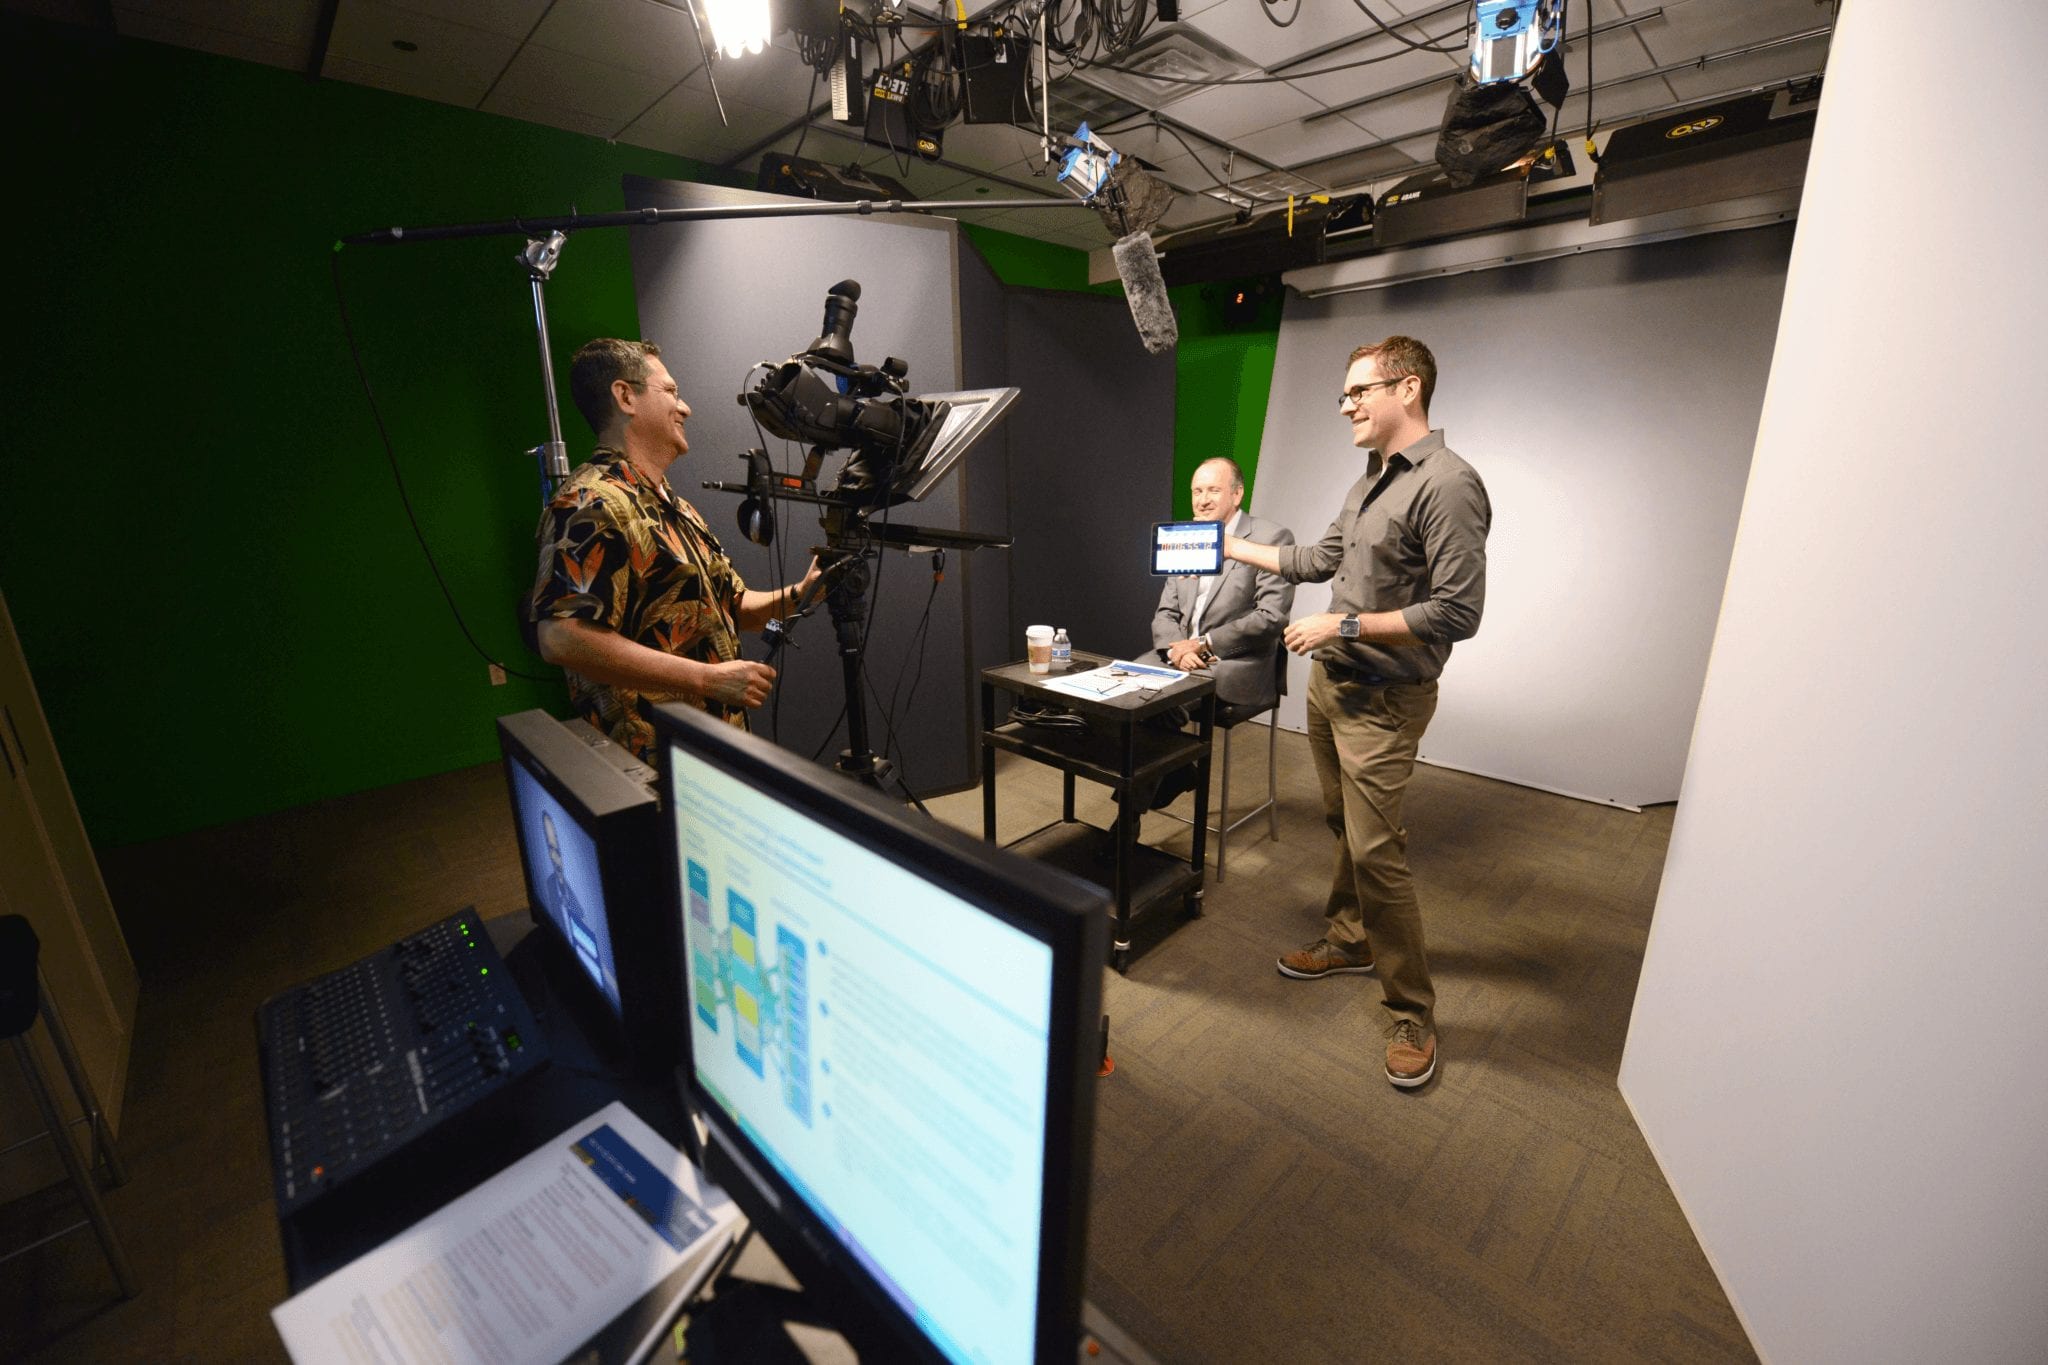
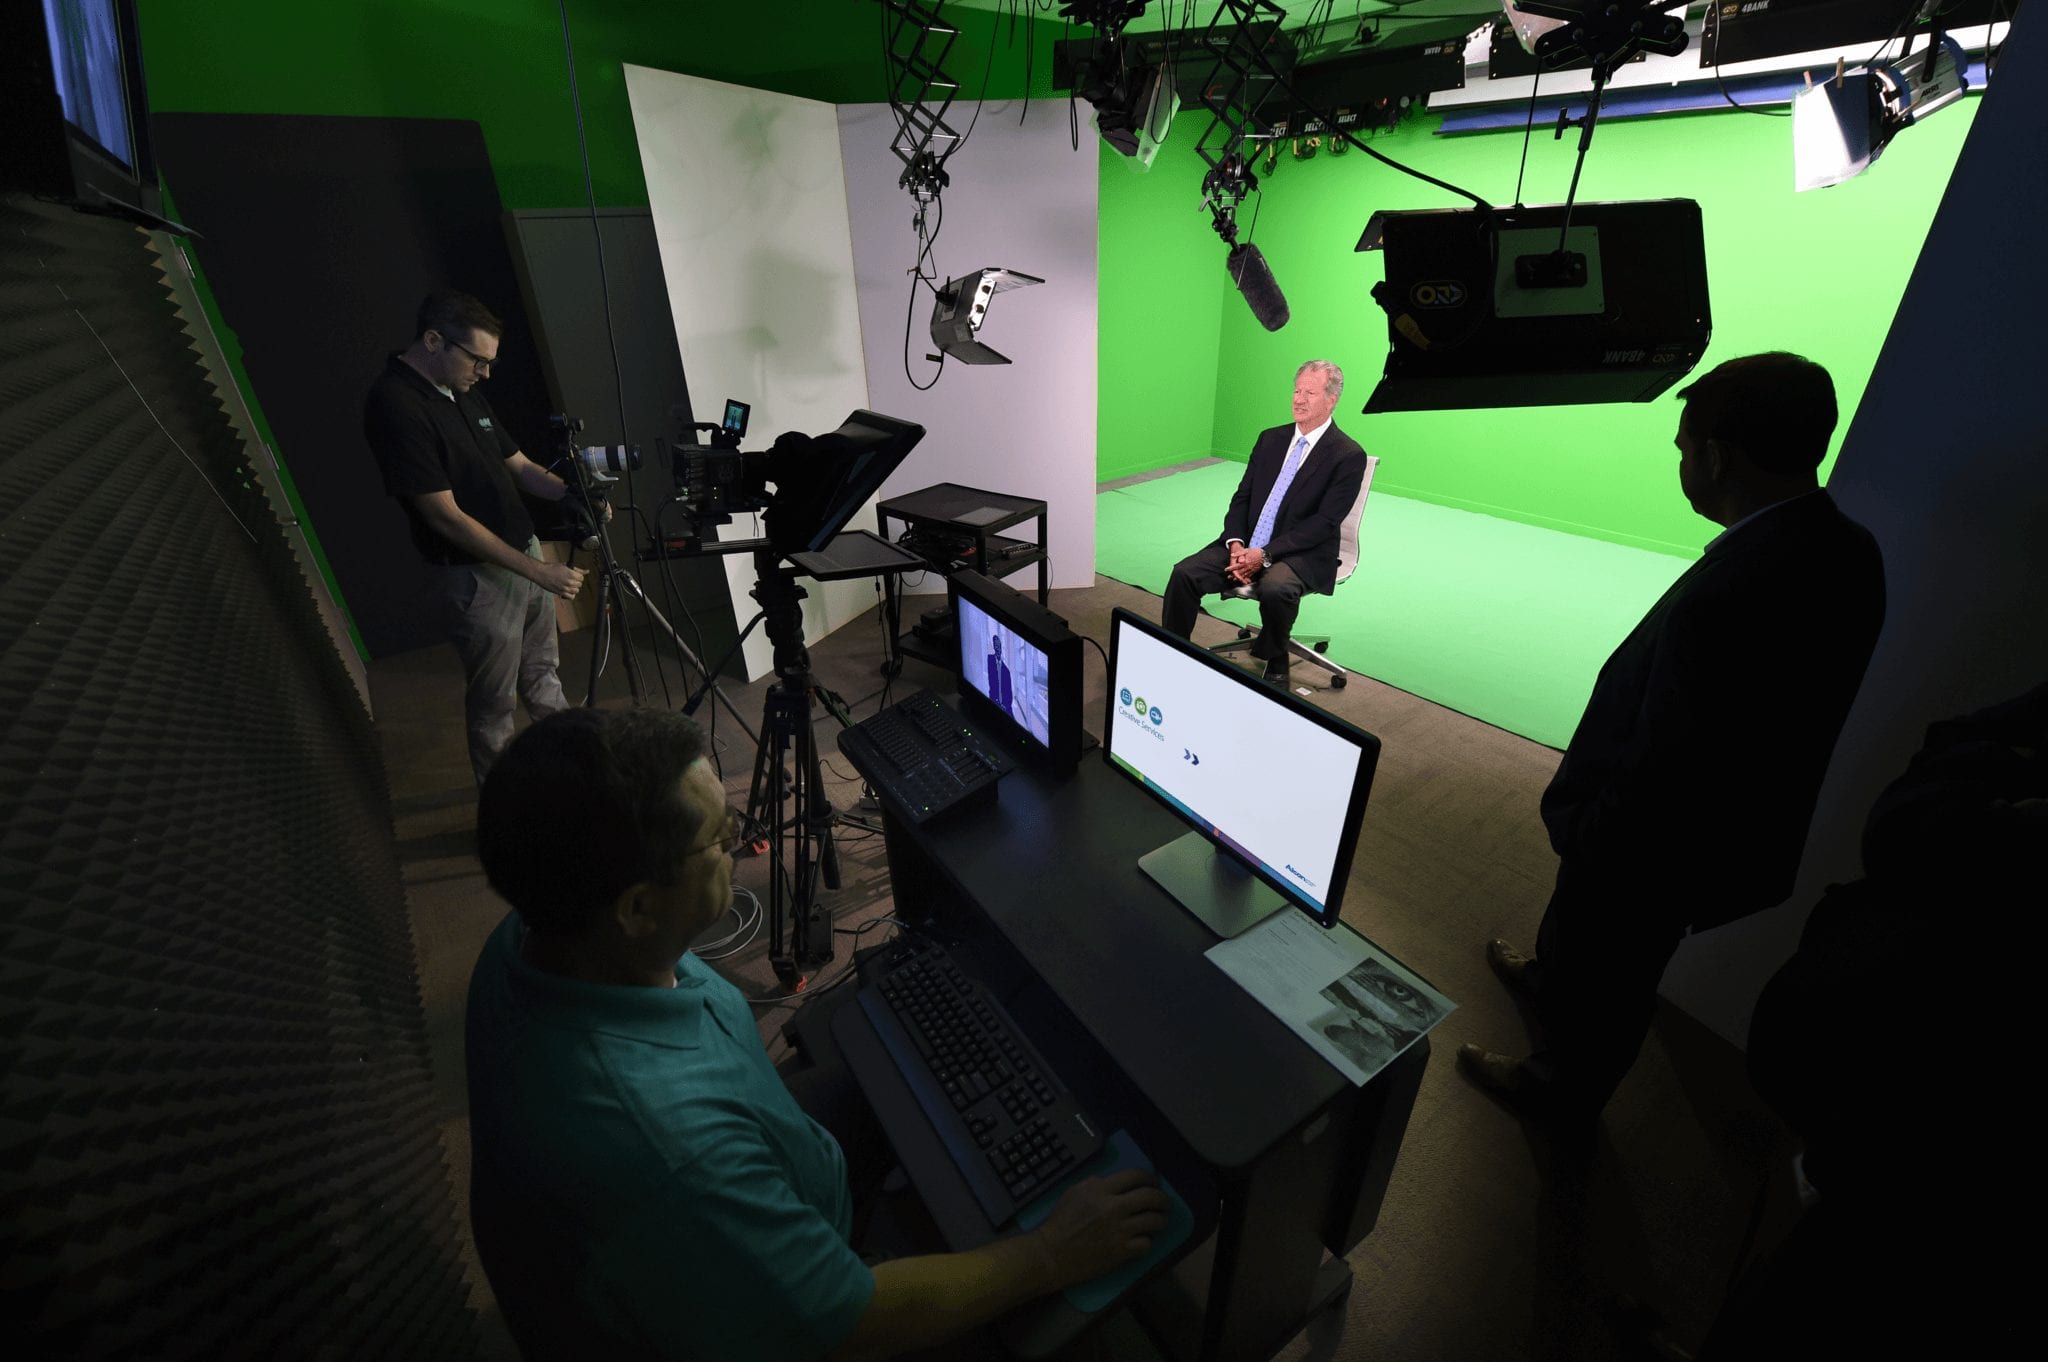
Working with Whitlock, we designed a more serious set of upgrades that connected the Video Studio, Audio Studio, and Editing Suite through a shared rack system. That meant drilling through the floor and running cables underground to link rooms that were about 50 feet apart.
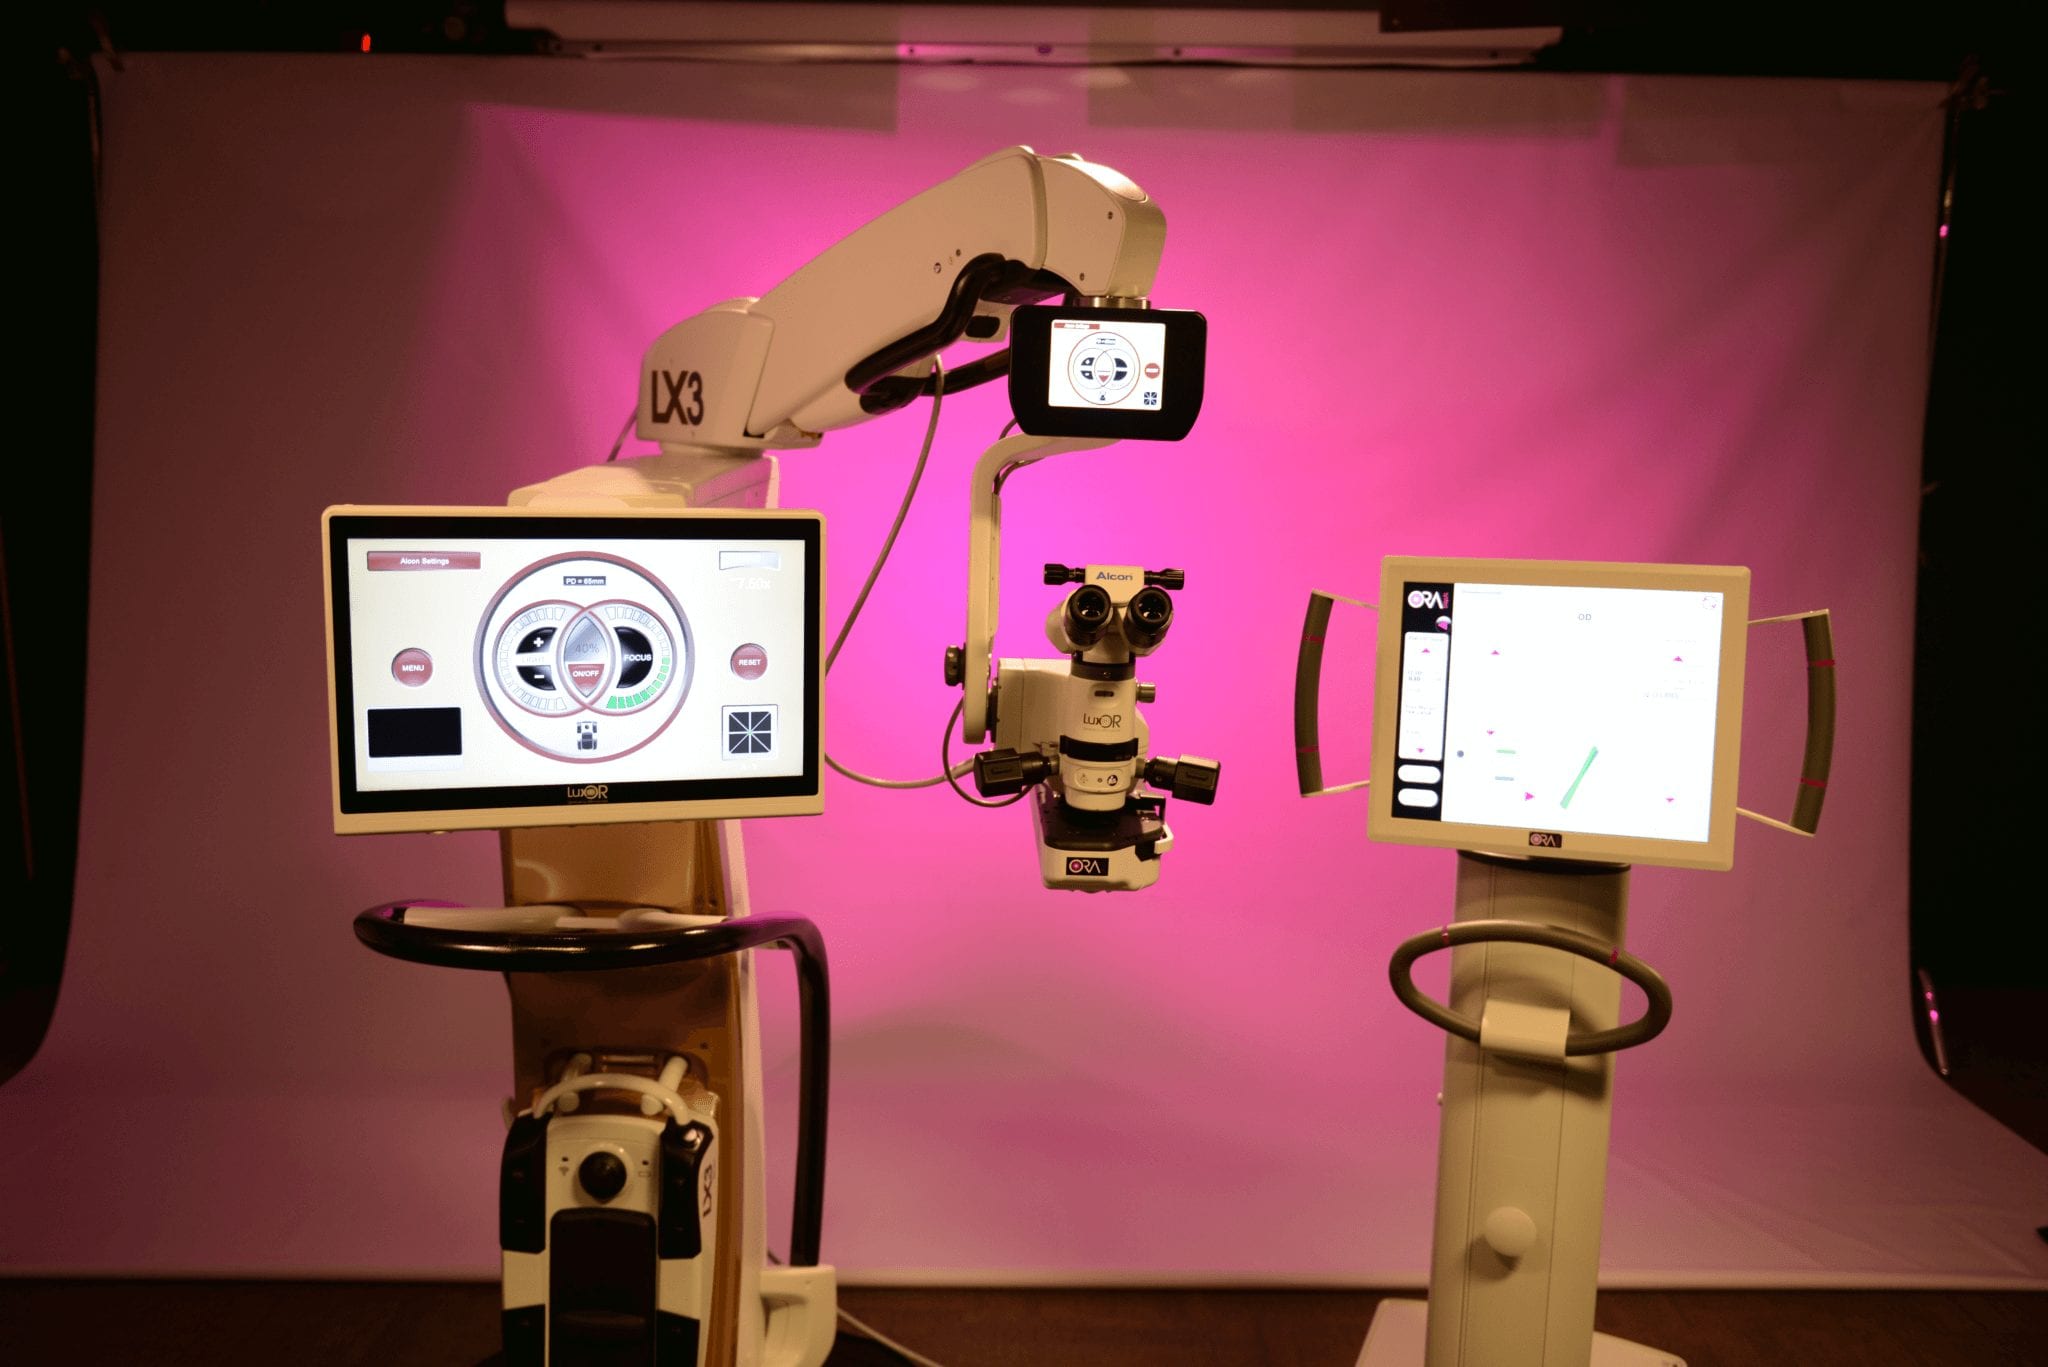
We also added teleprompter hookups, a dimmer pack, video inputs for computers and surgical equipment, and a confidence monitor. This was the phase where the studio started to feel like an actual system instead of a collection of isolated tools.
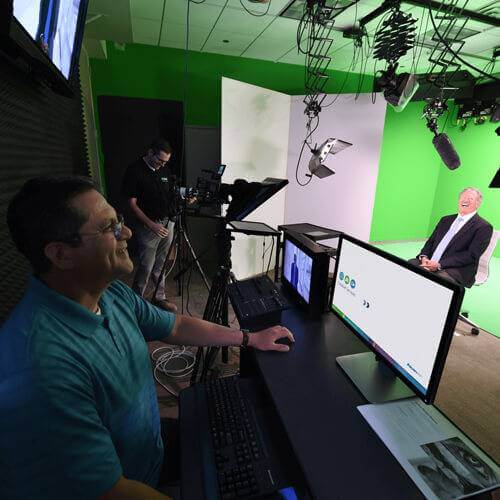
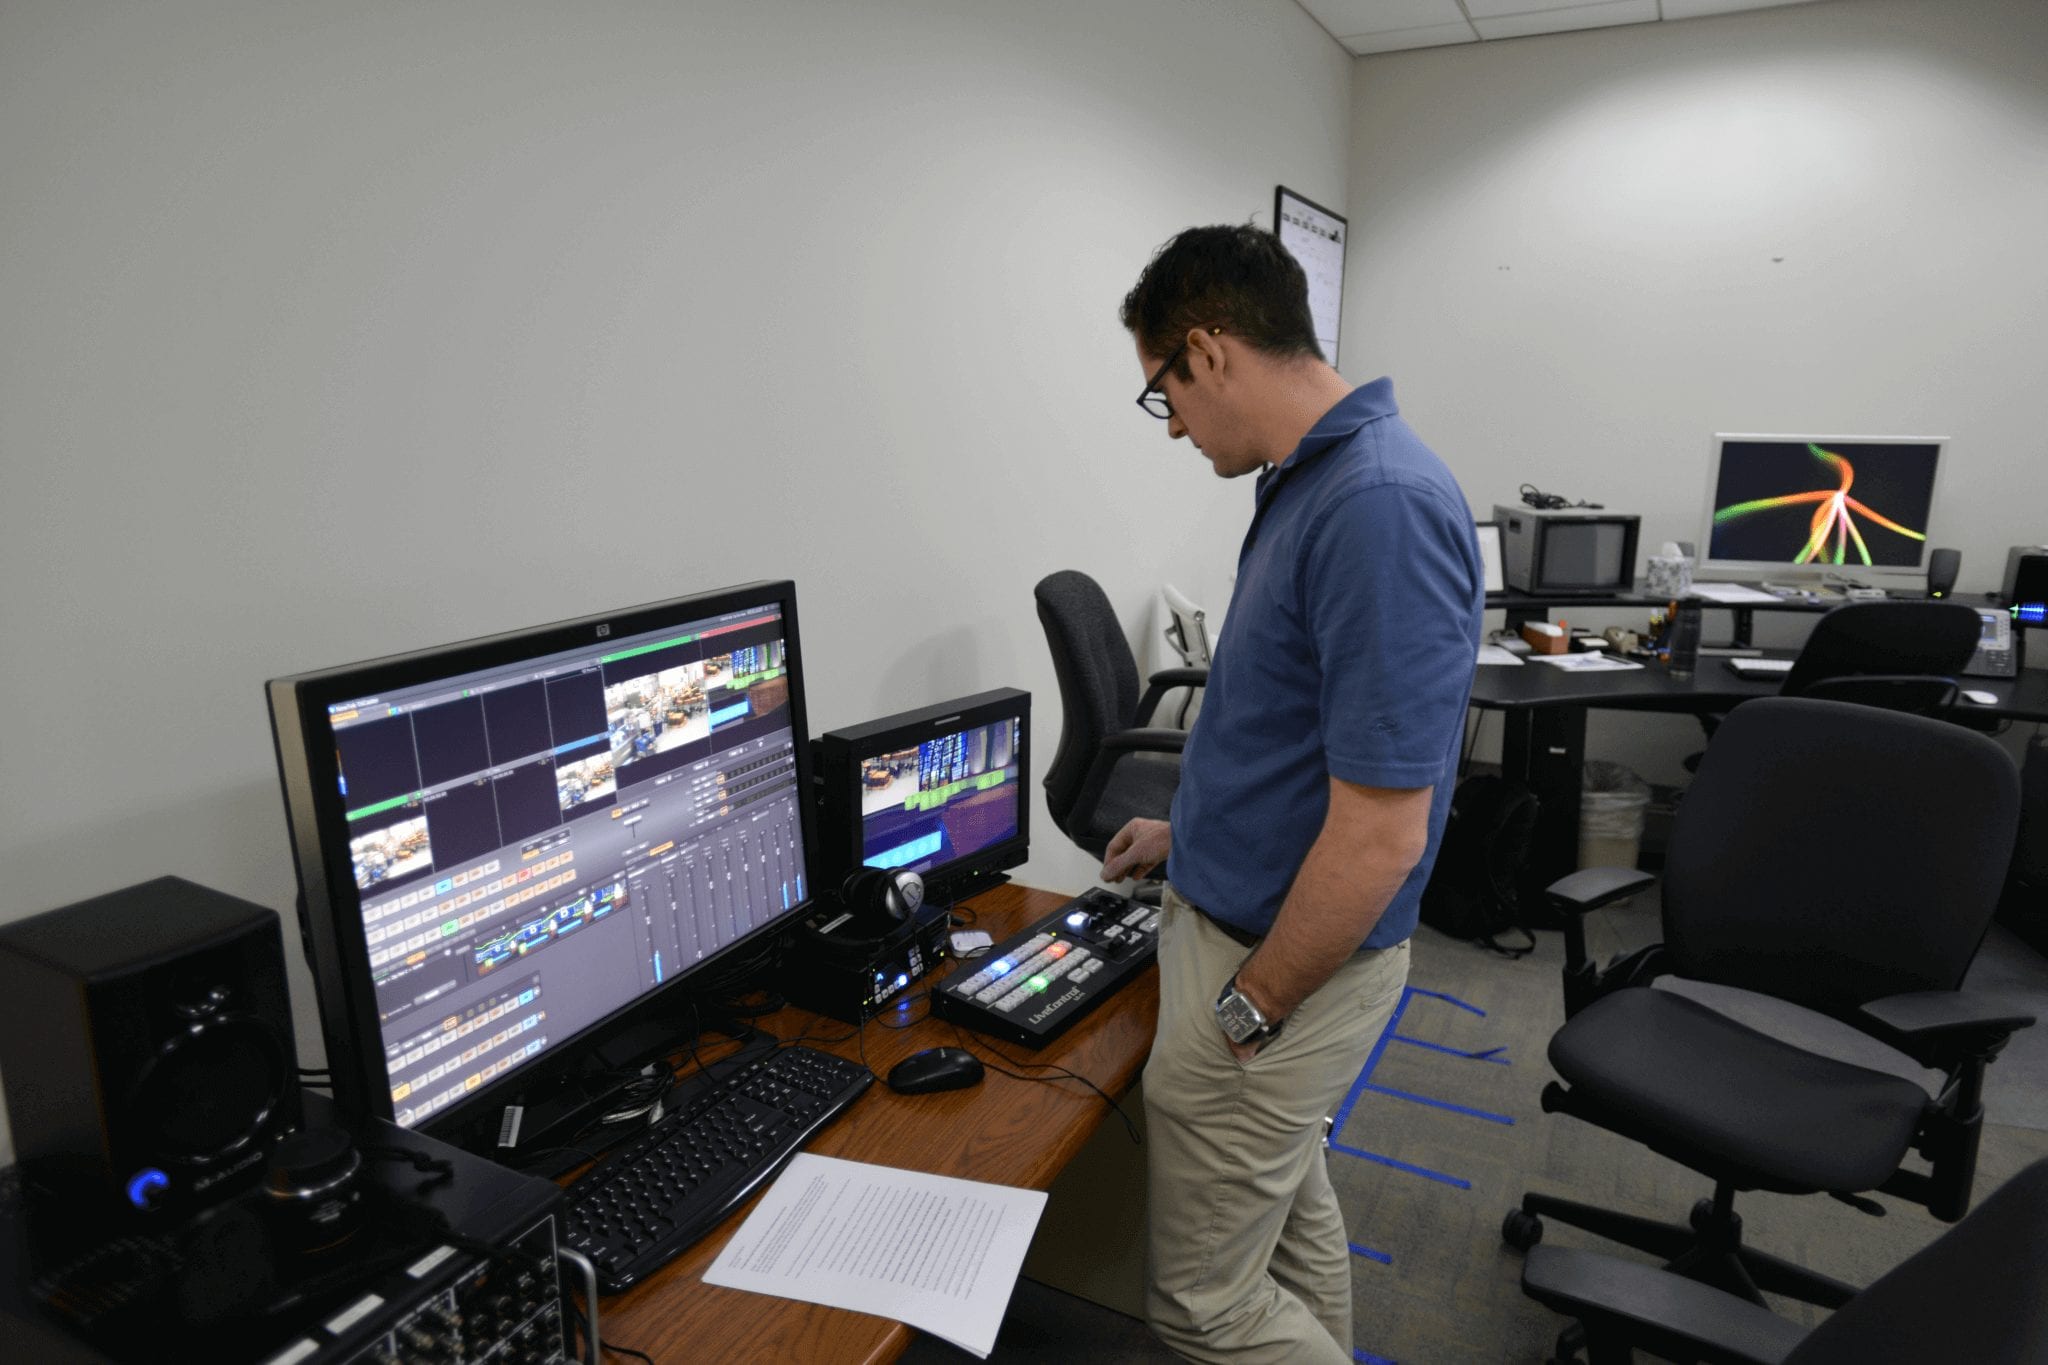
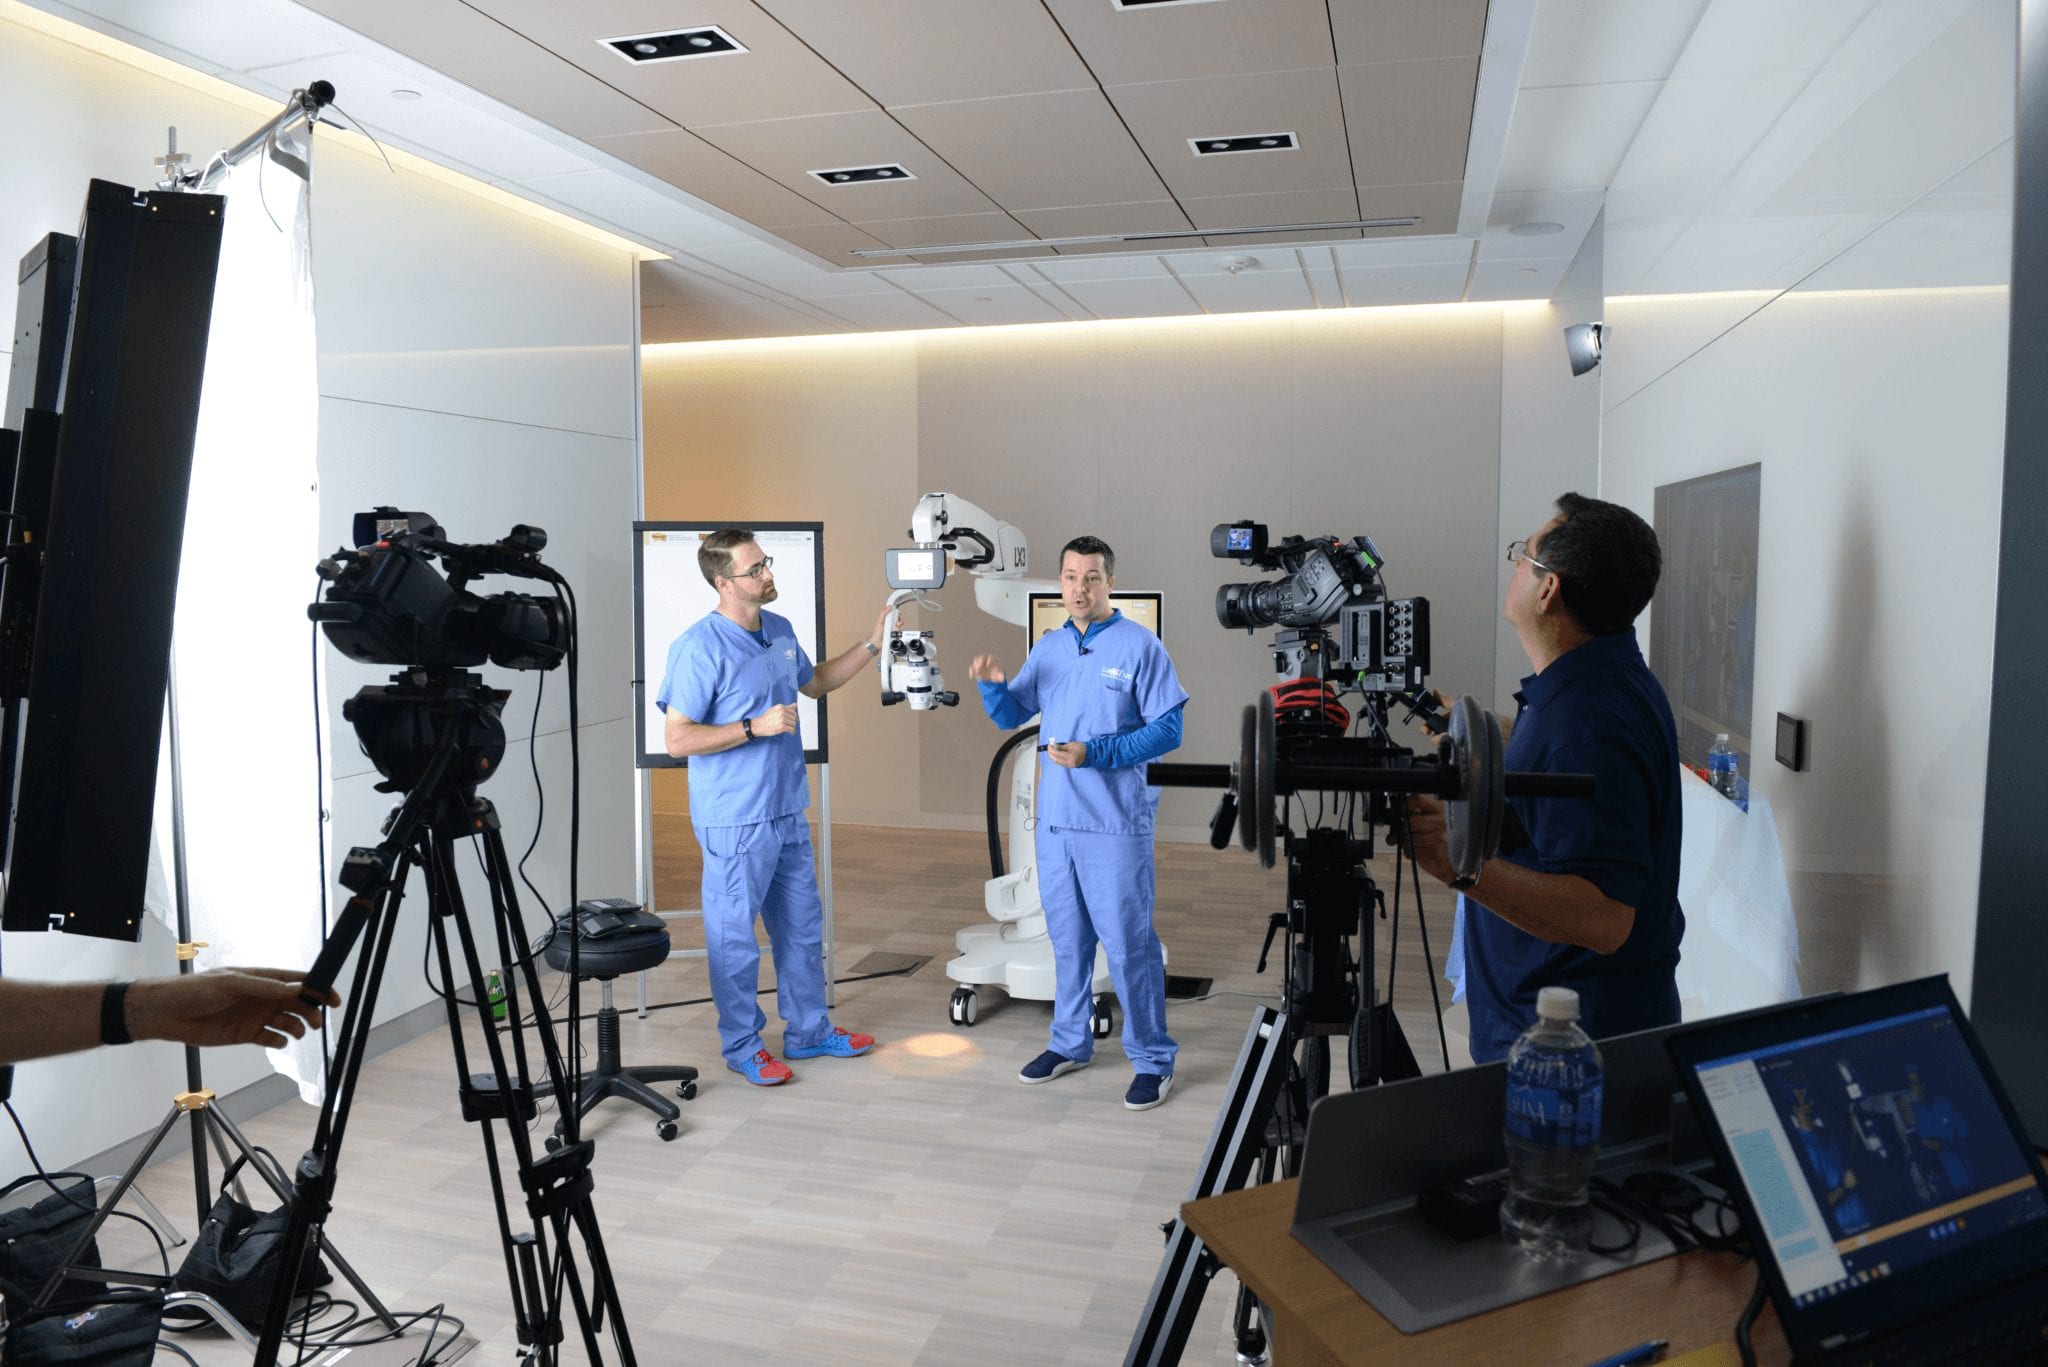
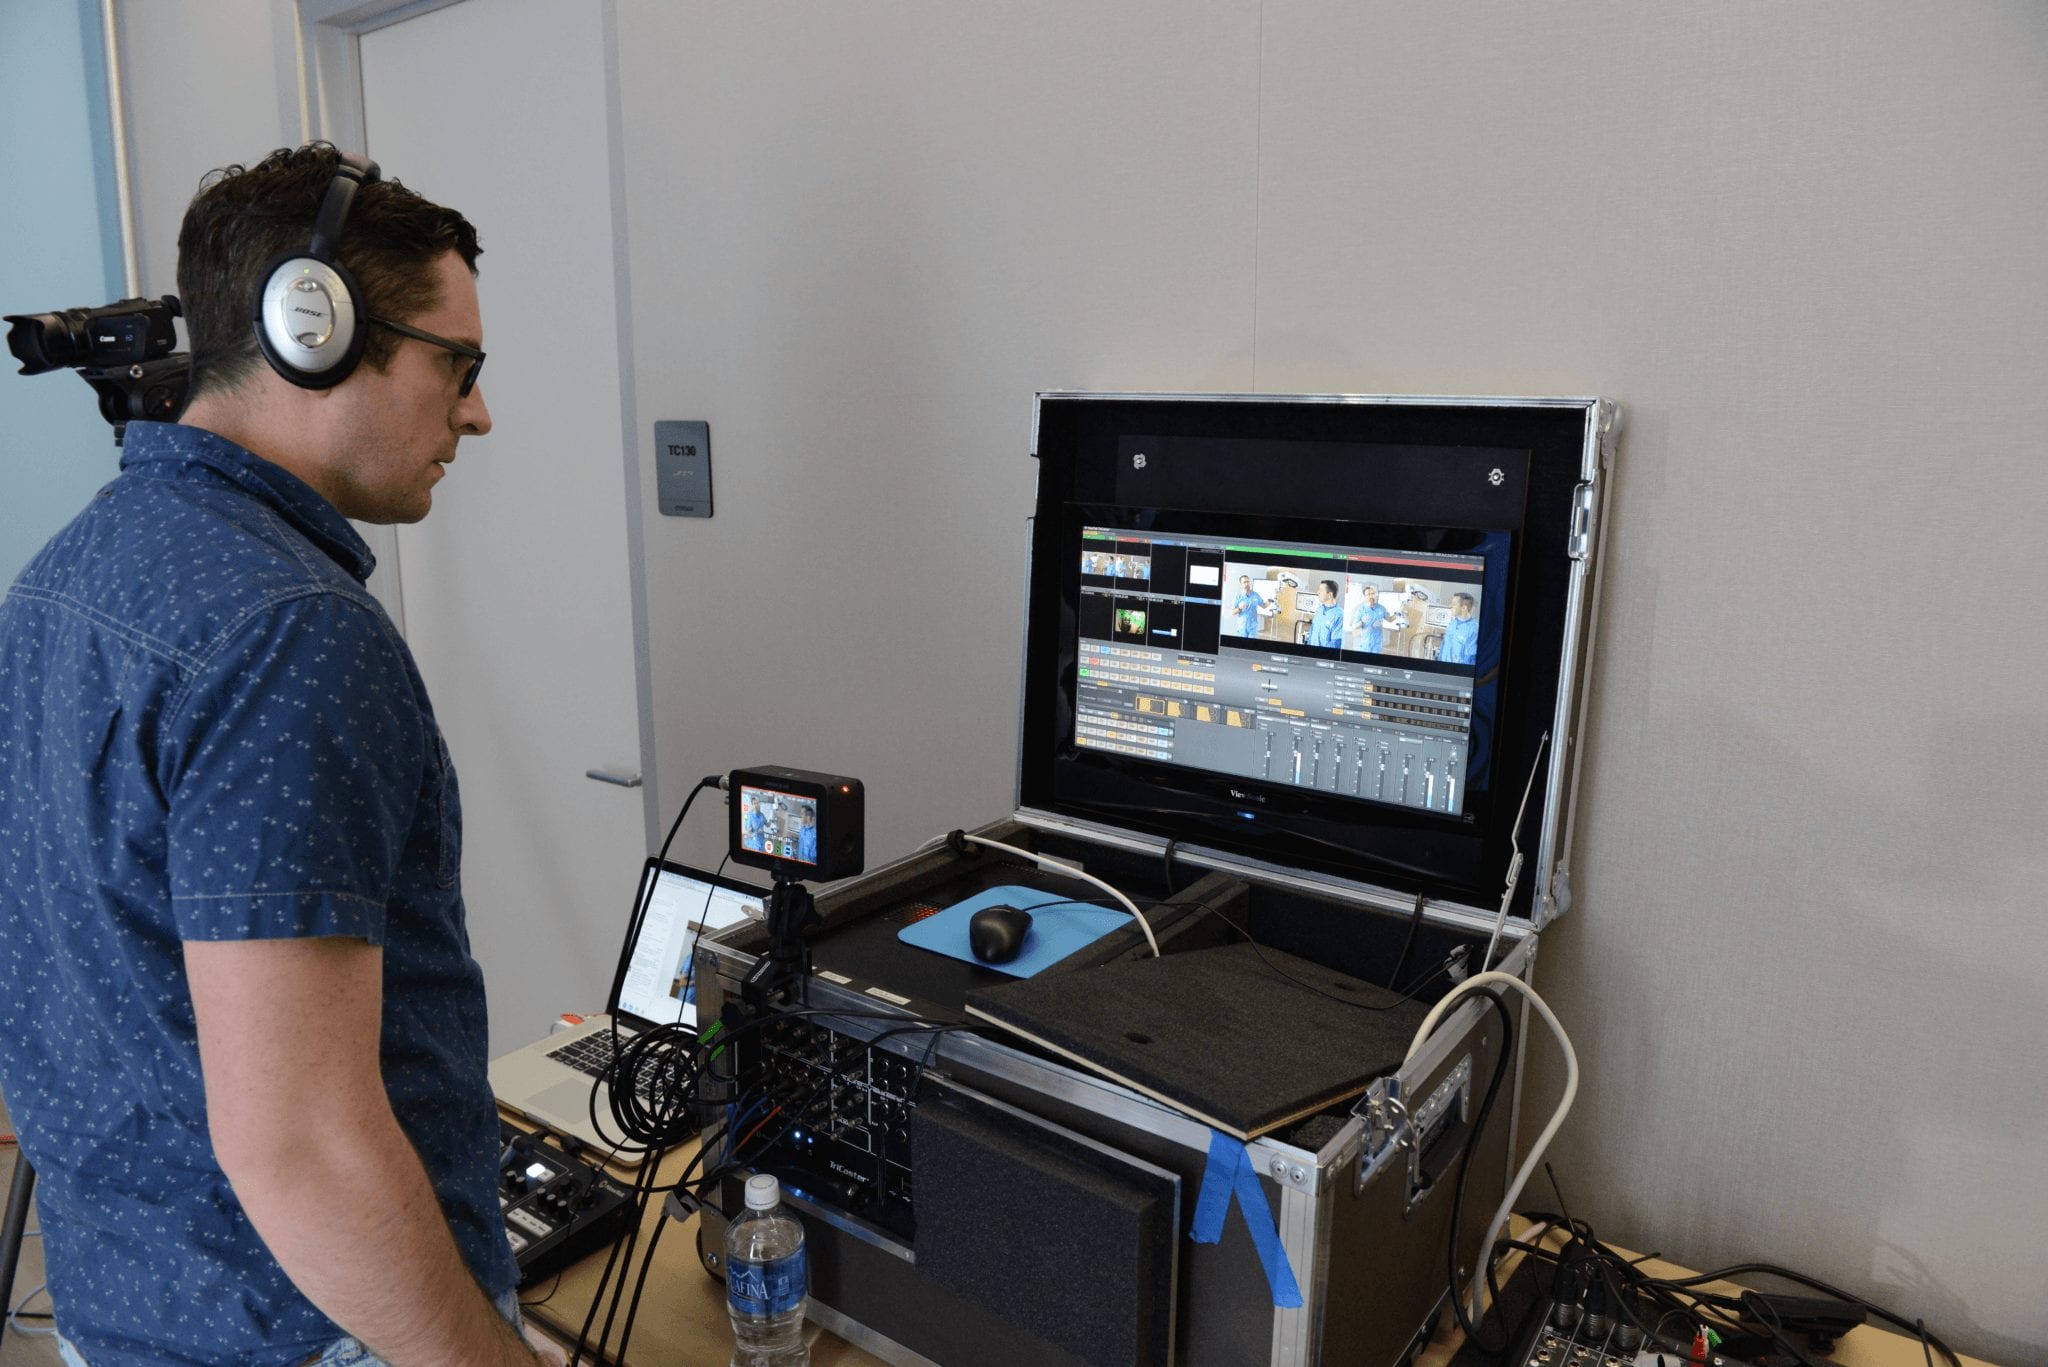
Once the larger studio upgrades were in place, the Tricaster became even more useful. It was speeding up the work, but it was also creating a bottleneck because we kept having to take it out for location shoots.
To fix that, we bought a second Tricaster and a dedicated travel case. That let us keep the studio running while still supporting shoots out in the field.
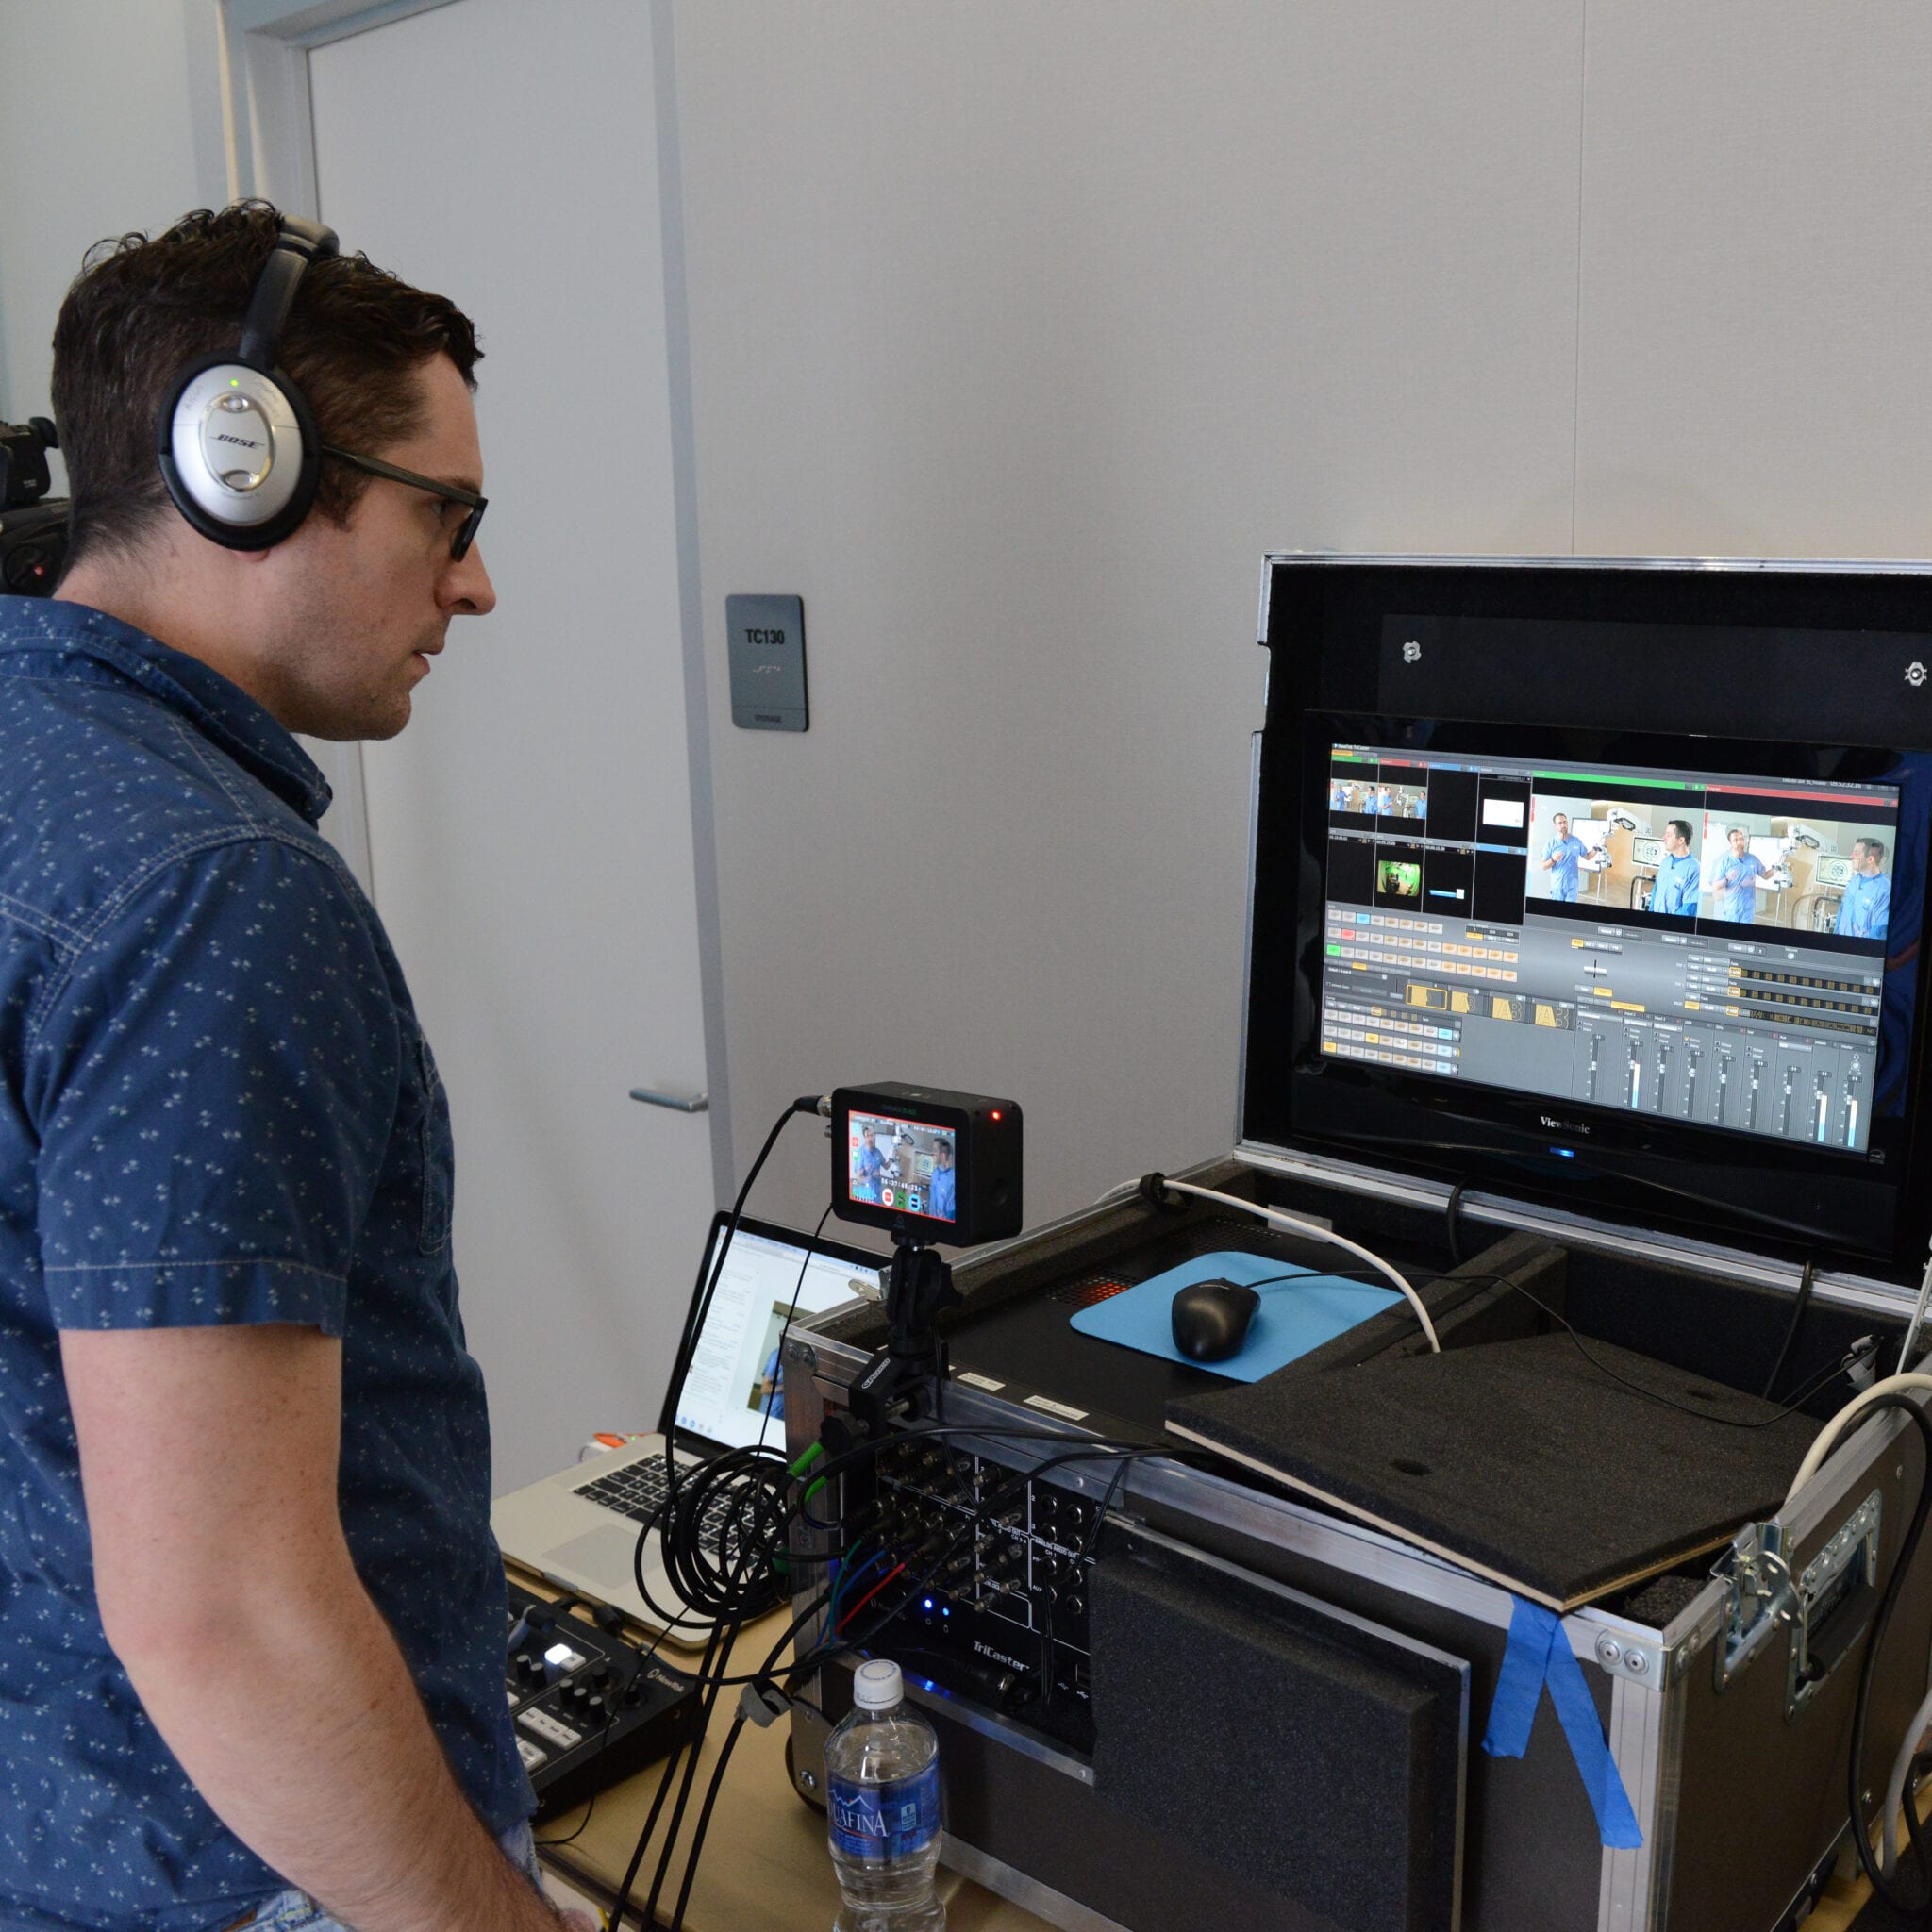
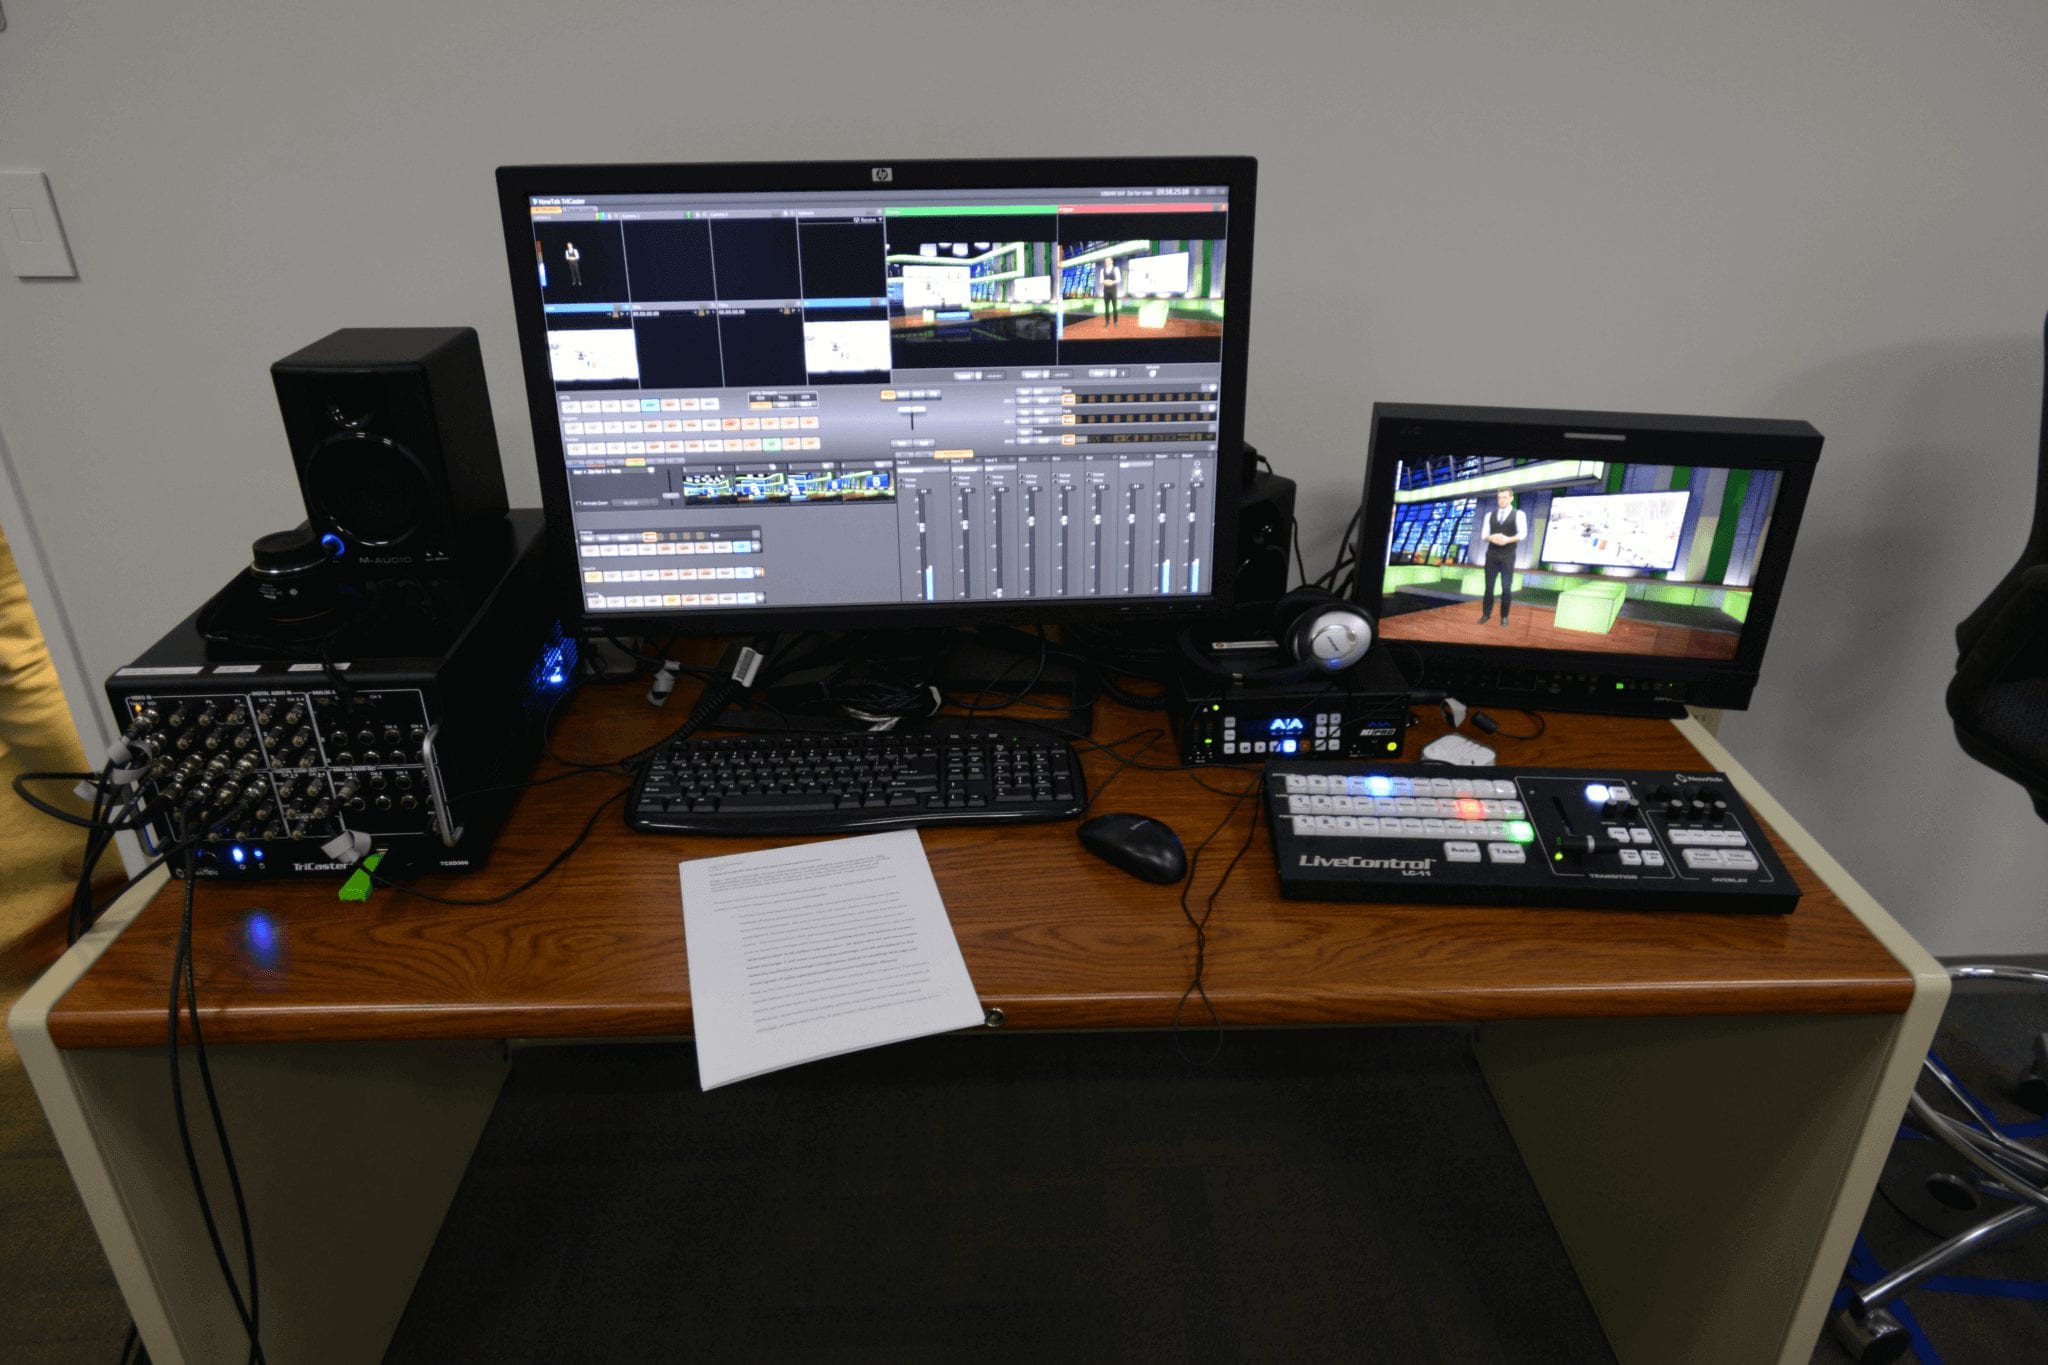
Phase 4
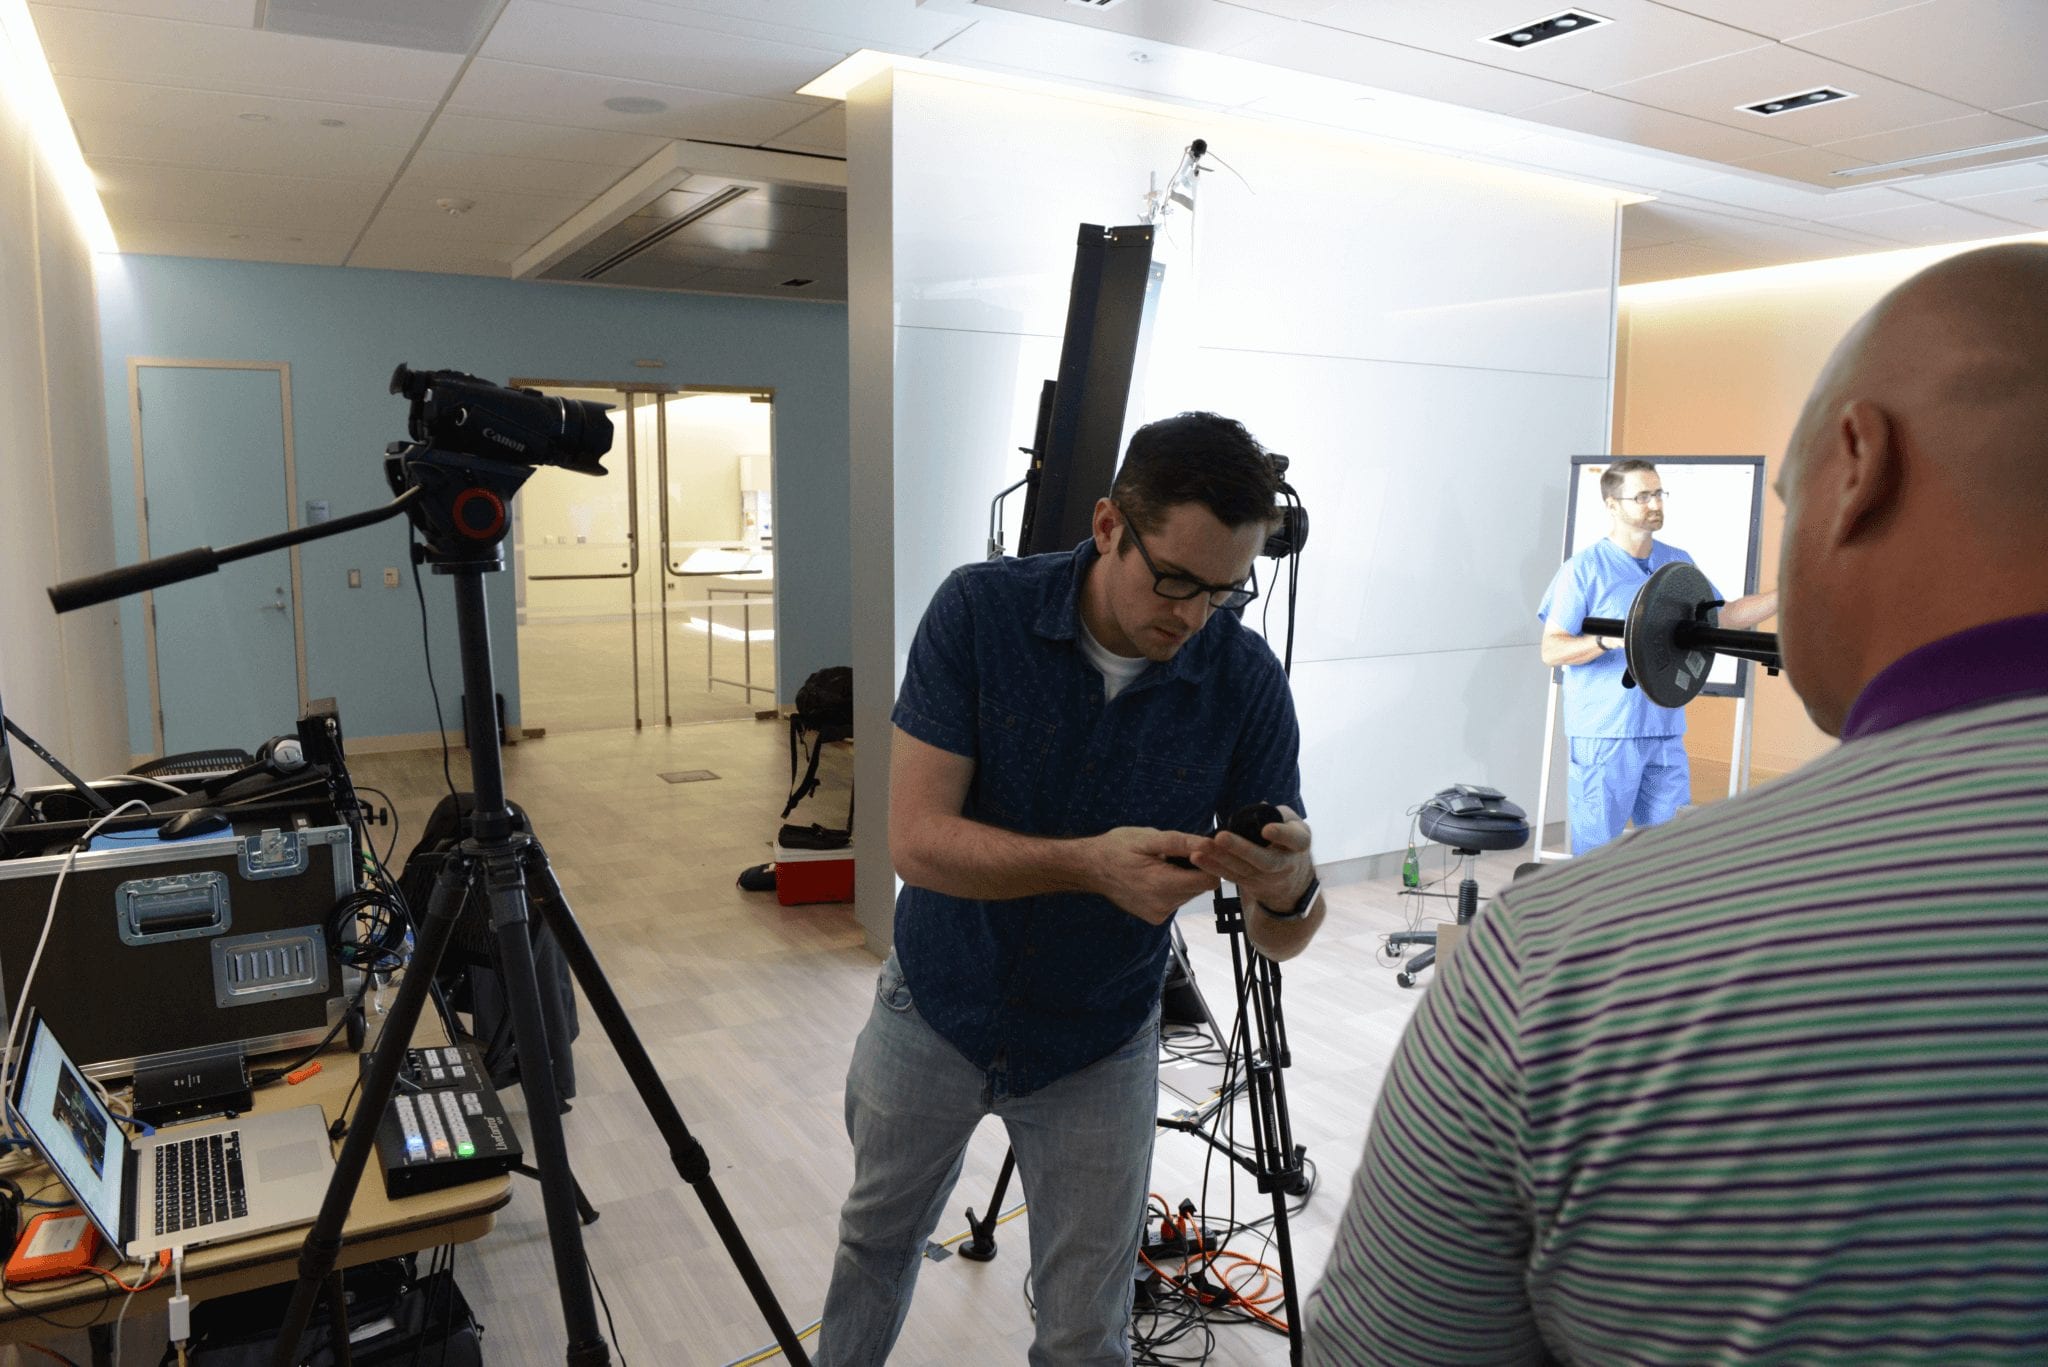
Adding the Tricaster 460 changed the pace of the work quite a bit. It let us keep the Tricaster 300 portable for live streams and interactive demos with remote associates around the world, while the 460 stayed available for the studio.
It also sped up my own live edits. In some cases I could have a cut finished before the client even made it back to their office after the shoot.

Phase 5
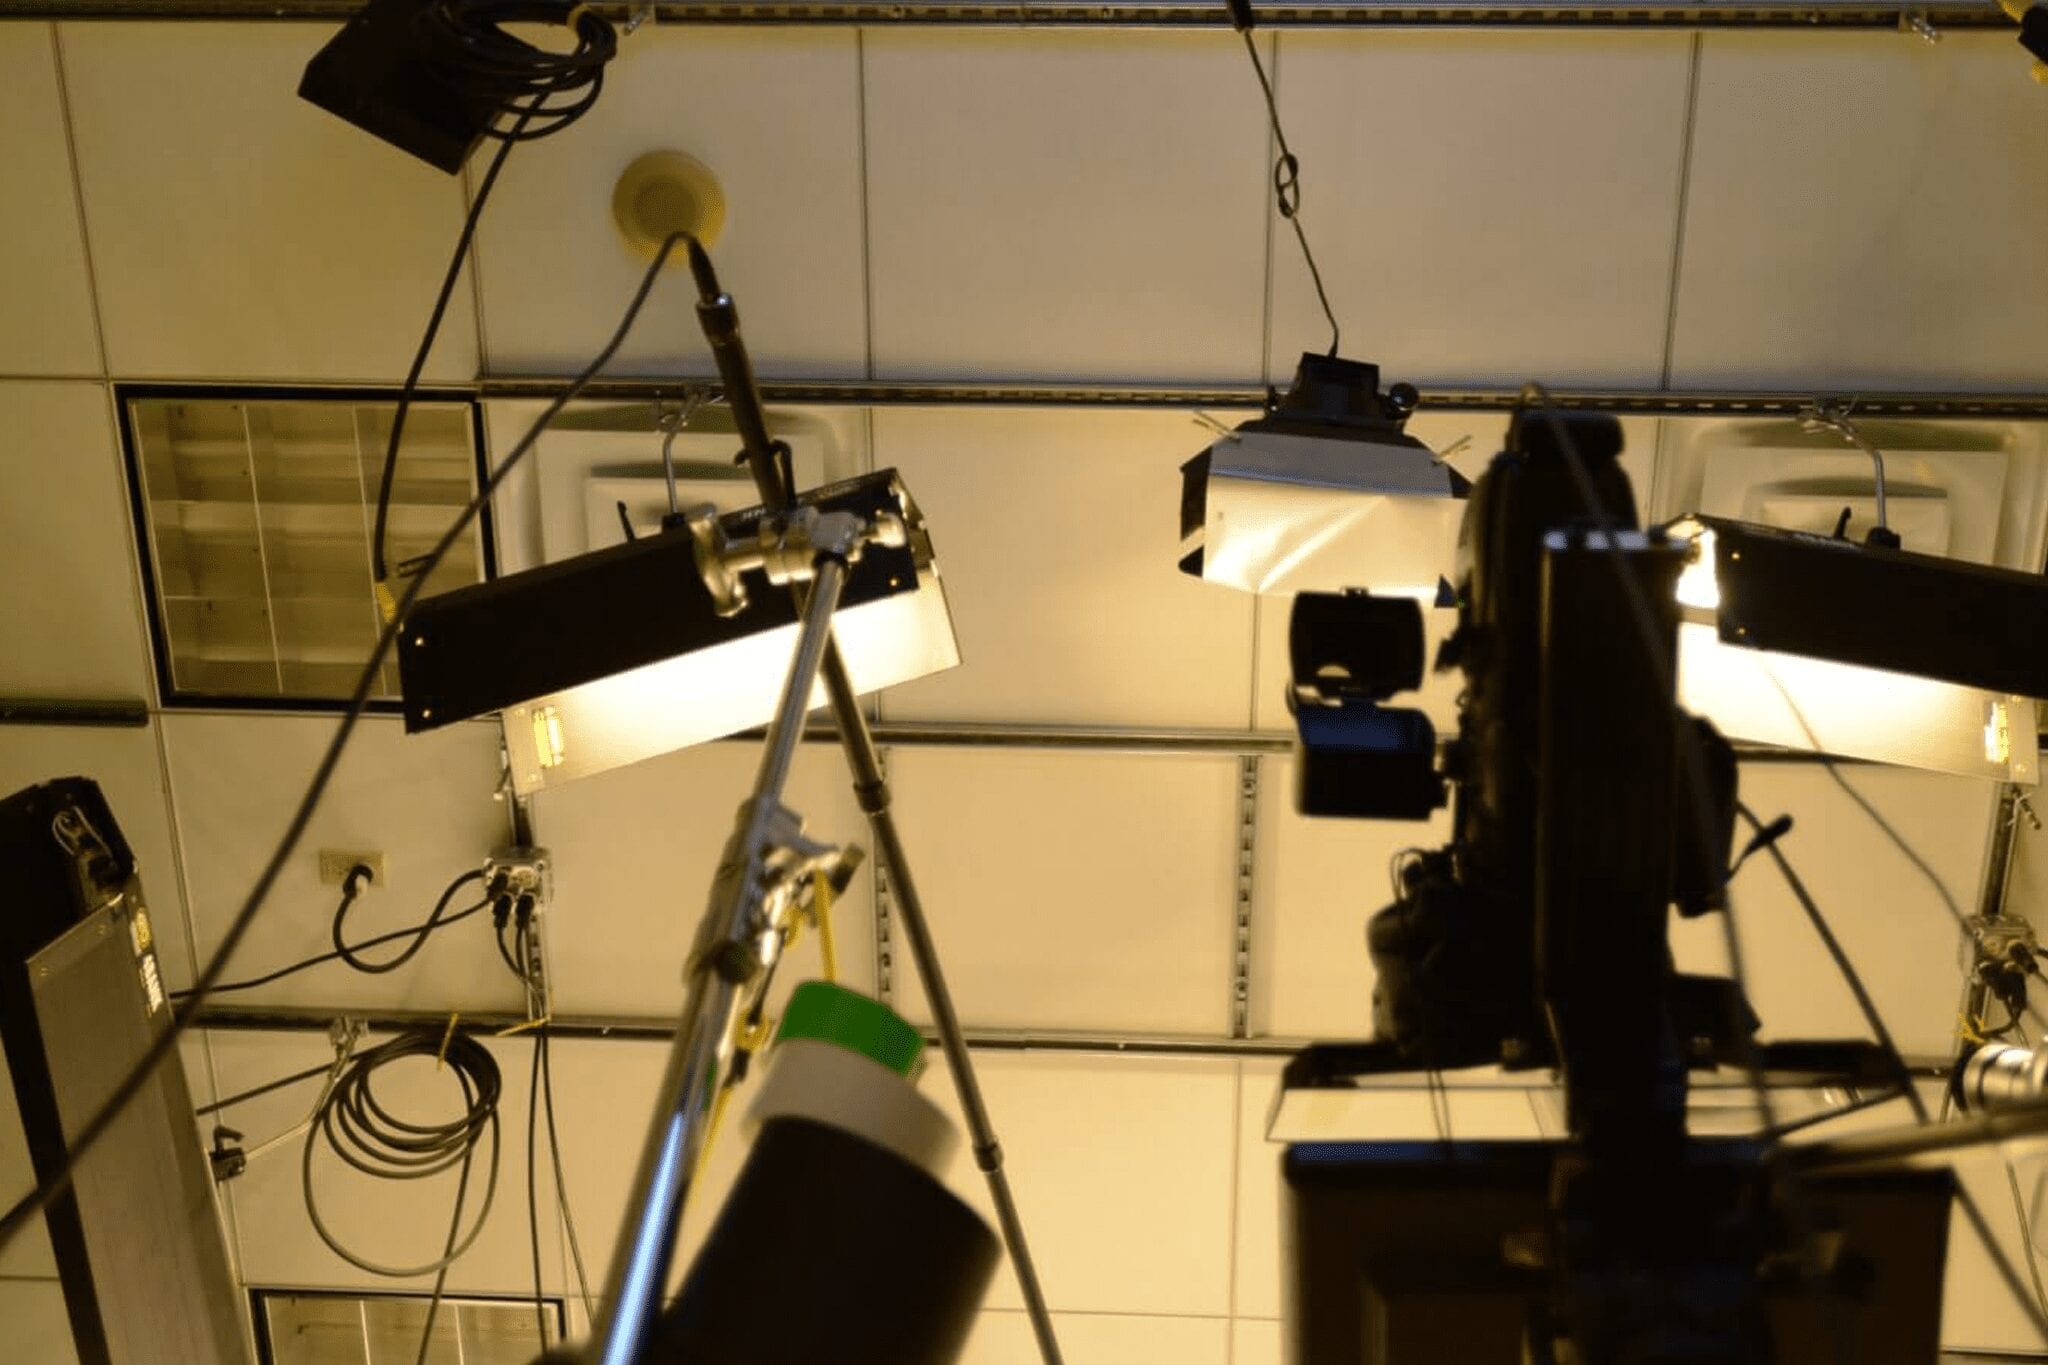
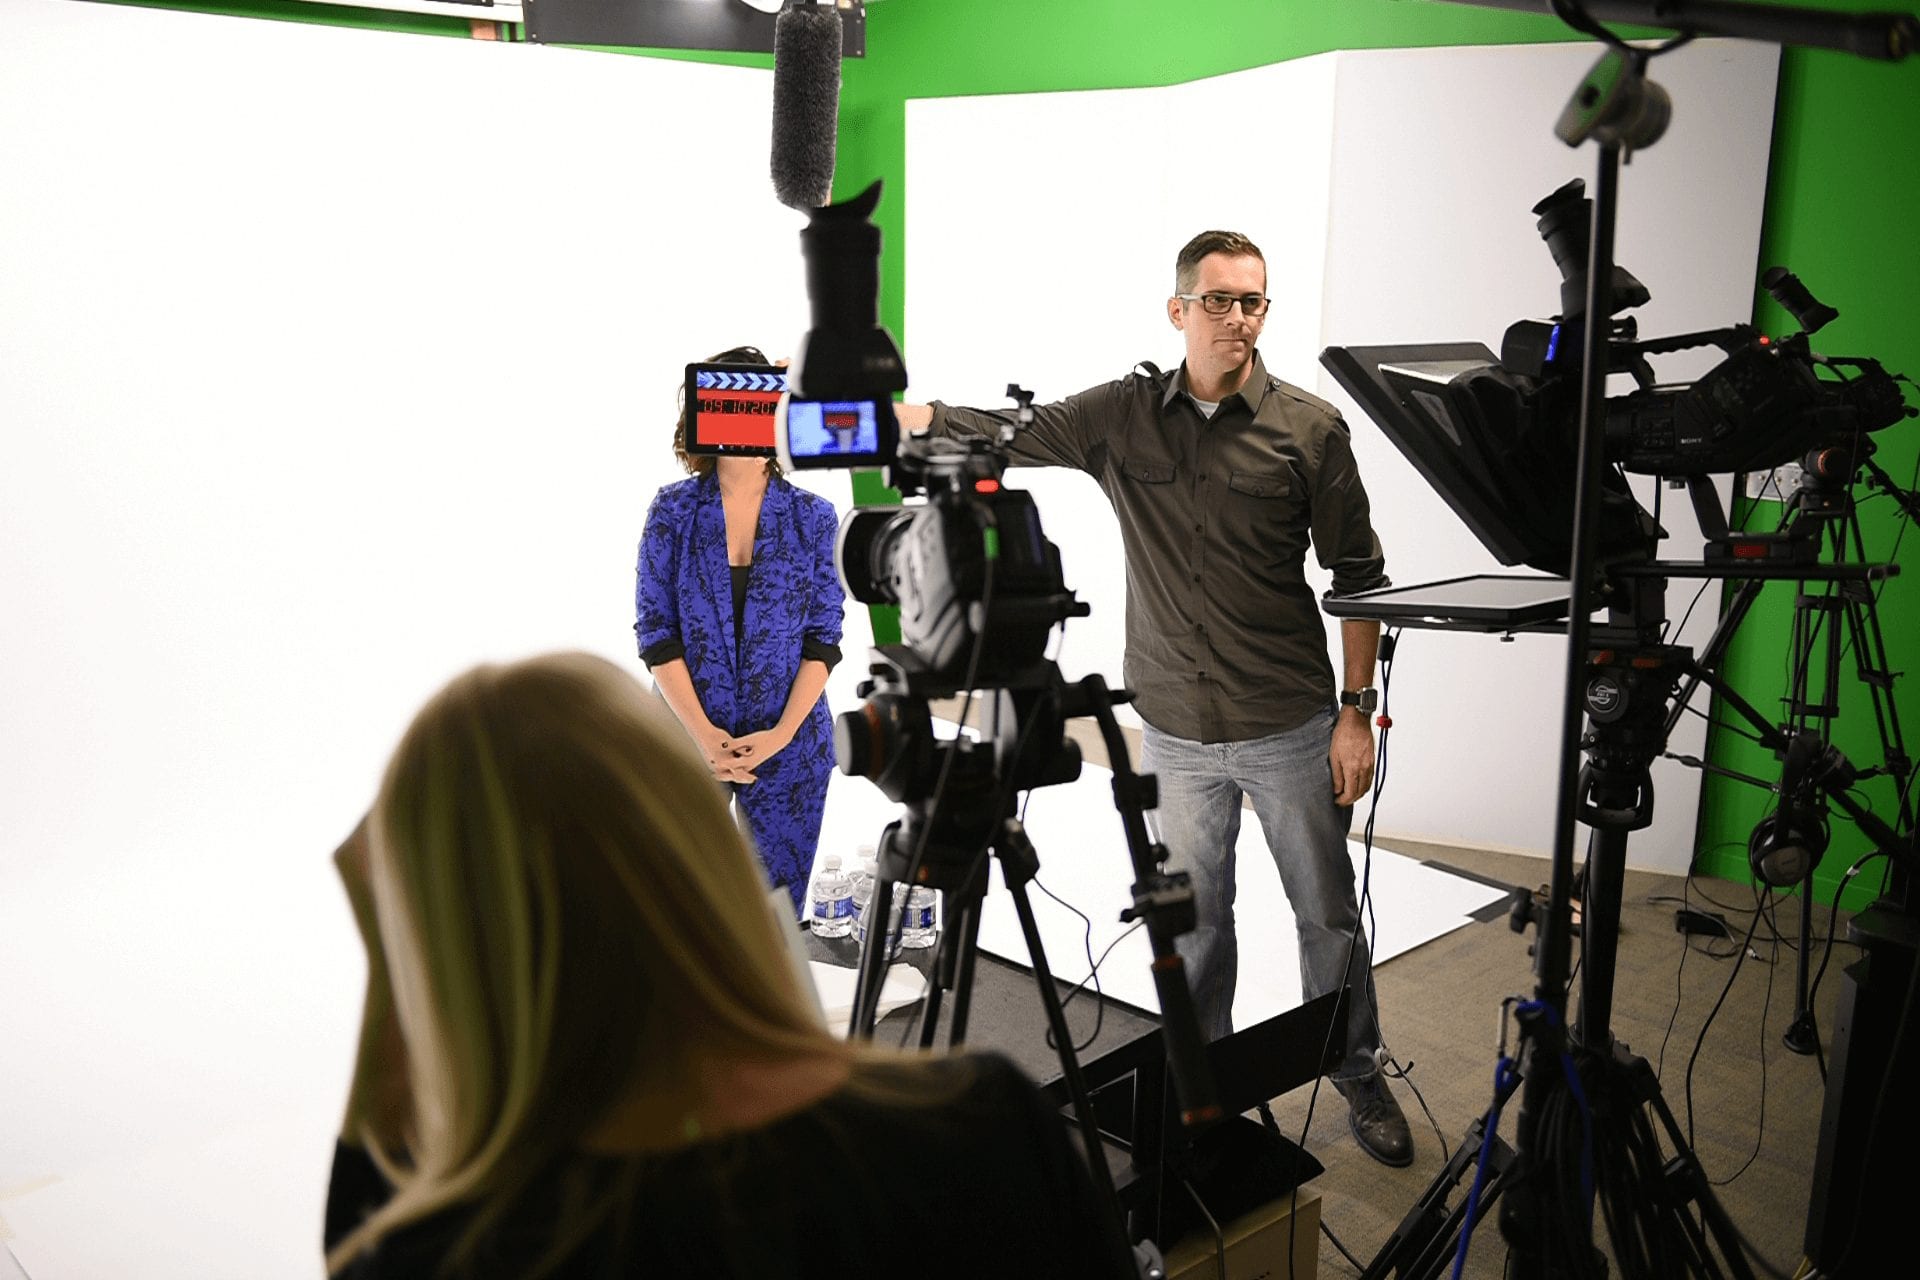
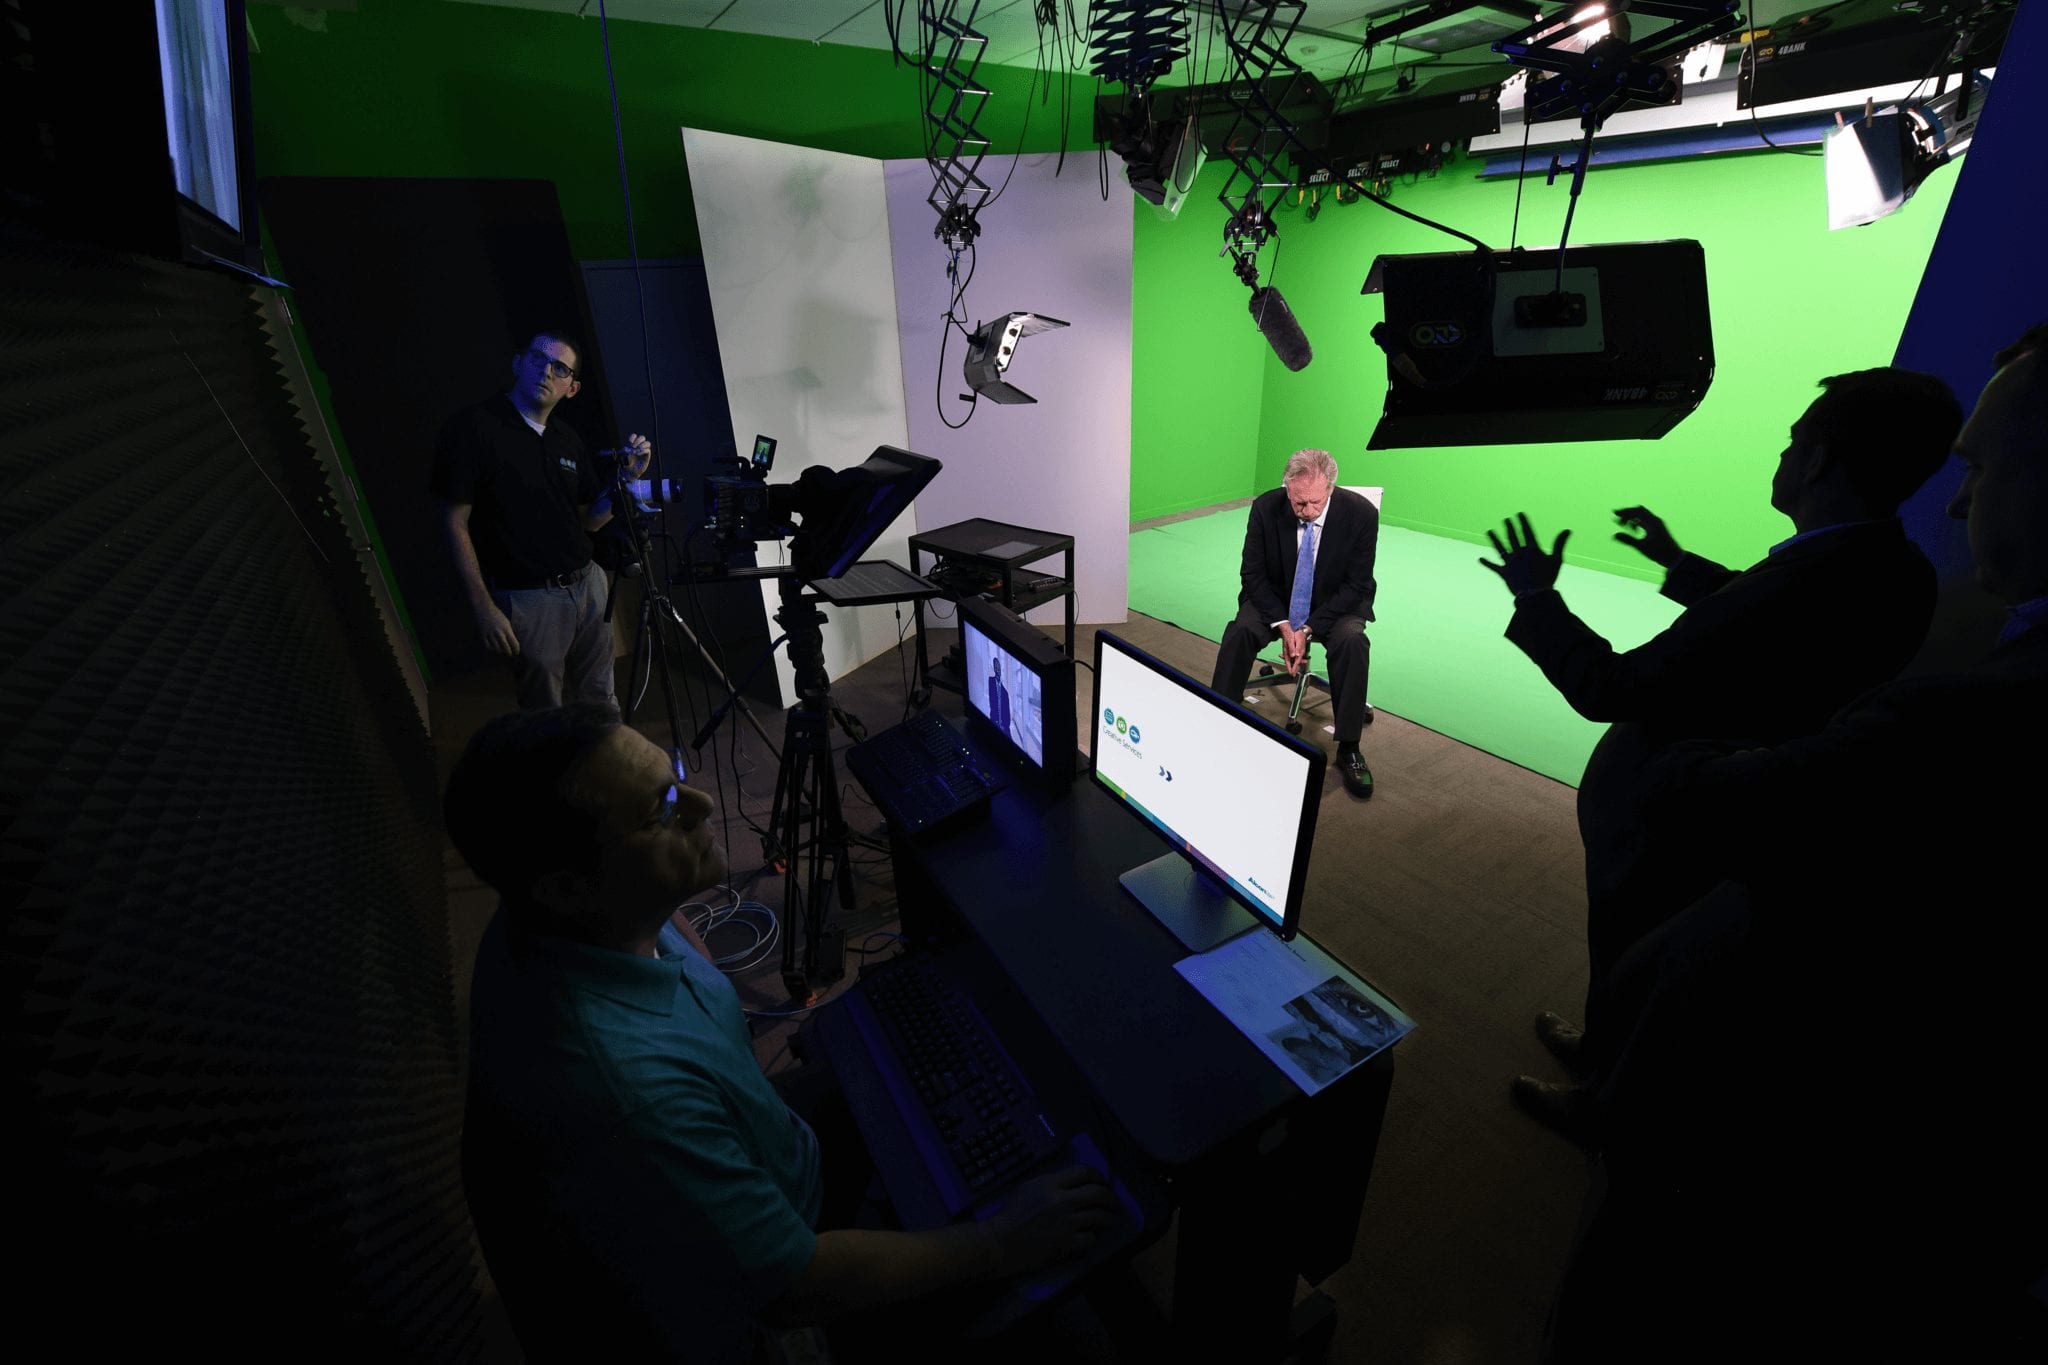
The last phase focused on speed and flexibility. We added a Manfrotto Sky Track system so lights could be repositioned quickly, improved the sound insulation, added another teleprompter input, brought in more camera inputs for the RED Scarlet-W, and installed Apple TV support for remote iPad apps.
Those final upgrades made the room faster to use and easier to adapt, and the result was pretty direct. More teams started requesting projects, and the turnaround time kept improving.
Selected Works